35
RQT6986
Editing
Repeat to erase other scenes.
∫ Erase
∫ Re-edit
∫ Move
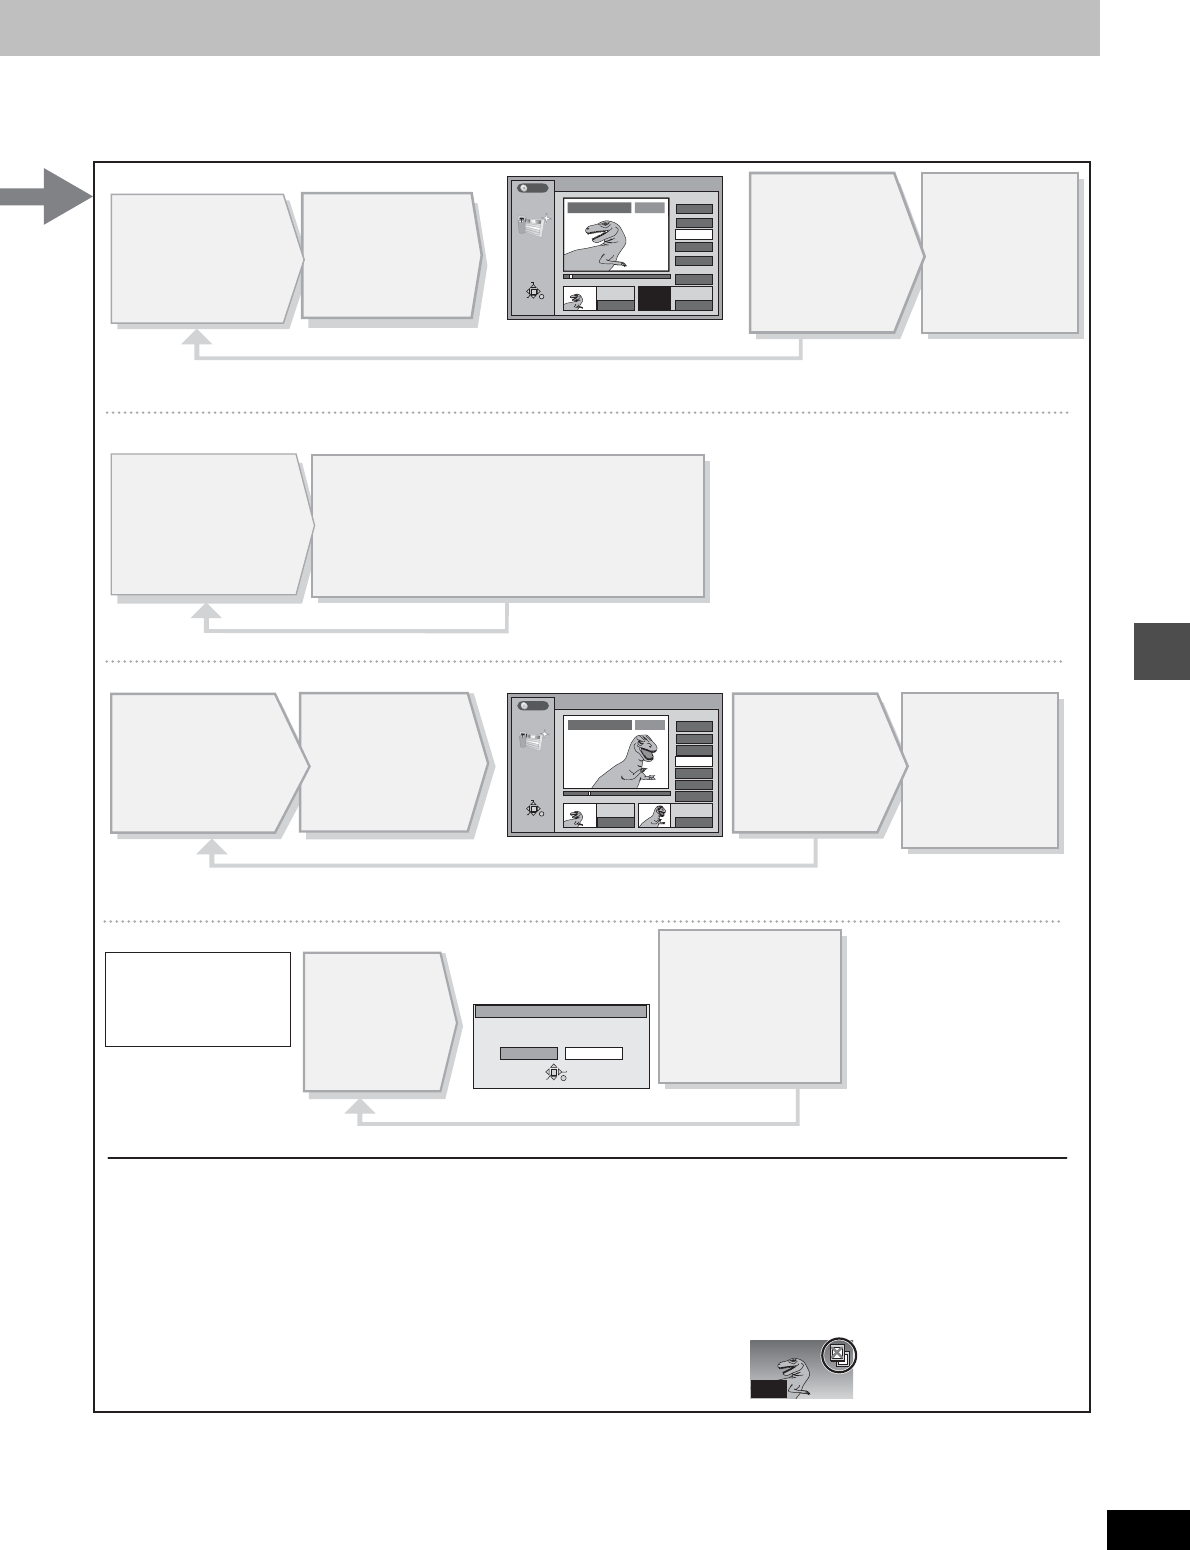
Erase Scenes
Yes No
Erase this scene?
RETURN
ENTER
SELECT
001
PLAY LIST
Re-edit Scenes
0 : 00 . 05
Start End
Start
1
End
Next
Exit
Scene No.
0 : 02 . 08
RETURN
ENTER
SELECT
0 : 02 . 08
33
PLAY LIST No.3
01
PLAY
Prev.
DVD
PLAY LIST
Add Scenes
0 : 00 . 05
Start End
3
Start
5
End
Next
Exit
Scene No.
0 : 00 . 05
RETURN
ENTER
SELECT
--:--.--
PLAY
01
PLAY LIST No.3 Dinosaur
DVD
Press [3, 4] to
select “Exit
”
and press
[ENTER].
The new scene is
inserted before the
highlighted scene.
Press [3, 4] to select “Next
”
and press [ENTER].
(Repeat to add other scenes.)
Repeat to move other scenes.
Press [3, 4, 2, 1] to select the place
where you want to move the scene to
and press [ENTER].
The scene is moved and inserted before the
highlighted scene.
[Note]
The play list itself is erased if
you erase all the scenes in it.
∫ Add
Press [3, 4, 2, 1]
to select the place
where you want to
add the scene and
press [ENTER].
Press [ENTER]
at the start point
of the scene.
Press [ENTER]
at the end point
of the scene.
Press [3, 4, 2, 1]
to select the scene
and press [ENTER].
Press [3, 4, 2, 1]
to select the scene
and press [ENTER].
Press [ENTER] at
the start point of
the scene.
[Note]
≥ You can use basic functions like fast forwarding/rewinding and slow-motion play
(
➜
page 20)
.
≥ You can use the skip function to jump to another program
(
➜
page 20).
≥ You cannot specify an end point before a start point.
≥ You may not be able to specify points within 3 seconds of each other.
≥ Play pauses if the end of the last program is reached during this procedure.
≥ You cannot edit still picture images.
≥ Depending on the state of recording, the actual number of play lists or scenes that can be recorded may be less than that specified
in this manual.
≥ The picture illustration on the right may be shown in the HDD play list scene display.
This picture illustration indicates pictures that are permitted to be recorded only once
(
➜
page 62, CPRM).
(maximum of 999 scenes)
Press [3, 4] to select “Prev.
” or
“
Next”
and press
[ENTER]. (Repeat to re-edit other scenes.)
Press [3, 4] to
select “Exit
”
and press
[ENTER].
The re-edited
scene replaces the
old one.
Press [ENTER]
at the end point
of the scene.
Press [3, 4,
2, 1] to select
the scene and
press [ENTER].
Once a scene has been
erased, it is irretrievable.
Check carefully before
proceeding.
Press [2, 1] to
select “Yes
”
and
press [ENTER].
The selected scene is
erased from the play
list.


