


56
RQTV0136
DVD Management
[-R] [-R]DL] [-RW‹V›] [+R] [+R]DL]
≥Follow steps 1 to 3 of “DVD Management”. (l 54)
≥Select “Top Menu” or “Title 1” from “Auto-Play Select” before finalizing
the disc. (l 55)
You can play DVD-R, DVD-R DL, DVD-RW (DVD-Video format), +R or
+R DL on compatible DVD players after finalizing it on this unit, effectively
making it into a DVD-Video that complies with DVD-Video standards.
The menu you create with the unit can also be used on DVD players.
[4] Press [3, 4] to select “Finalize” and then press
[ENTER].
[5] Press [2] to select “Yes” and then press [ENTER].
[6] Press [2] to select “Start” and then press [ENTER].
≥Finalizing starts.
≥You cannot cancel finalizing.
≥A message appears when finalizing is finished.
Notes
≥Finalizing can take a few minutes or up to a maximum of 15 minutes,
depending on the remaining space on the disc.
([-R]DL] [+R]DL] Finalizing can take up to 60 minutes.)
≥Do not disconnect the AC mains lead while finalizing.
This can render the disc unusable.
[7] Press [ENTER].
Notes
≥When finalizing a high-speed recording compatible disc, it may take
longer than displayed on the confirmation screen (approximately 4 times
longer).
≥After finalizing
- [-R] [-R]DL] [+R] [+R]DL] The disc becomes play-only and you can no
longer record or edit it.
- [-RW‹V›] Although DVD-RW (DVD-Video format) becomes play-only
after finalizing, you can record and edit the disc after re-formatting it.
(l 55)
- DVD-R, DVD-R DL, DVD-RW (DVD-Video format), +R or +R DL
finalized on the unit may not be playable on other players depending on
the condition of the recording.
- There is a pause of several seconds between titles and chapters during
play.
- Titles are divided into about 5-minute chapters
¢
.
([-R]DL] [+R]DL] 8 minutes.)
¢
This time varies greatly depending on the condition and mode of
recording.
[-R]DL] [+R]DL]
≥Follow steps 1 to 3 of “DVD Management”. (l 54)
DVD-R DL and +R DL discs have two layers of recordable surfaces on one
side. This unit does not offer seamless recording between the two layers.
Recording stops when space on the first layer is full. The first layer must
be closed to start recording on the second layer. Closing the first layer
makes it unavailable for recording (editing is still possible). You cannot
cancel closing. Make certain before proceeding.
[4] Press [3, 4] to select “Close First Layer” and then
press [ENTER].
[5] Press [2] to select “Yes” and then press [ENTER].
[6] Press [2] to select “Start” and then press [ENTER].
≥Closing the layer starts. You cannot cancel closing.
≥Closing a layer can take a few minutes or up to a maximum of
30 minutes, depending on the remaining space on the disc.
Note
≥Do not disconnect the AC mains lead while closing.
This can render the disc unusable.
[7] Press [ENTER].
∫To confirm the layer you can record
You can confirm the remaining recording time on the layer you can record.
Notes
≥You cannot close the first layer when there are no recordings on it.
≥By closing the first layer, you can record or edit discs that have been
recorded on the second layer by other equipment.
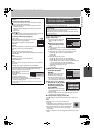
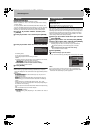
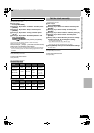
Finalize
Finalize
Finalizing is necessary for compatible
playback. It will take approximately
≤
minutes.
Finalize the disc ?
Yes No
Finalize
Finalize will make this disc playback only.
Start finalizing the disc ?
Start Cancel
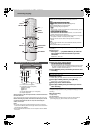
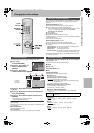
Close First Layer
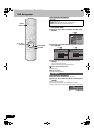
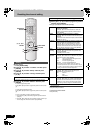
Preparation
≥Insert a disc (l 17).
≥Press [DRIVE SELECT] to select the DVD drive.
Titles 7
DVD
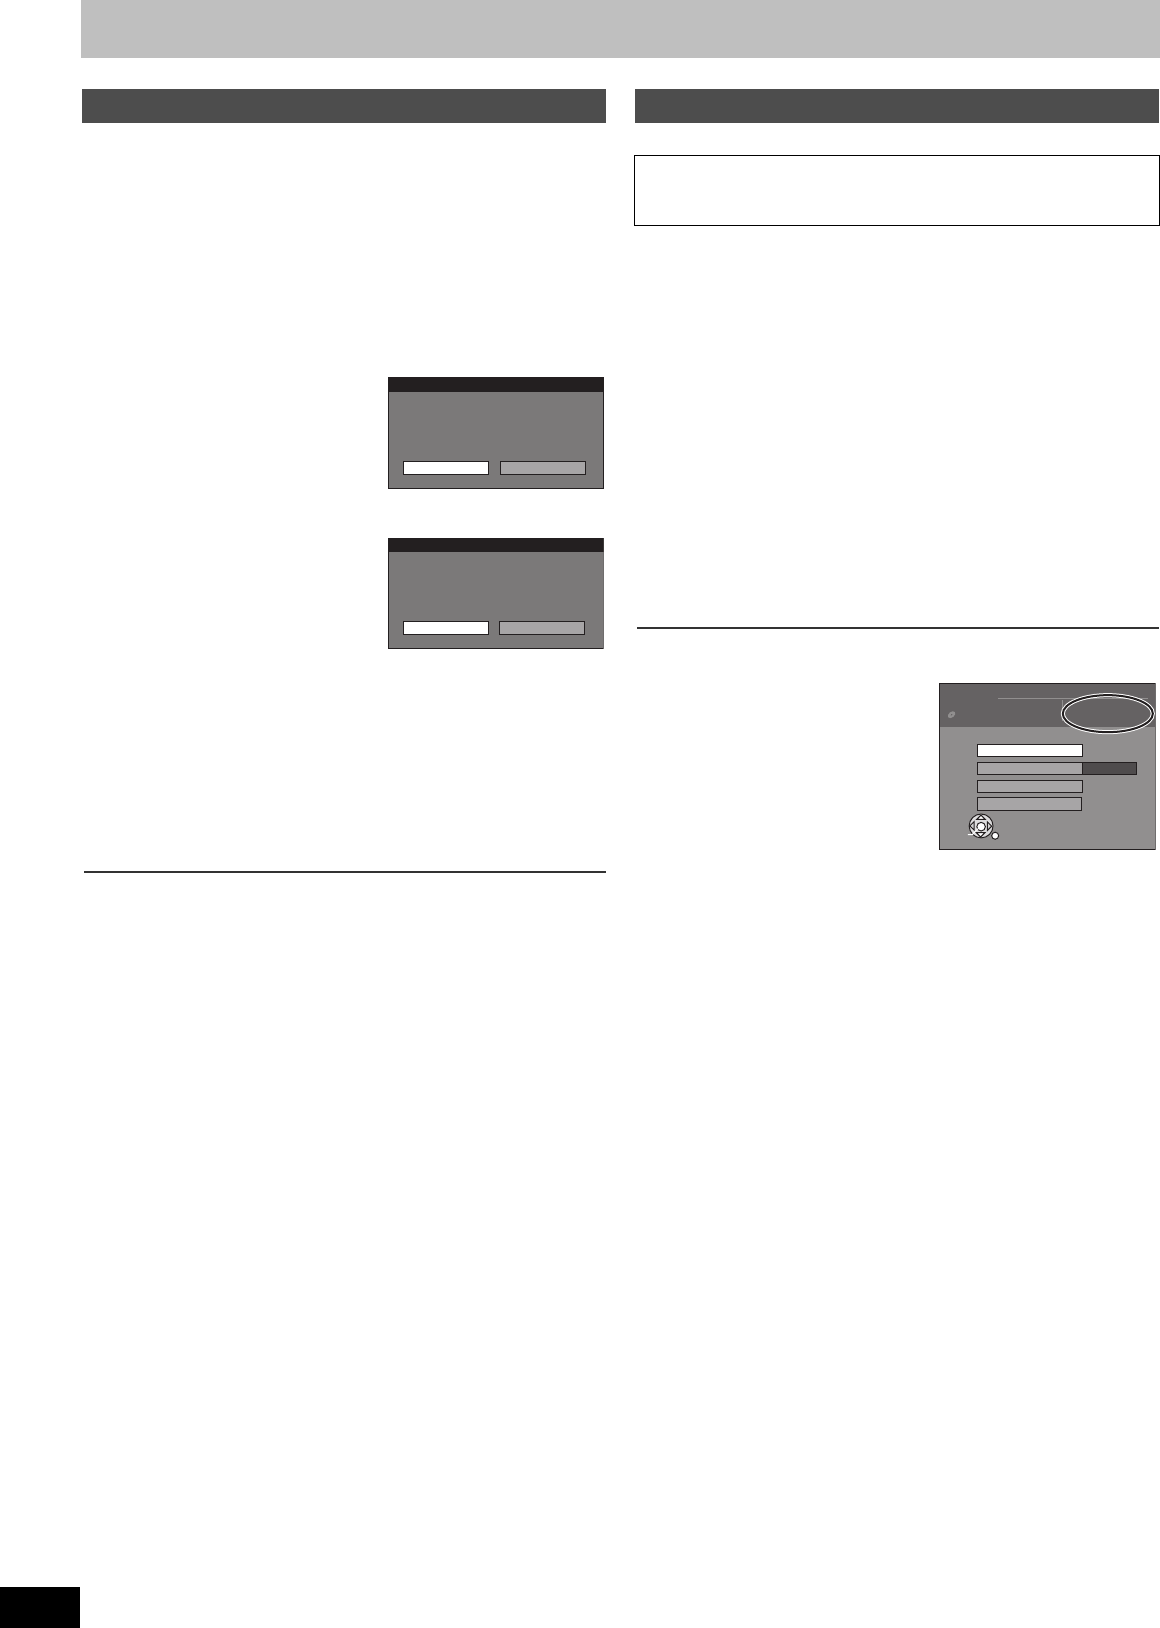
Management
Disc Name
Finalize
Used
0 : 58
Remain
0 : 42 (SP)
of the first layer
Top Menu
Auto-Play Select
+R DL
ENTER
RETURN
SELECT
Close First Layer
RQTV0136.book 56 ページ 2006年4月19日 水曜日 午後1時28分