17
Playback and Recording
Other Playback and Recording Functions
≥ Press the TBC button before recording to activate
“TBC” function so that the “TBC” indication appears
on the VCR display.
≥ We recommend that you leave this function activated
for normal use of the VCR.
≥ When you cannot ensure high playback picture
quality, press the TBC button to cancel “TBC” function
so that the “TBC” indication is turned off.
≥ Only when A1–A4 is selected by pressing the INPUT
SELECT button, “TBC” function will be elected.
This function has an effect only for tapes on which
analogue signals from A1-A4 have been recorded.
However, on the TV screen, you cannot confirm the
effect of this function during recording.
≥ In the initial settings, “TBC” is “ON.”
To Manually Adjust the Audio Recording Level
Under normal circumstances, this VCR adjusts the
recording level to prevent sound distortion due to peaks.
However, if you want to manually adjust the audio
recording level or if sound distortion appears when you
confirm the audio output, perform the operation steps
below before you start the actual recording.
Adjust the recording sound with the AUDIO REC LEVEL
knob.
≥ Press the knob once so that it pops out. (To close the
front door, press the knob into the VCR.)
≥ Turn the knob so that the audio level indication on the
VCR display is not “OVER”.
≥ This function has an effect only for tapes on which
analogue signals from A1-A4 have been recorded.
You cannot adjust the audio level from DV input.
(However, you can adjust the audio level by
connecting to the external input socket.)
To Change the Audio Mix Sound Balance
Select “Mix sound” during playback in the 12 bit audio
mode, then turn the AUDIO MIX knob to adjust the
balance.
≥ Press the knob once so that it pops out. (To close the
front door, press the knob into the VCR.)
≥ Turn the knob to the left to increase the “ST1” sound,
or to the right to increase the “ST2” sound.
The audio track cannot be selected during the
playback of a tape recorded in the 16 bit audio mode.
≥ Use the STEREO SELECT button to select the audio,
and then adjust the balance.
3D DNR Functions
3D DNR is the 3-Dimensional Digital Noise Reduction
Function. [R58]
To Ensure High Playback Picture Quality
(PB 3D DNR Function)
To set the 3D DNR mode for playback, proceed as
follows.
≥ Press the 3D DNR button before or during playback
to activate the PB 3D DNR function, so that the “PB
DNR” indication appears on the VCR display.
≥ We recommend that you leave this function activated
for normal use of the VCR.
≥ When you play back a tape that was recorded with
REC DNR function on, set “PB DNR” to off.
≥ See [R24] to set the level of “PB 3D DNR” function.
≥ In the initial settings, “PB DNR” is “on.”
≥ If afterimage occurs, turn “PB DNR” off.
To Record in the High Picture Quality
(REC 3D DNR Function)
To set the 3D DNR mode for recording, proceed as
follows.
≥ Press the 3D DNR button before recording. The
“REC DNR” indication appears on the VCR display.
≥ When you cannot ensure high playback picture
quality, press the 3D DNR button to cancel the “REC
3D DNR” function, so that the “REC DNR” indication is
turned off.
≥ Press the INPUT SELECT button to select A1–A4.
Each time the 3D DNR button is pressed, the
indication changes on the VCR display as follows.
To Ensure a Stable and Shake-Free
Recording Picture (TBC)
(For Recording Only) [R57]
TBC stands for Time Base Corrector.
When the tape movement is unstable during recording,
the playback picture may shake from side to side and
the picture may become distorted.
Activating the Time Base Corrector in a case like this
stabilize the picture and reduces the shaking.
PB DNR
REC DNR
OFF
Í / I <
EJECT
AUDIO
OUT
REW STOP
PLAY
FF PAUSE
STEREO
SERECT
DV2
DV SELECT
1
2
EDIT 8mm
¥
AV4
OUT
AV4
IN
EDIT CONTROL
RECORDER
PRINTER/
D.STILL PICTURE
PLAYER
PASSIVE
EDIT
DV
8mm
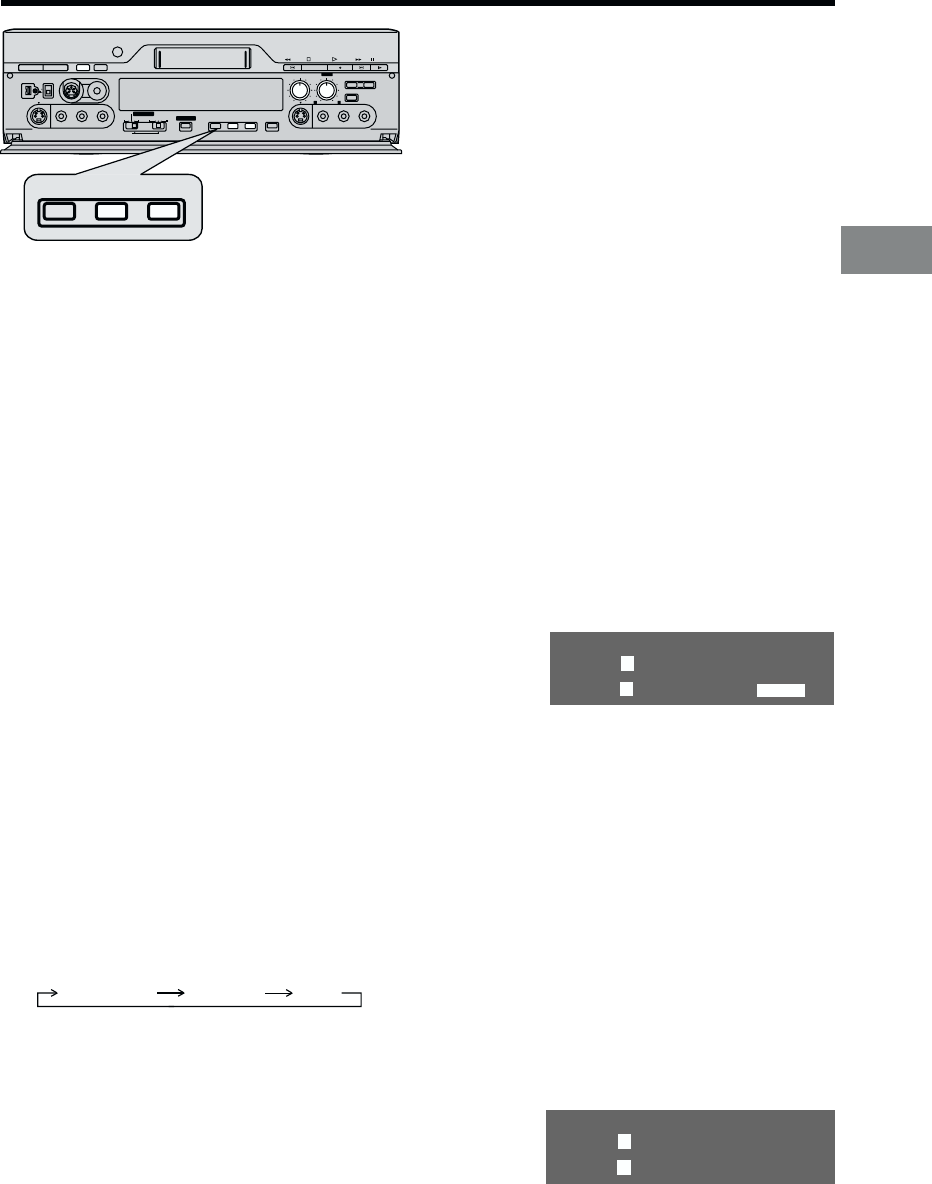
SP/LP TBC 3D DNR PRINT
AUDIO REC LEVEL
AUDIO MIX
STILL
ALBUM
INPUT SELECT
010
STEREO1
ST1 ST2
100
¥
REC
/
OTR
MIXING EDIT
S-VIDEO
VIDEO
L/MONO-AUDIO-R
S-VIDEO
VIDEO
L - AUDIO - R
SP/LP TBC 3D DNR
L
R
dB -¶ 30 20 10 5 0 OVER
l l l l l l l l
l l l l l l l l l l l l l l l
ST1 2
ST1 2
L
R
dB -¶ 30 20 10 5 0 OVER
l l l l l l l l
l l l l l l l l l
ST1 2
ST1 2


