31
Preparations for Editing
Notes:
≥ When this connection is made, the recording VCR
cannot be controlled using the DV cable.
≥ Although noise may appear on the screen,
depending on the connections, the noise has no
effect on the actual editing operations.
≥ When connecting only with DV cable, Audio
Insert and AV Insert are not possible.
≥ When performing editing with this connection, the
editing accuracy may be worse than when
controlled from the recording VCR.
Playback VCR
1 Turn on the VCR.
2 Set Edit Mode to PASSIVE.
3 Set Edit Terminal to EDIT.
(Set DV SELECT to 1 or 2.)
Recording VCR
1 Turn on the VCR.
2 Set Edit Mode to RECORDER.
3 Set Edit Terminal to EDIT.
4 Press INPUT SELECT so that DV1 or DV2 after
sliding DV SELECT to 1 or 2, is selected.
≥ When performing Audio Dubbing or AV Insert,
select A2, A3 or A4.
Note:
The following editing functions can be used by
connecting the playback VCR with just a DV cable:
Copying (See page 43 after seeing page
25.)
Video Insert (See pages 44 and 48 after seeing
page 25.)
Audio Insert (See pages 44 and 48 after seeing
page 25.)
Assemble (See pages 40 and 46 after seeing
page 26.)
except Audio Dubbing, Audio Mixing and AV
Insert
In this case, simply set INPUT SELECT to DV1 or DV2,
and set Edit Terminal to DV.
2000
2000
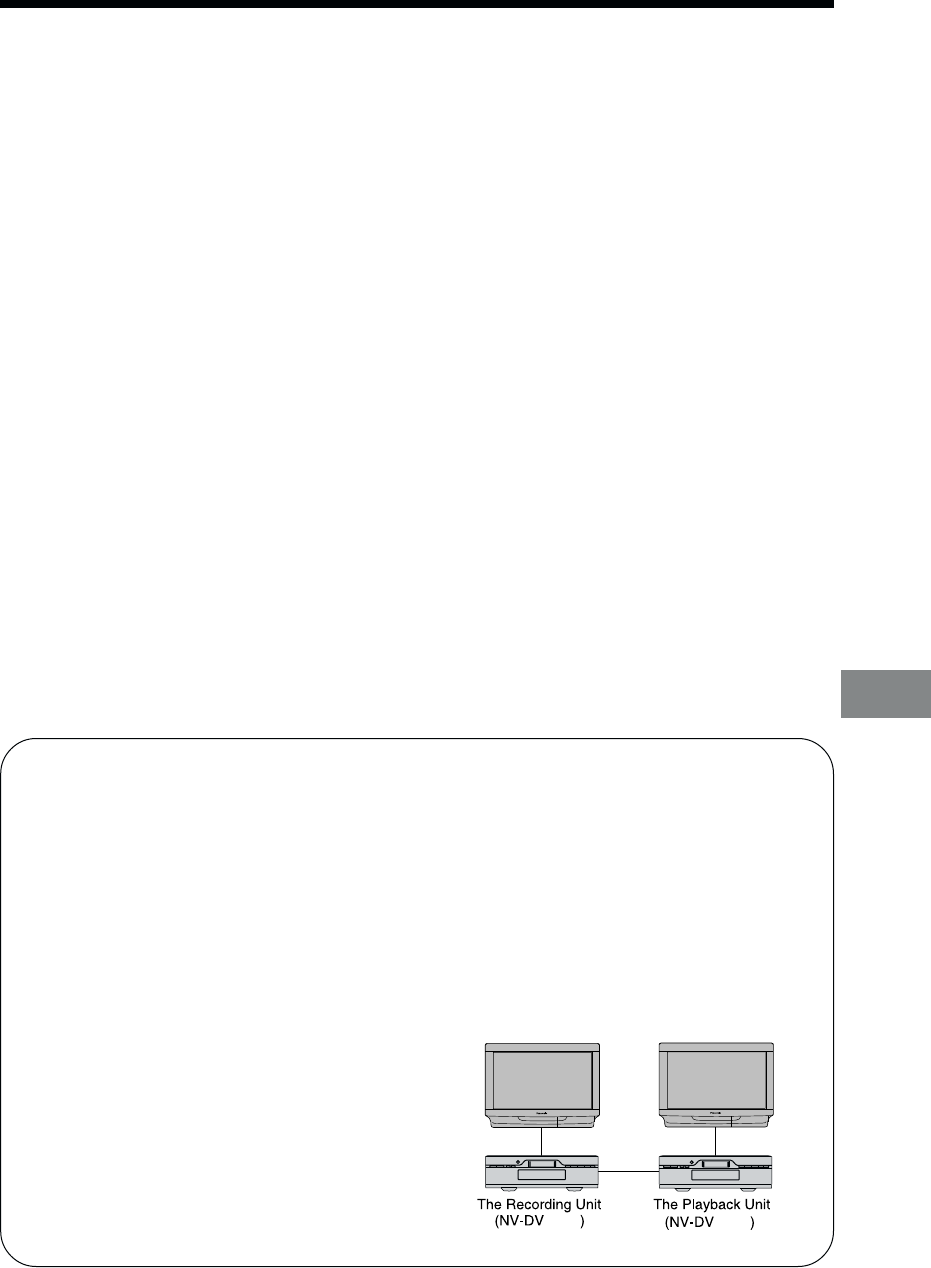
Controlling the Recording VCR through
the Playback VCR
Follow the procedure described below:
≥ Connect the edit cable to the EDIT socket on both
the playback VCR and the recording VCR.
≥ Use 21-pin Scart cable or AV cables to connect
the input sockets on the recording VCR with the
output sockets on the playback VCR.
≥ Connect two TVs, one to each of the VCRs, so
that the screens from both VCRs can both be
seen.
≥ Set Edit Terminal on both the playback VCR and
the recording VCR to EDIT.
≥ Press INPUT SELECT on the playback VCR and
select a position to which a cable is not
connected.
≥ Set Edit Mode on both VCRs as follows:
Playback VCR : PLAYER
Recording VCR : PASSIVE
