38
Preparations
¡ Confirm that the TV is on and the VCR viewing
channel is selected.
¡ Complete necessary connections and settings.
[R28–35]
Operations
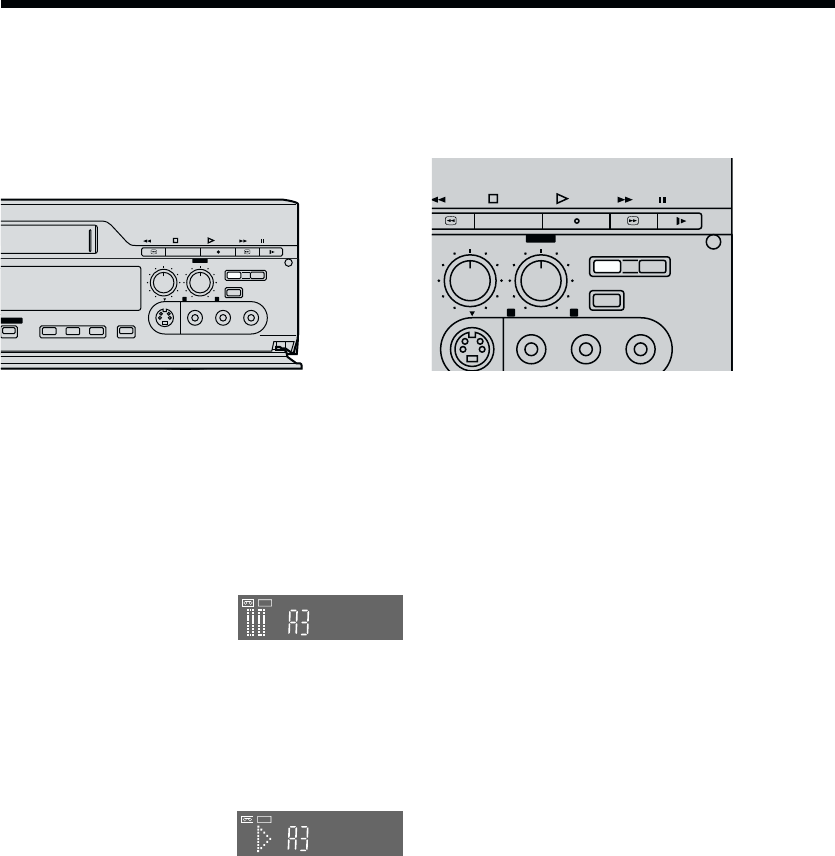
1 Press STILL ALBUM to
put the VCR in the
recording pause mode.
2 When the desired point is reached on the playback
unit, press STILL ALBUM of this VCR again to
start recording.
The VCR records the picture (and sound) for
setting time and then automatically switches over to
the recording pause mode.
≥ See [R37] to change the Recording time.
3 Repeat steps 1 and 2 to
record other scenes in
succession.
4 When you have recorded all the desired scenes,
press ∫ (STOP) to finish recording.
Notes:
≥ If you plan to connect a digital still camera, use a
camera equipped with a video output socket. Use the
cable supplied with the still camera to connect it. For
details, read the operating instructions of the
equipment to be connected.
≥ If you leave the VCR in the recording pause mode for
more than 5 minutes in step 1 or 3, the VCR
automatically switches over to the stop mode to
protect the video heads. In this case, press STILL
ALBUM again to put the VCR back in the recording
pause mode.
≥ If you want to add background music or narration to
the scenes recorded with the album function, perform
Audio Dubbing as explained.
≥ Depending on the output system of the digital still
camera, the pictures may not be recorded correctly.
REC
REC
Album Function
The album function lets you collect desired scenes (both moving and still pictures) and create the equivalent of a
photo album but on a video cassette. The pictures can be copied onto the cassette from a video movie camera, a
digital still camera or another VCR for any period of time that can preset.
REW STOP
PLAY
FF PAUSE
AV4
OUT
SP/LP TBC 3D NR PRINT
AUDIO REC LEVEL
AUDIO MIX
STILL
ALBUM
INPUT SELECT
010
STEREO1
STEREO1 STEREO2
100
¥
REC
/
OTR
XING EDIT
S-VIDEO
VIDEO
L– AUDIO – R
REW STOP
PLAY
FF PAUSE
AV4
OUT
AUDIO REC LEVEL
AUDIO MIX
STILL
ALBUM
INPUT SELECT
010
STEREO1
STEREO1 STEREO2
100
¥
REC
/
OTR
