


1-18
PFM-42B1, PFM-42B1E
34
(GB)
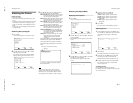
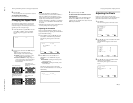
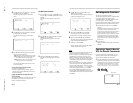
On/Off Timer Function
1
In the CONFIG (1/2) menu, Press v/ V to move
the cursor (B) to “POWER CONTROL
” and press
ENTER.
The following menu appears on the monitor
screen.
ENTER
MENU
POWER CONTROL
POWER SAVING : OFF
ON/OFF TIMER : OFF
SELECT SET END
2
Press v/ V to move the cursor (B) to “ON/OFF
TIMER” and press ENTER.
The following menu appears on the monitor
screen.
ON/OFF TIMER : OFF
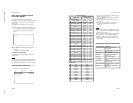
3
Select ON with v/ V and press ENTER.
The following menu appears on the monitor
screen.
ENTER
MENU
ON/OFF TIMER : ON
ON TIME : 16:30
OFF TIME : 17:20
SELECT ADJUST END
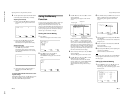
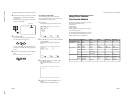
Controlling Power On/Off Automatically (Power Control Function)
3
Press
v
/
V
to move the cursor (B) to “POWER
CONTROL” and press ENTER.
The following menu appears on the monitor
screen.
ENTER
MENU
POWER CONTROL
POWER SAVING : OFF
ON/OFF TIMER : OFF
SELECT SET END
4
Press
v
/
V
to move the cursor (B) to “POWER
SAVING” and press ENTER.
The following menu appears on the monitor
screen.
POWER SAVING : OFF
5
Press
v
/
V
to select the length of time until the
change to power saving mode.
OFF: The power saving function does not work.
5min: Changes to the power saving mode after
five minutes if there is no input signal.
10min: Changes to the power saving mode after
10 minutes if there is no input signal.
The ON indicator flashes when the unit is in the
power saving mode.
To cancel the power saving function
•Input the sync signal again.
•Press the 1 switch on the 1 (standby) switch /
indicator section or the POWER ON switch on the
Remote Commander.
Signal specification for using the power
saving function
The sync signal should be connected to the 13th pin of
the RGB/YUV (D-sub 15-pin) connector in the
INPUT1 or INPUT2 connectors.
35
(GB)
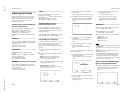
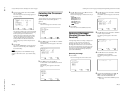
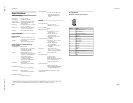
Self-diagnosis Function
The unit has a self-diagnosis function.
This function displays the monitor
’s condition based
on the pattern shown by the flashing of the
STANDBY indicator. The flashing pattern informs
you of the monitor
’s current condition.
If the STANDBY indicator flashes, check the number
of flashes and contact your authorized Sony dealer.
1
Check the flashing pattern of the STANDBY
indicator.
The indicator flashes (with an image showing on
the monitor) or flashes at intervals of three
seconds (with no image showing on the monitor).
Count the number of flashes if the indicator
flashes at intervals of three seconds. For example,
the indicator flashes twice, followed by a three
second pause, two more flashes and this pattern
repeats. In this case, the count for the number of
flashes is two.
2
Unplug the unit.
Inform your authorized Sony dealer of the number
of flashes.
Operating a Specific Monitor
With the Remote Commander
Using the supplied Remote Commander, you can
operate a specific monitor without affecting other
monitors that are installed at the same time.
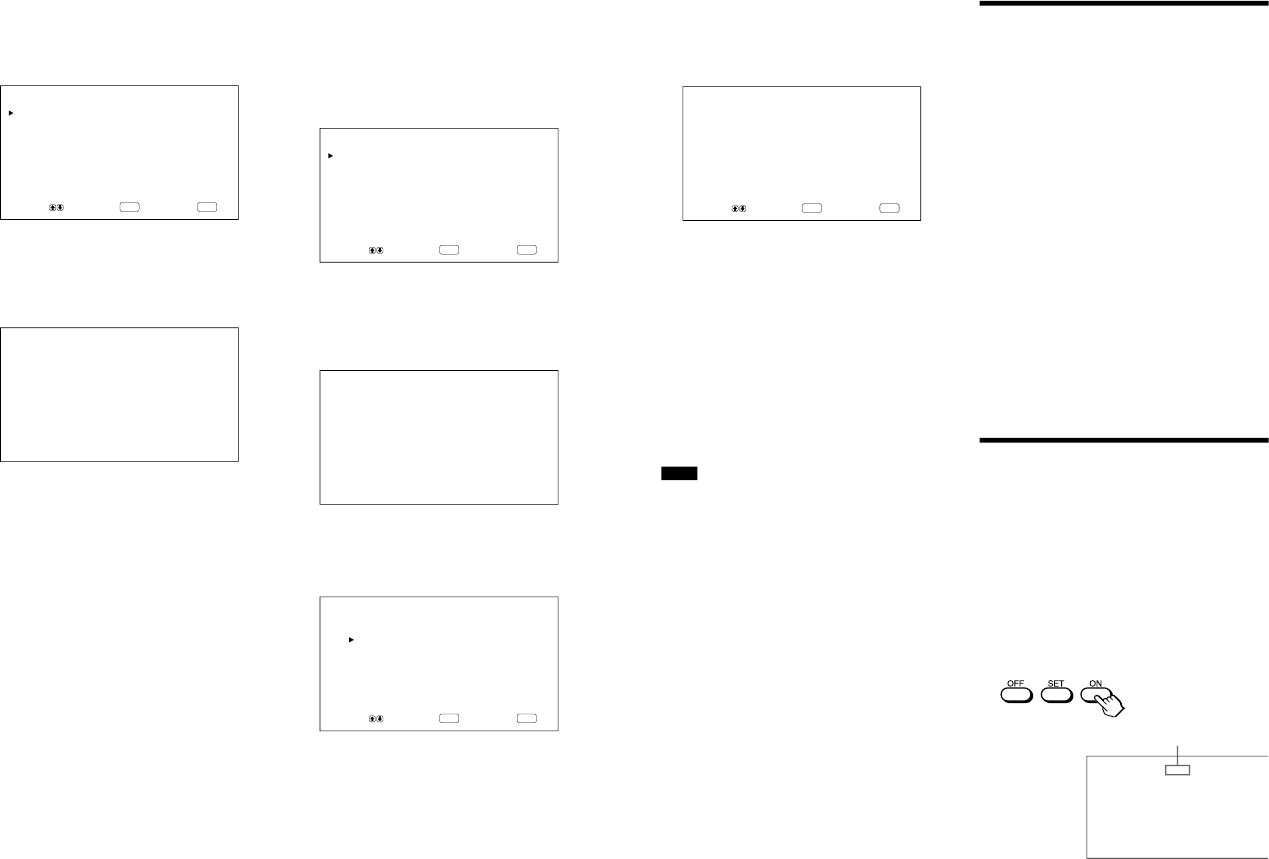
1
Press ID MODE ON on the Remote Commander.
Monitor index numbers appear in white characters
on all the monitors. (Every monitor is allocated an
individual preset index number from 1 to 255.)
See “To change the index number
” in the right-hand
column on the next page to change the index number.
INDEX No.117 ...
Controlling Power On/Off Automatically / Self-diagnosis Function / Operating a Specific Monitor With the Remote Commander
Index number
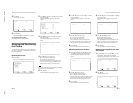
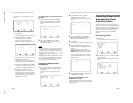
4
Press v/ V to move the cursor (B) to “ON
TIME” and press ENTER.
The following menu appears and the background
of the hour is displayed in cyan.
ENTER
MENU
ON/OFF TIMER : ON
ON TIME : 16:30
SELECT SET END
5
Set the hour with v/ V and press ENTER.
The setting for the hour is entered and the
background of the minute is displayed in cyan.
6
Set the minute with v/ V and press MENU.
The setting for the minute is entered and the menu
returns to the ON/OFF TIMER menu.
7
Similarly, set the OFF TIME.
The ON indicator flashes when the OFF TIME is
reached, and the monitor turns off.
Notes
•The power saving function does not work when the
signal is input from the VIDEO connectors.
•If the sync signal is not connected to the 13th pin of
the RGB/YUV (D-sub 15-pin) connector in the
INPUT1 or INPUT2 connectors, the monitor does
not turn on even if the sync signal is input. Be sure to
set POWER SAVING to OFF when only an RGB
signal is connected.
•The power saving function, on/off timer function and
power off function in the PIC INVERSION mode
cannot be used simultaneously. When one of those
functions is set to ON (YES),
“– – – –” appears next
to the others and their functions are not available.
•If you set ON TIME and OFF TIME to the same
time, the setting of ON TIME takes priority over that
of OFF TIME. The monitor does not turn off at the
OFF TIME.