Password and Video Setup Menus
29
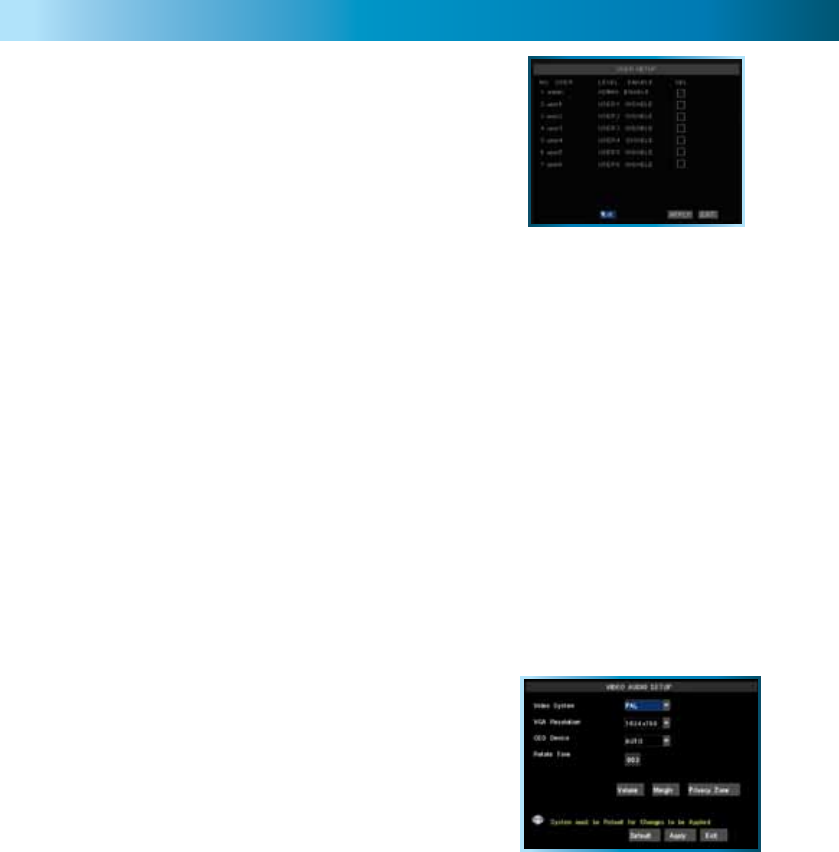
Setting your Password
The system password allows you to protect the DVR’s settings
& recording. Without the password the DVR menu cannot
be accessed. We strongly advise that you set a password as
soon as possible to prevent unauthorized access to the DVR,
either locally or remotely. It is this same password can must be
entered for remote viewing the first time.
To set your PASSWORD:
• Select a user account to edit using the tick box labeled SEL. The ADMIN account will access all
functionality of the DVR. The User accounts will have varying levels of access, as the ADMIN
account holder dictates. Click EDIT to change the settings for your selected account.
• In the PASSWORD ENABLE box, you can choose whether logging onto this account requires a
password. If the ADMIN account is left unprotected, then all users will have total access.
• If you’ve enabled the password protection, enter the password in the box below, and again in the
adjacent box for confirmation.
• Remember to click APPLY, or changes won’t be saved.
• If you want to change a user account’s permissions, then you can do this by selecting the account
in question on the USER SETUP page, and clicking the button labeled PERMISSIONS. Simply check
the boxes next to the services you want that user to have access to.
NOTE: The default password to the ADMIN account on this DVR is nothing (i.e. leave it blank) -
although it should not be enabled by default. If, down the track, you lose or forget your password
(thus locking yourself out of the DVR) you’ll need to contact Swann Technical Support. Our number is
on the back of this booklet. However, we strongly advise that you choose a password you’ll remember!
It’ll save grief later...
The Video Setup Menu
Video System: Here you can choose between PAL and NTSC. PAL is used in Western Europe and
Australia, NTSC is used in the US, Canada and Japan. If the DVR’s picture is black and white, flickering
or similar, then this is probably caused by the video system being set incorrectly.
Rotate Time: How long channels will be displayed in Rotate mode.
VGA Resolution: This setting will determine how detailed the
image sent to a VGA compatible monitor (connected via the
VGA port on the rear of the DVR) will be. The term VGA is
somewhat of an anachronism, referring to the plug-type, not
to the actual resolution. The DVR can be set to four different
resolutions: SVGA (800 x 600), XGA (1024 x 768), SXGA (1280
x 1024) and 1400 x 900 (a resolution which doesn’t have a short
three-or-four-letter “name”). SVGA and XGA are standard 4:3
monitors. SXGA monitors are 5:4 (slightly more square). 1400 x
900 is a widescreen format for 16:10 monitors.
OSD DEV: The primary display device you want to use. By default, the menus and other on-screen
displays will be shown on this device, unless manually changed. The options are: VOUT, which will
output to a TV via the composite video output; VGA, which will output to a PC monitor connected to
the VGA port; or AUTO, which will automatically detect which type of device is connected and display
the menu on the appropriate output.
Volume: Changes the audio output volume from the DVR.
Margin: Changes the amount of black border around your images. This is useful if your TV suffers from
“overscan” (that is, the image displayed doesn’t quite fit on the screen).
Privacy Zone: Use this to mask (read: put a black square over) certain areas of your images. You can
define up to four areas of the screen to mask. These areas are defined in the same way as the motion
detection area. This setting will affect recordings - the black mask will still be there!
