


33
Public and Private IP Addresses
The IP address used by the DVR, whether entered manually (STATIC) or assigned by the dynamic host
(DHCP) is the private IP address of the DVR. The private IP address is used to locate the DVR on
your private network. However, to access the DVR from a remote location via the Internet, you’ll need
to know your home networks public IP address.
What’s the difference?
The IP addressing system that the Internet utilizes at the moment supports up to (approximately) 4
billion addresses. That is a lot, but it’s not enough for every device connected to it (computers, phones,
video game consoles, DVRs, servers, televisions and even some refrigerators can all have Internet
connections) to have individual addresses. This problem is solved by assigning an address to each sub-
network on the Internet. This means that all LANs, such as your local network in your home or office,
will have a public IP address which will allow you to find that network from anywhere connected to
the Internet.
This means that all devices connected to your network share one public IP address. To differentiate
devices on your network, your network has its own IP address range, and this is what is referred to as
your private IP address. The private IP address is used to configure your DVR and router for remote
access through a process known as Port Forwarding.
How do I find these addresses, and what should I do with them?
If you’re setting up a dynamic network (DHCP) then you don’t need to know the private IP address of
your DVR (it’ll probably change over time, anyway). Rather, you only need to define the Media Port and
Web Port. If you’re not using UPnP (if possible, use UPnP - it’s just awesome) then configure your router
to forward these ports to the DVR.
If you’ve configured your network using STATIC IP addressing, then you’ll be entering the private IP
address directly into the DVR. Then you’ll need to choose your Web Port and Media Port. Finally, you’ll
have to configure your router to forward your selected ports to the private IP address of the DVR.
Finally, to learn your networks public IP address, you’ll need a computer with Internet access connected
via the same network as the DVR you’re configuring. Then, open an Internet browser window. In the
address bar, go to www.whatismyip.com. Your public IP address will be displayed instantly!
Static and Dynamic IP Addresses
In much the same way as your home network can use static or dynamic IP addresses, many Internet
providers don’t issue (or charge more for) a static IP address for users. The easiest way to find out is to
contact your Internet service provider. Alternately, you can access the www.whatismyip.com service,
make a note of your IP, then reboot your router/gateway. This should refresh your Internet connection.
If your IP address stays the same, you’ve probably got a static IP address. If it changes, you have a
dynamic IP address.
How do I deal with a dynamic IP address?
One option is to contact your ISP and request a static IP address. They’ll
usually charge a small fee for doing this. It’s worth noting that not all ISPs
offer static IP addresses.
If your ISP does not offer static IP addresses then you can use a dynamic
referencing service, like www.dyndns.com. They offer a free service which
will give you a text address (such as www.exampleipaddress.example)
which will take you directly to your public IP address. For this service to
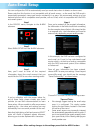
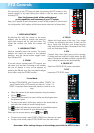
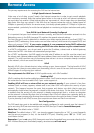
work correctly, you’ll need to set up the DVR to work with DDNS.
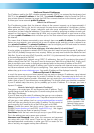
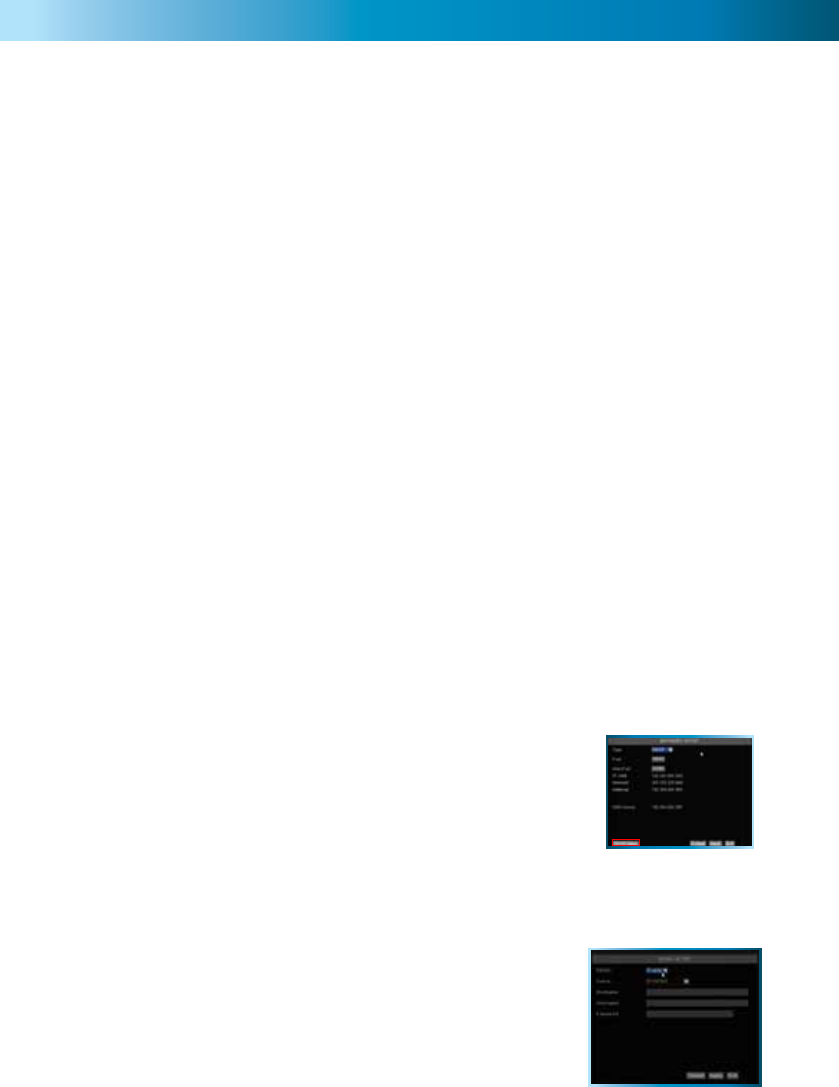
Server: Choose the server that you’re using. There are two options,
DYNDNS (www.dyndns.com) and 3322 (www.3322.org). We suggest
DYNDNS, unless you are fluent at reading Chinese.
Host Name: Enter the host name that you set up in your DDNS service.
This is the address you use to access your network.
Username and Password: Here, enter the username and password
you setup with your DDNS server. These do not have to match your
username/password combination in either your DVR or router (for the
sake of security, we suggest making them different).
Above: The DDNS Setup
button, located in the
Network Setup menu.
Below: The DDNS Setup
menu.