Timer Recording (Cont’d)
1 Recording Date:
When pressing at the current date, the setting
will change as follows.To go backward, press .
e.g.: January 1st
2 Start Time:
3 End Time:
4 Recording Channel:
To record from the external input,select
“L1”.
(Using camcorder, or other source.)
5 Available recording time left on the DVR.
• If there are more than one program, the recording
time of the programs other than the one being
edited currently will not be counted in the
calculation of the total remaining time on the DVR.
3
Using / , select an item to set and using
/ ,set the contents to suit your preference.
• Pressing
RETURN will resets all the
information entered.
4
Press ENTER when all the information is entered.
will appear in the Front Panel Display indicating
one or more Timer Recordings are in standby.
• To set another program, repeat steps 2 to 4.
•
When programs are overlapped, a warning message
will appear. For details on overlapped Timer
Programmings, refer to ‘Hints for Timer Recording’
on page 3
1.
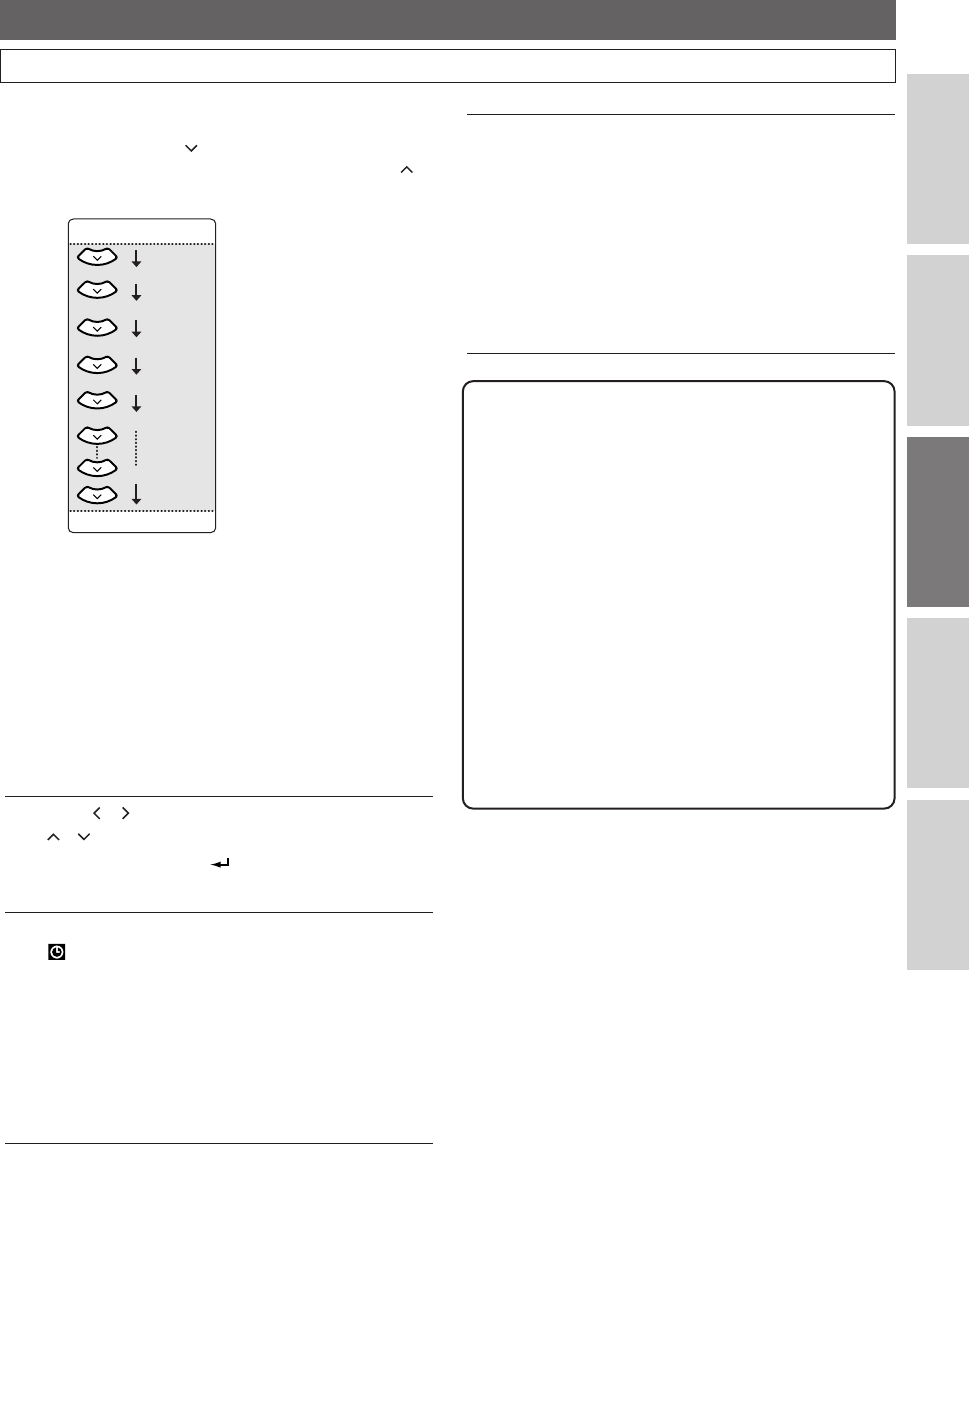
Mon-Sun
Mon-Fri
JAN / 01
JAN / 31
Mon-Sat
Sat
Fri
Sun
5
To exit,press TIMER PROG..
•
If you turn the unit off, it automatically turns on and starts
recording 3 minutes before the Timer Recording begins,
and when the recording is completed, you will be asked
whether to turn off the unit.The unit will be turned off
automatically if you select
“Ye s” or if you do not reply
in
1 minute.
•
To stop the recording in progress, press STOP C and
hold it for 2 seconds, or press
STOP C on the front
panel.
Note
• If you have not set the clock yet:
The Clock Setting Window will appear at step
1
instead of Timer Programming List. Continue with
step 4 in ‘Auto Clock Setting’ on page 22 or ‘Manual
Clock Setting’ on page 23 before setting a Timer
Recording.
• After step
5, you can use DVD mode as usual.
• If the starting time and the end time are the same, it
will be recognized as 24 hours recording.
• If the starting time you entered is already in the past,
the recording will start as soon as you activate the
Timer Recording by pressing
ENTER at step 4.
•
If the Timer Recording you want to make starts at 11:00
PM, for example, and ends at 1:00 AM next day, enter
the date of the starting time, then enter the starting
time as
11:00 PM and end time as 1:00 AM.
29
DVR (Recording)
EN
Connections
DVR
DVD
Others
Before You Start
E41A1CD(26-35).qx3 06.3.2 11:24 AM Page 29


