81
DVD (Setups)
EN
Connections
DVR
DVD
Others
Before You Start
DVD SETUP (Cont’d)
SEARCH REPEAT A-B
DISPLAY RETURN
REV FWDPLAY
REC/OTR
STOP PAUSE
SKIP DVR DVD
POWER
SUB TITLE
ENTER
TOP MENU
ANGLE AUDIO
SET UP
TIMER
PROG.
OPEN/CLOSE
CHANNEL
1 2 3
4
7 8 9
0
5 6
SKIP
MENU
CLEAR
ZOOM
MODE+10
PROGRAM
RECORDINGS
DVD
ENTER
SET UP
DISPLAY Setting
You can change the display functions.Follow steps 1 to
3 in the “CUSTOM Menu” section on page 79.
4
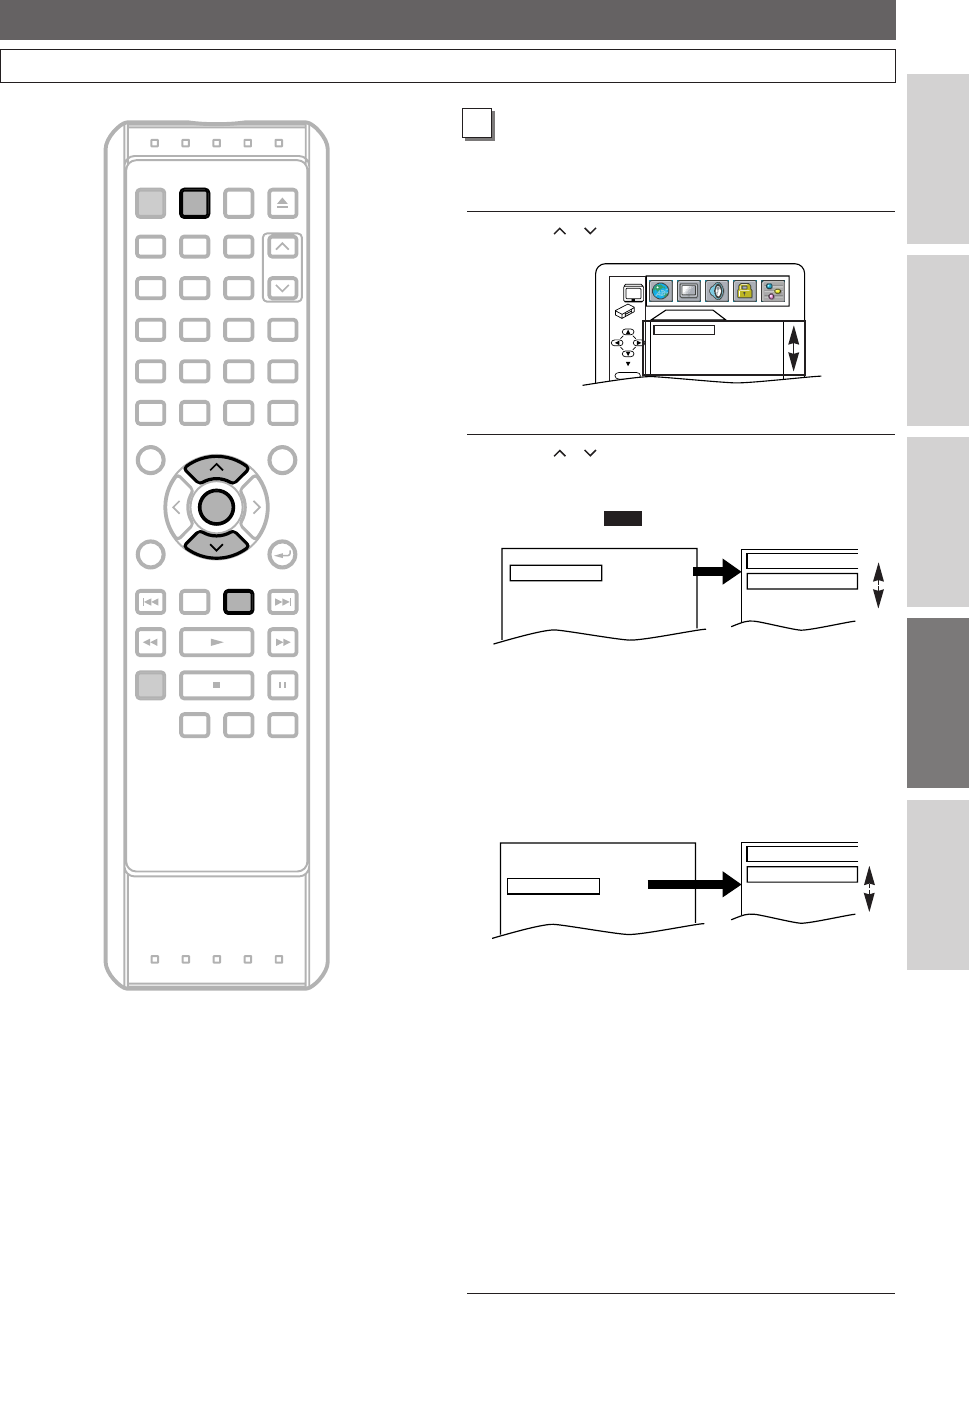
Using / , select a desired item.Press ENTER.
DISPLAY items will appear.
5
Using / , select a desired setting.
Press
ENTER.
TV ASPECT: (Default: 4:3 LETTER BOX)
• Select “4:3 LETTER BOX”, so that black bars may
appear on the top and bottom of the screen.
• Select “4:3 PAN & SCAN” for a full height picture
with both sides adjusted.
• Select “
16:9 WIDE” if a wide-screen TV is
connected to this unit.
STILL MODE: (Default:AUTO)
• Select “AUTO” usually.
• If you select AUTO, automatically select the best
resolution setting (FRAME or FIELD) based on the
data characteristics of the pictures. (default)
• If you select “FIELD”, the picture in the still mode
will be stabilized.
• If you select “FRAME”, the picture in the still mode
will be highly defined.
• An individual picture on TV screen is called a
“frame”, which consists of two separate images
called a “field”.
• Some pictures may be blurred at if you select
“AUTO” in the still mode due to their data
characteristics.
6
To exit the menu,press SET UP.
TV ASPECT
4:3 LETTERBOX
STILL MODE
AUTO
STILL MODE
AUTO
FIELD
FRAME
TV ASPECT
4:3
LETTER BOX
4:3
PAN & SCAN
16:9
WIDE
TV ASPECT
4:3 LETTERBOX
STILL MODE
AUTO
QUICK
DISPLAY
TV ASPECT 4:3 LETTER BOX
STILL MODE AUTO
ENTER
B
E41A1CD(56-96).qx3 06.3.2 11:55 AM Page 81
