


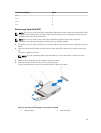
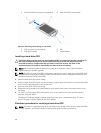
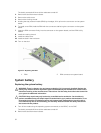
3. hard-drive/SSD connector (on backplane) 4. hard-drive/SSD carrier handle
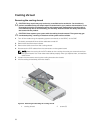
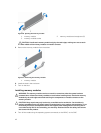
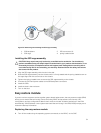
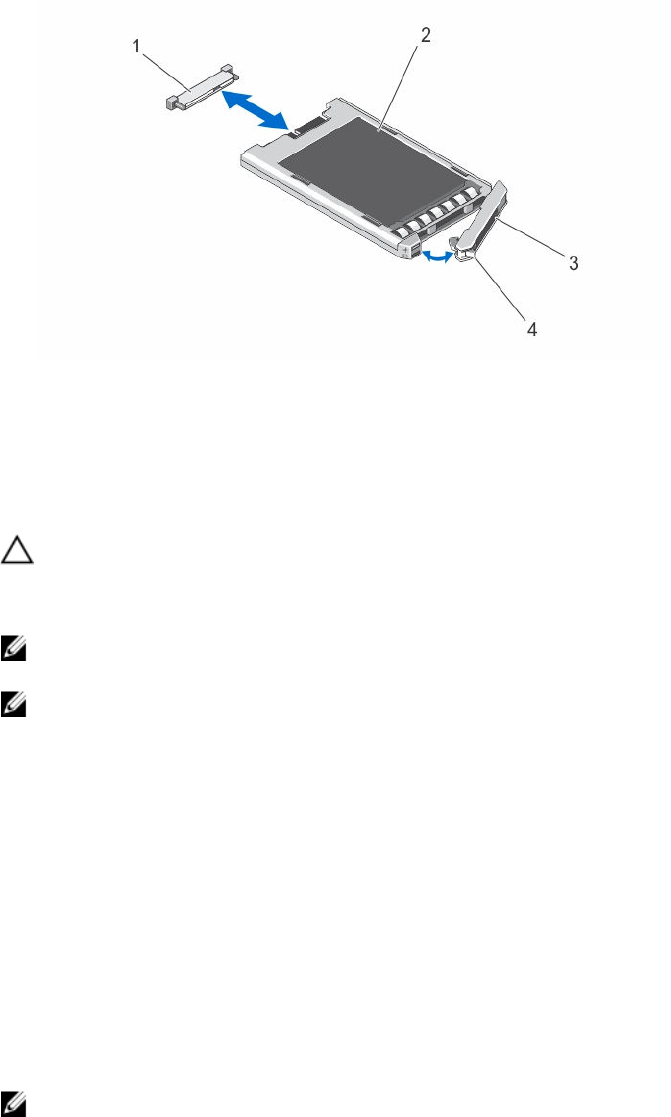
Figure 22. Removing and installing a 1.8 inch SSD
1. SSD connector (on backplane) 2. SSD
3. SSD carrier handle 4. release button
Installing a hard drive/SSD
CAUTION: When a replacement hot-swap hard drive/SSD is installed and the sled is powered on,
the drive automatically begins to rebuild. Make absolutely sure that the replacement hard
drive/SSD is blank or contains data that you wish to have over-written. Any data on the
replacement hard drive/SSD is immediately lost after the drive is installed.
NOTE: Not all operating systems support hot-swap drive installation. See the documentation
supplied with your operating system.
NOTE: The 2.5 inch hard-drive/SSD configuration supports four warm-swap hard-drives/SSDs. Each
hard-drive/SSD is assigned to a specific node, and the node to which it is assigned must be turned
off before servicing the hard-drive/SSD.
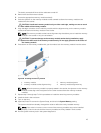
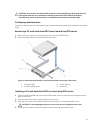
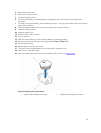
1. Open the hard-drive/SSD carrier handle.
2. Insert the hard-drive/SSD carrier into the drive bay. Carefully align the channel on the hard-drive/SSD
carrier with the appropriate drive slot on the sled.
3. Push the drive carrier into the drive bay.
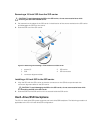
4. Rotate the carrier handle to the closed position while pushing the carrier into the slot until it locks
into place.
5. For the 2.5 inch hard-drive/SSD configuration, turn on the node to which the hard-drive/SSD is
assigned, using the iDRAC.
The status LED indicator displays a steady green light if the drive is installed correctly. The drive
carrier LED green indicator flashes as the drive rebuilds.
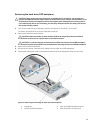
Shutdown procedure for servicing a hard drive/SSD
NOTE: This section is applicable only when you have to turn off the sled to service a hard drive/SSD.
In many situations, the hard drive/SSD can be serviced while the sled is powered on.
46