


24
Chapter 2
Guided Setup
Overview
Now that you have finished connecting your DIRECTV
Digital Satellite Recorder, you
are ready to begin Guided Setup. When you first plug in the recorder, screens appear
which display its progress as it starts up. After a few minutes, you will see the Welcome
screen, indicating that you are ready to begin Guided Setup.
During Guided Setup, you will point your satellite dish antenna (if you haven’t already),
activate your DIRECTV
programming and DVR service, and set up your recorder to
access service updates by phone. Guided Setup includes on-screen instructions. If you
need additional assistance, this chapter contains detailed directions.
Guided Setup includes three steps. They are described on pages 25-32.
1. Satellite Dish Guided Setup
2. Activating services
3. Phone Setup
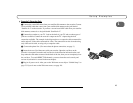
Using the Remote Control
To complete Guided Setup, you use the remote control to move through screens and select
menu items that are on your television’s display. For an introduction to the remote control,
see “Introducing the Remote Control” on the inside front cover of this guide.
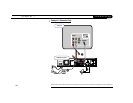
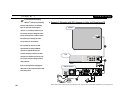
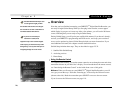
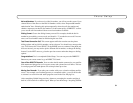
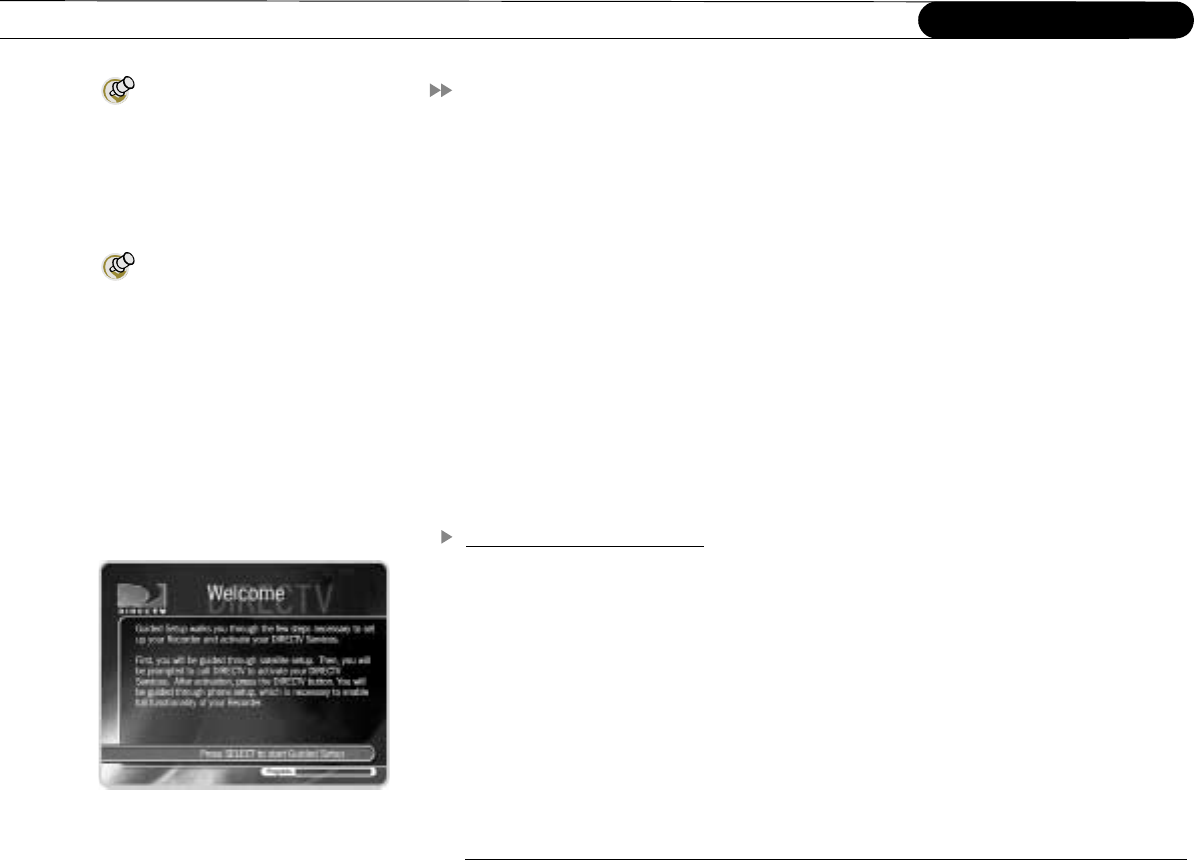
Welcome. When you first turn on your DIRECTV
Digital Satellite Recorder, you will
see a gray screen that says “Welcome. Powering up,” followed by the Welcome screen
(shown to the side). Read the screen then press SELECT to move to the next screen.
If you do not see the Welcome screen, see page 119.
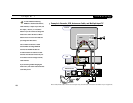
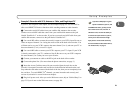
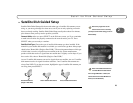
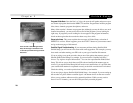
Satellite Dish Guided Setup is used
to test signal strength, position
the satellite dish antenna and configure
the recorder for use with a multiswitch or
new multi-satellite dish antenna.
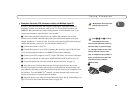
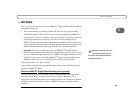
If you have connected your
television or audio/visual
equipment only to the recorder’s digital
audio output, you will not hear any audio
during Setup, or at any time while you are
navigating through on-screen menus.