25
2
Satellite Dish Guided Setup
Satellite Dish Guided Setup
Satellite Dish Guided Setup tells the recorder what type of satellite dish antenna you are
using, so you must go through it at least once, even if you are only replacing a recorder
that was already working. Satellite Dish Guided Setup usually takes about five minutes,
plus whatever time you may need to position your dish.
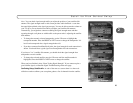
Connect Cables. After you press SELECT on the Welcome screen, you’llseeareminder
to make sure all cables are properly connected to the recorder and to your TV. Press
SELECT when you are ready to continue.
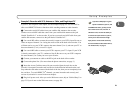
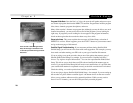
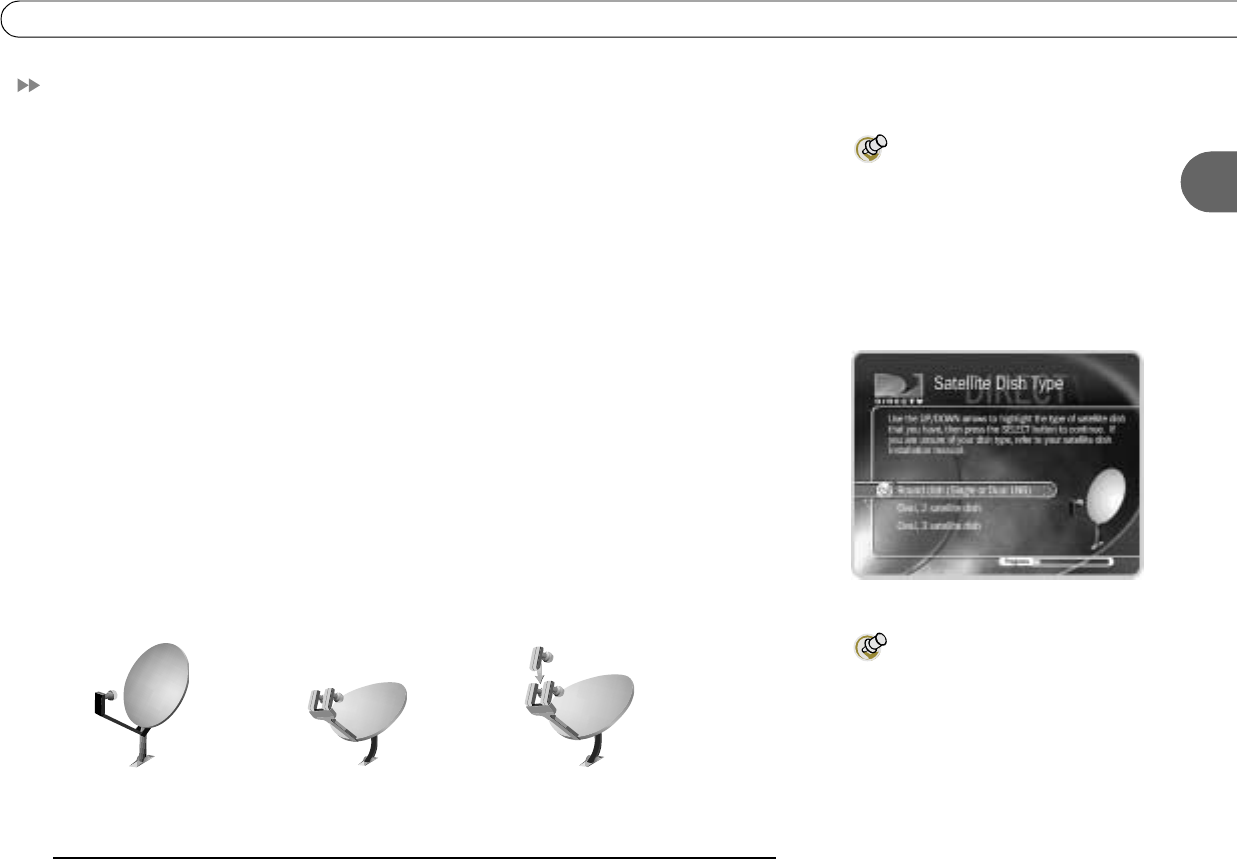
Satellite Dish Type. Choose the type of satellite dish antenna you have installed. If the
manual for your satellite dish antenna is available, you can find its type there. Most people
should select “Round dish (Single or Dual LNB).” The most important feature of this type
of dish is that it receives a signal from one satellite in the sky. Some manufacturers
produce a dish that receives a signal from one satellite but is slightly oval in shape. If you
have such a dish, choose “Round dish (Single or Dual LNB).”
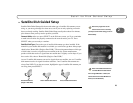
An oval 2 satellite dish antenna can receive signals from two satellites. An oval 3 satellite
dish antenna receives its signal from three satellites. 2 and 3 satellite dish antennas are
always Dual LNB. To see the next screen, highlight the type of satellite dish antenna you
are using, then press SELECT.
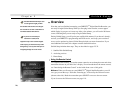
Notice the progress bar at the
bottom of the screen. It can help
you keep track of how far along you are in
Guided Setup.
Most new satellite dish antennas
are Dual LNB. One cable extends
from a single LNB dish to a home; two
cables extend from a Dual LNB dish to a
home (or to a multiswitch).
Oval 2 satellite dish antenna Oval 3 satellite dish antenna
Round dish antenna
(Single or Dual LNB)


