User’s Manual
26
The Motion Detection Zone screen is laid over the video for the selected camera. You can set up
motion detection zones by selecting or clearing blocks. The menu on the setup screen has the
following functions:
NOTE: You can activate or deactivate 4 cells at a time using the
button. Once 4 cells are
highlight, you can select individual cells by using the camera buttons.
Exit with save — Closes the menu after saving the changes.
Exit without save — Closes the menu without saving the changes.
Select All blocks — Activates all blocks to detect motion.
Clear All blocks — Deactivates all blocks so that they will not detect motion.
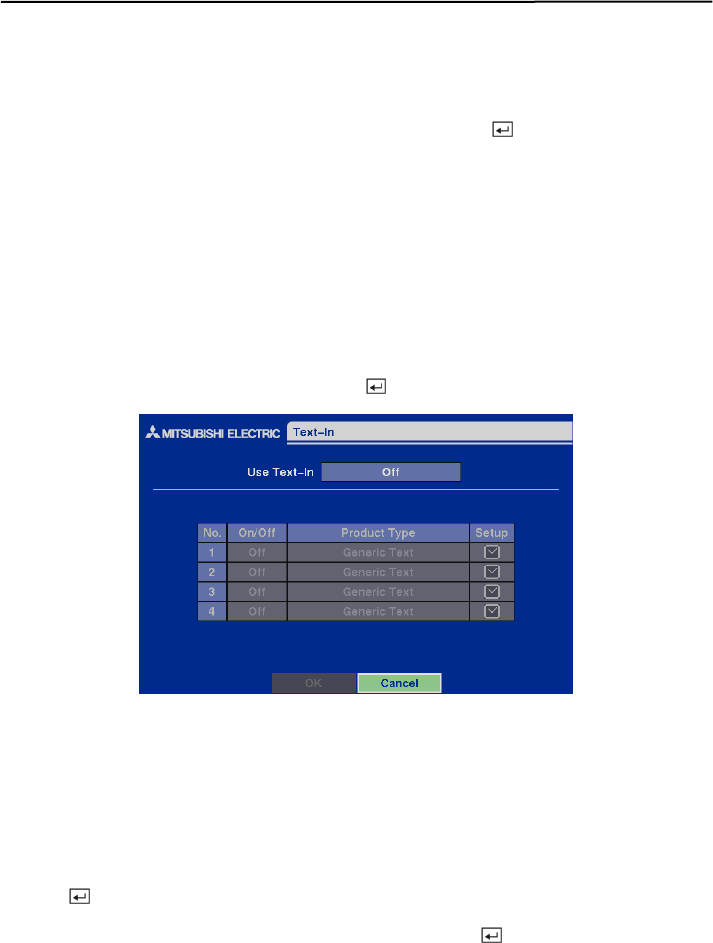
Text-In Setup Screen
Highlight Text-In in the Main menu and press the button. The Text-In setup screen appears.
Figure 38 — Text-In setup screen.
NOTE: If networking is configured by the external modem and RS-232 port is set to PTZ or
Remote Control, the text-in cannot be set up. Set the DVR for LAN connections and set up
Text-In for RS-232C port.
NOTE: Text-in data will not be recorded during clip copy.
You can set the DVR to display the text-in information. Highlight the box beside Use Text-In and
press the
button to toggle between On and Off.
Highlight the box under the Product Type heading, and press the
button. Select your device
from the list.
NOTE: Generic Text and EPSON-POS devices are currently supported.
NOTE: The following description is for Generic Text and EPSON-POS devices. The screen
changes for different types of text input devices, and there will be different parameter boxes
for you to enter information.
