


32
D824/D1624 Reference Manual (Formatting and Optimizing Disks)
44.1kHz
SETUP
FORMAT
42
∞
_
OL
0
87654321
30
24
18
12
9
6
3
161514131211109
44.1kHz
SETUP
FORMAT
42
∞
_
OL
0
87654321
30
24
18
12
9
6
3
161514131211109
44.1kHz
SETUP
FORMAT
42
∞
_
OL
0
87654321
30
24
18
12
9
6
3
161514131211109
44.1kHz
SETUP
FORMAT
SURE?
42
∞
_
OL
0
87654321
30
24
18
12
9
6
3
161514131211109
Reformatting an E-IDE hard disk
This section describes how to reformat a formatted E-IDE hard disk. Reformatting a disk will erase all Program
data on the disk and the number of Programs and parameter settings will return to their default status. To
reformat a disk, put the recorder into Setup mode to display the [Disk Format?] menu.
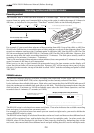
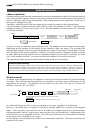
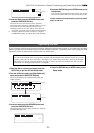
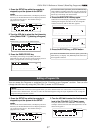
1.Turn on the power to the recorder.
The recorder indicates the start point of the Program
(shown as ABS 0) last used before you turned off the
power to the unit.
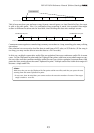
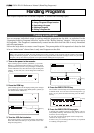
2.Press the SETUP key to put the recorder into Setup
mode.
The recorder displays the [Signature Set ?] menu.
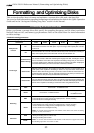
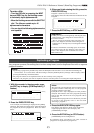
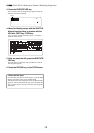
3.Use the JOG dial to select [Disk Format ?] and
press the EXECUTE/YES key.
[IDE] flashes on the screen.
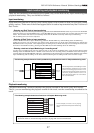
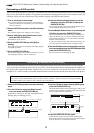
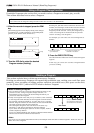
4.Press the EXECUTE/YES key while [IDE] is
flashing.
The model name of the current drive’s hard disk appears
and [SURE ?] flashes.
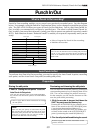
5.Press the EXECUTE/YES key.
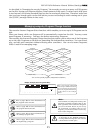
The recorder displays the screen that enables you to set
the sampling frequency and bit resolution.
6.Select the desired sampling frequency and bit
resolution using the JOG dial, and press the
EXECUTE/YES key.
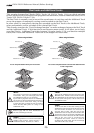
The recorder displays the screen which enables you to
set the Multiple Undo function on or off.
7.Set the Multiple Undo function on or off using the
JOG dial, and press the EXECUTE/YES key.
The recorder displays the screen which enables you to
select the format type. If you have formatted the disk
with Standard Format, you can select either Standard
Format or Erase Format.
If you have formatted the disk with Quick Format, you
can select either Standard Format or Quick Format.
8.Use the JOG dial to select the desired format type,
then press and hold down the RECORD button and
press the EXECUTE/YES key.
The recorder starts formatting the disk.
Formatting a backup disk (SCSI disk)
This section describes how to format a SCSI backup disk connected to the SCSI connector on the recorder.
You can use any SCSI backup device that is set to ID=6. All backup disks will be formatted with the 48kHz/24-
bit setting. The explanation below assumes that you have connected an external SCSI device with an ID
number of “6” to the recorder, and a disk (unformatted or formatted) has already been inserted to the device.
<Note>
You cannot use the [Disk Format ?] menu of the recorder to format a disk to be used for saving and loading
.wav files. Format such a disk on your computer (PC/AT machine).
1.Press the SETUP key to put the recorder into Setup
mode.
2.Turn the JOG dial to select the [Disk Format?]
menu and press the EXECUTE/YES key.
[IDE] flashes. Turning the JOG dial will toggle between
flashing [IDE] and flashing [SCSI 6].
3.Use the JOG dial to select flashing [SCSI 6] and
press the EXECUTE/YES key.
The ID number and the drive name appear, and [?] and
[SURE ?] flash, regardless of whether the disk in the SCSI
drive is unformatted or formatted.
4.Press the EXECUTE/YES key again.
[24bit Backup ?] appears and [?] and [SURE?] flash.
This means that the recorder is ready for formatting the
backup disk with a 24-bit backup format.
Flashing
Flashing
Flashing
Flashing