


JPEG2000 Stand alone DVR User Guide
- 28 -
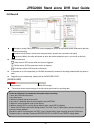
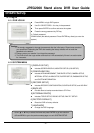
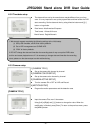
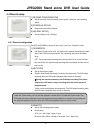
4-3-2 Time/date setup
The date and time set by the manufacturer maybe different from your time
zone. It is very important to set up they system date and time before the DVR
starts recording. Set the date and time by using direction buttons and [-][+]
button or Jog shuttle.
Date format- Asia/American/European
Time format- 12 hours/24 hours
Month format- English/Numeric
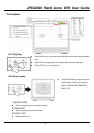
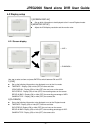
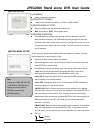
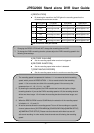
4-3-3 Camera setup
1.[CAMERA TITLE]
Set up the camera title channel by channel.
2.[CAMERA COLOR SETUP]
Set up the camera color channel by channel.
3.[CAMERA ACTIVE SETUP]
Turn the camera ON or OFF at LIVE and Record.
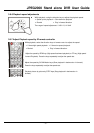
4.[MOTION SETUP]
Program the motion parameters and the detection area
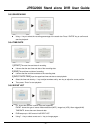
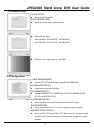
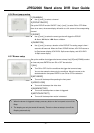
[CAMERA TITLE]
Input the camera Title, max. 8 characters.
Using [Left] or[Right] and [-][+] buttons to change the value. When the
modification is finished, press [Enter]. To return to the previous menu, press
the [MENU] button.
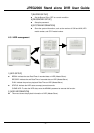
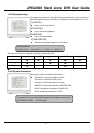
1.We strongly suggest completing the following settings at the initial setup.
(1) Set up the time/date, and RUN all factory defaults.
(2) Go to HDD management and CLEAR HDD
(3) “RUN” all factory defaults.
2.DO NOT change the date and time after the recording starts It may corrupt the DVR’s data
archive and cause playback errors. If it is necessary to change date and time after the recording
starts, please run the above steps to avoid malfunctioning.