


User’s Manual
18
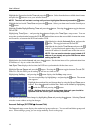
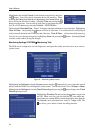
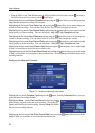
Highlight the box beside Format for the desired storage device and press
the
button. You will be able to format the device for recording. When
selecting Not Using from Use As and highlighting the Format button, the
device will not be used for recording. Selecting Close and pressing the
button exits the screen. You can also set aside space to store temporary files
for CD or DVD burning by selecting Partition – CD/DVD Burn.
The box beside Recorded Data – From / To displays the time information of recorded data. Highlighting
Clear All Data… and pressing the
button will clear all video data. You will be asked to verify that you
wish to clear all data before the DVR erases the video data. Clear All Data… will not clear the System Log.
You can save your Storage changes by highlighting Save and pressing the button. Selecting Cancel
exits the screen without saving the changes.
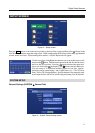
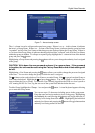
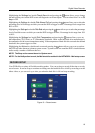
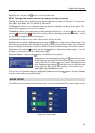
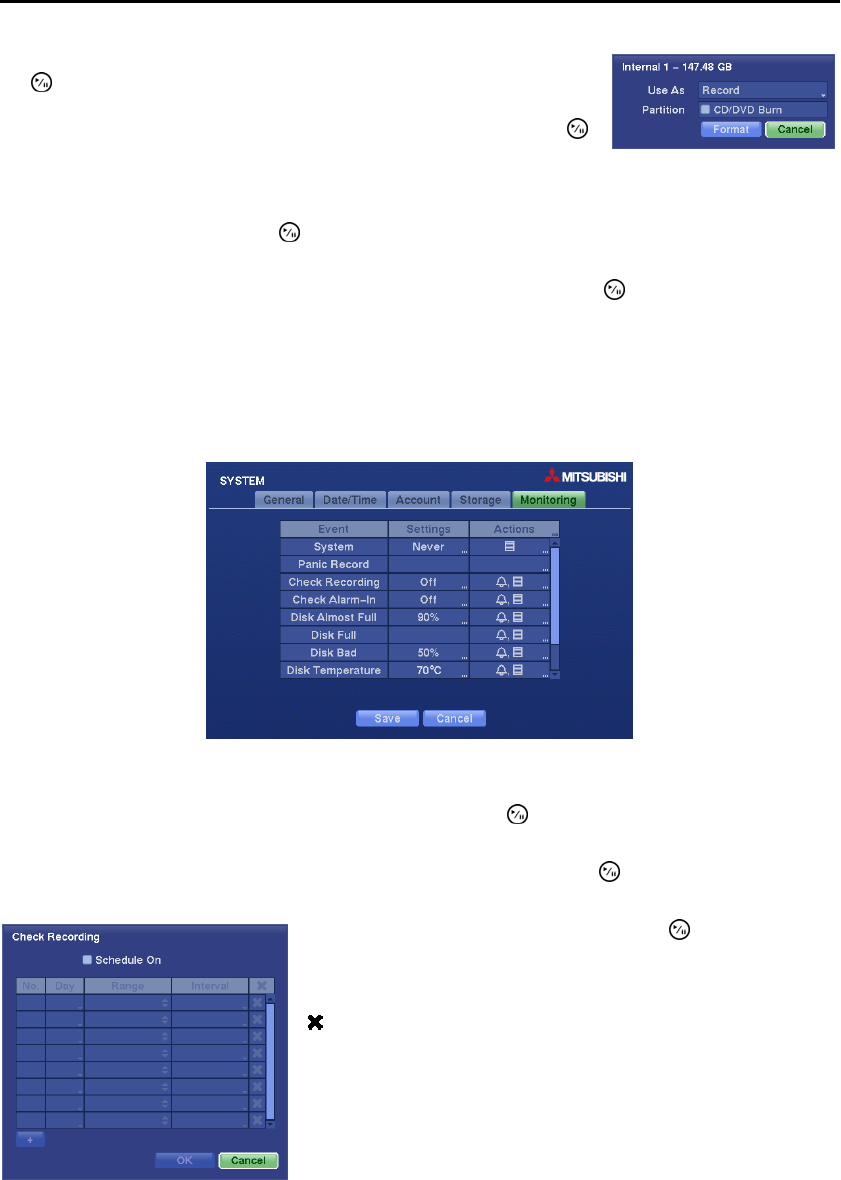
Monitoring Settings (SYSTEM Monitoring Tab)
The DVR can be configured to run self-diagnostics and report the results, and also can be set to react to
system events.
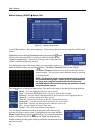
Figure 9 ─ Monitoring setup screen.
Highlighting the Settings box beside System and pressing the button allows you to select the interval
that you want the DVR to run self-diagnostics on the system. You can select from 1 hr. to 30 days or Never.
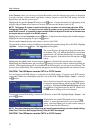
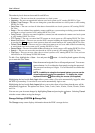
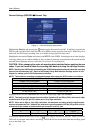
Highlighting the Settings box beside Check Recording and pressing the button displays the Check
Recording setup screen.
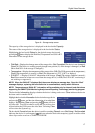
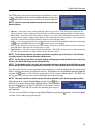
Highlighting Schedule On and pressing the button toggles On
and Off. When set to On, you can select the day, time range and
interval that you want the DVR to run self-diagnostics on the recorder.
The Interval can be selectable from 1 min. to 7 days or Off. The
box allows you to delete a check recording schedule.