


Digital Video Recorder
55
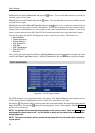
Alarm Reset
Selecting
(Alarm Reset) in the Search menu resets the DVR’s outputs including the internal buzzer during
an alarm. It is the same as pressing the Alarm button on the front panel.
Panic
Selecting
(Panic) in the Search menu starts panic recording of all cameras, and selecting again stops
panic recording. It is the same as pressing the
Panic button on the front panel.
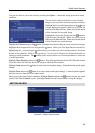
Data Source
Selecting
(Data Source) in the Search menu allows you to select the data source to be searched. Selecting
Record searches recorded data on primary storage installed in the DVR, and selecting Other searches
recorded data on storage used for another DVR then installed in this DVR.
Exit
Selecting
(Exit) in the Search menu exits the search mode and enters the live monitoring mode.
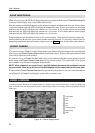
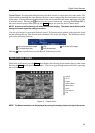
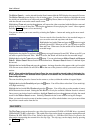
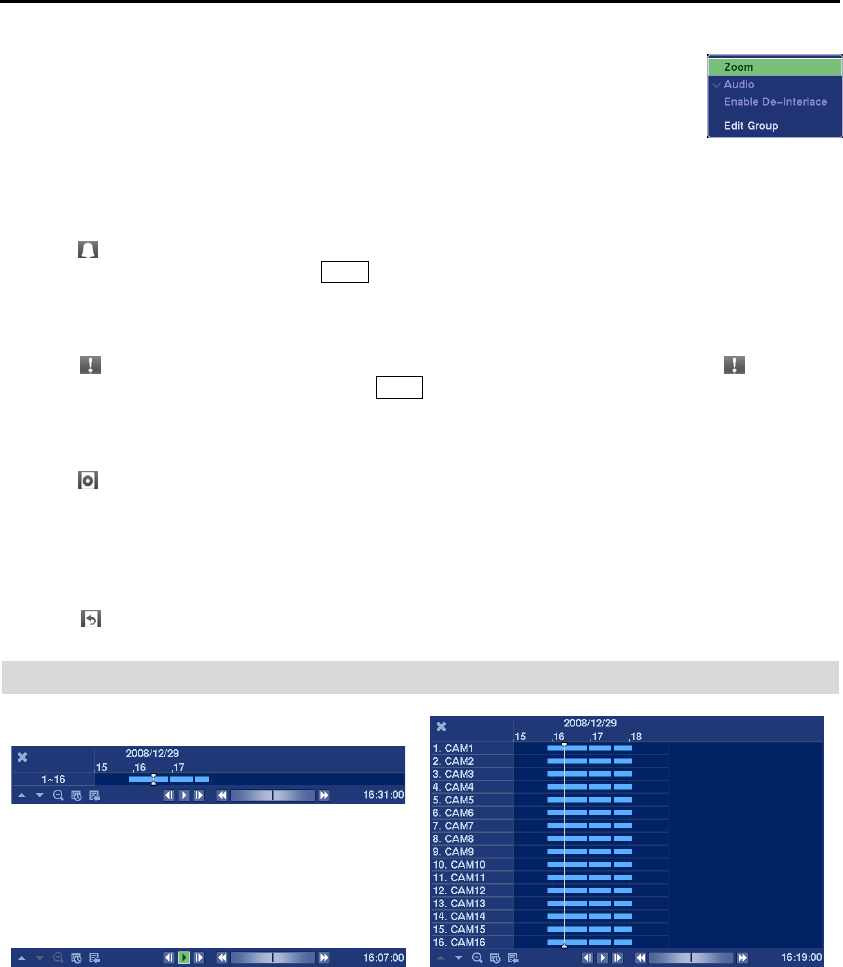
RECORD TABLE SEARCH
< Standard View >
< Compact View >
< Expanded View >
Figure 42 ─ Record Table Search screen.
Recording information about video images currently displayed on the screen displays on the recording status
bar. A grey vertical line indicates the current search position. To search specific video, move the vertical line
by using the Left or Right arrow buttons on the front panel or by clicking the mouse on the desired segment.
If the DVR’s time and date have been reset to a time that is earlier than some recorded video, it is possible
for the DVR to have more than one video stream in the same time range. In this case, the overlapping time
range in the record table will be separated by a yellow vertical line.
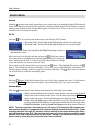
NOTE: The Camera Menu also can be displayed by clicking the right mouse button
on the screen while in the search mode.
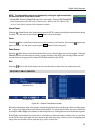
Group Edit: Selecting Group Edit enters the cameo mode. Selecting Exit Group Edit
in the cameo menu exits the Active Cameo mode. Refer to the Live Monitoring –
Active Cameo Mode section of this chapter for details.