


Appendices 113
Appendix H: Diamond Shield Removal and Installation, continued
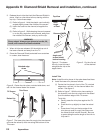
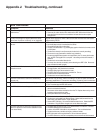
7. Refer to figure 8 and install the two side-trim pieces
as follows:
(1) Hook the lower end of the trim over the raised lip
running down the side of the TV screen.
(2) While keeping the end of the trim hooked on the
raised lip, slide the trim down until it meets the
lower trim piece.
(3) Hold the bottom end of the trim in place and hook
the top end on the raised lip that runs along the
top edge of the screen.
(4) Push the top end of the trim up against the edge
of the screen. Press the full length of the trim
onto the raised lip.
(5) Press the outer edge of the trim so that the entire
length snaps into place.
Figure 8. Hook the ends
of the trim piece over the
raised lip at the top and
side of the TV screen.
Step (1)
Hook the lower
end over the
raised lip.
Step (3)
Hook the top
end over the
raised lip.
Step (4)
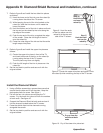
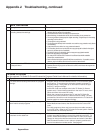
8. Refer to figure 9 and install the upper trim piece as
follows:
(1) Center the upper trim piece in front of the TV
and hook both ends of the trim on the raised lip
running along the top of the TV screen.
The trim piece may bow out slightly.
(2) Push the full length of the trim in place over the
raised lip.
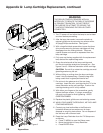
9. Set the top plate in position and secure it with the
original screws.
Figure 9. Center the upper trim piece and press it onto
the raised lip that runs along the top of the TV screen
Install the Diamond Shield
1. Using a Phillips screwdriver, remove the screws that
secure the top plate and lift off the plate. Keep the
plate and screws for reuse. See figure 1.
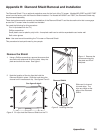
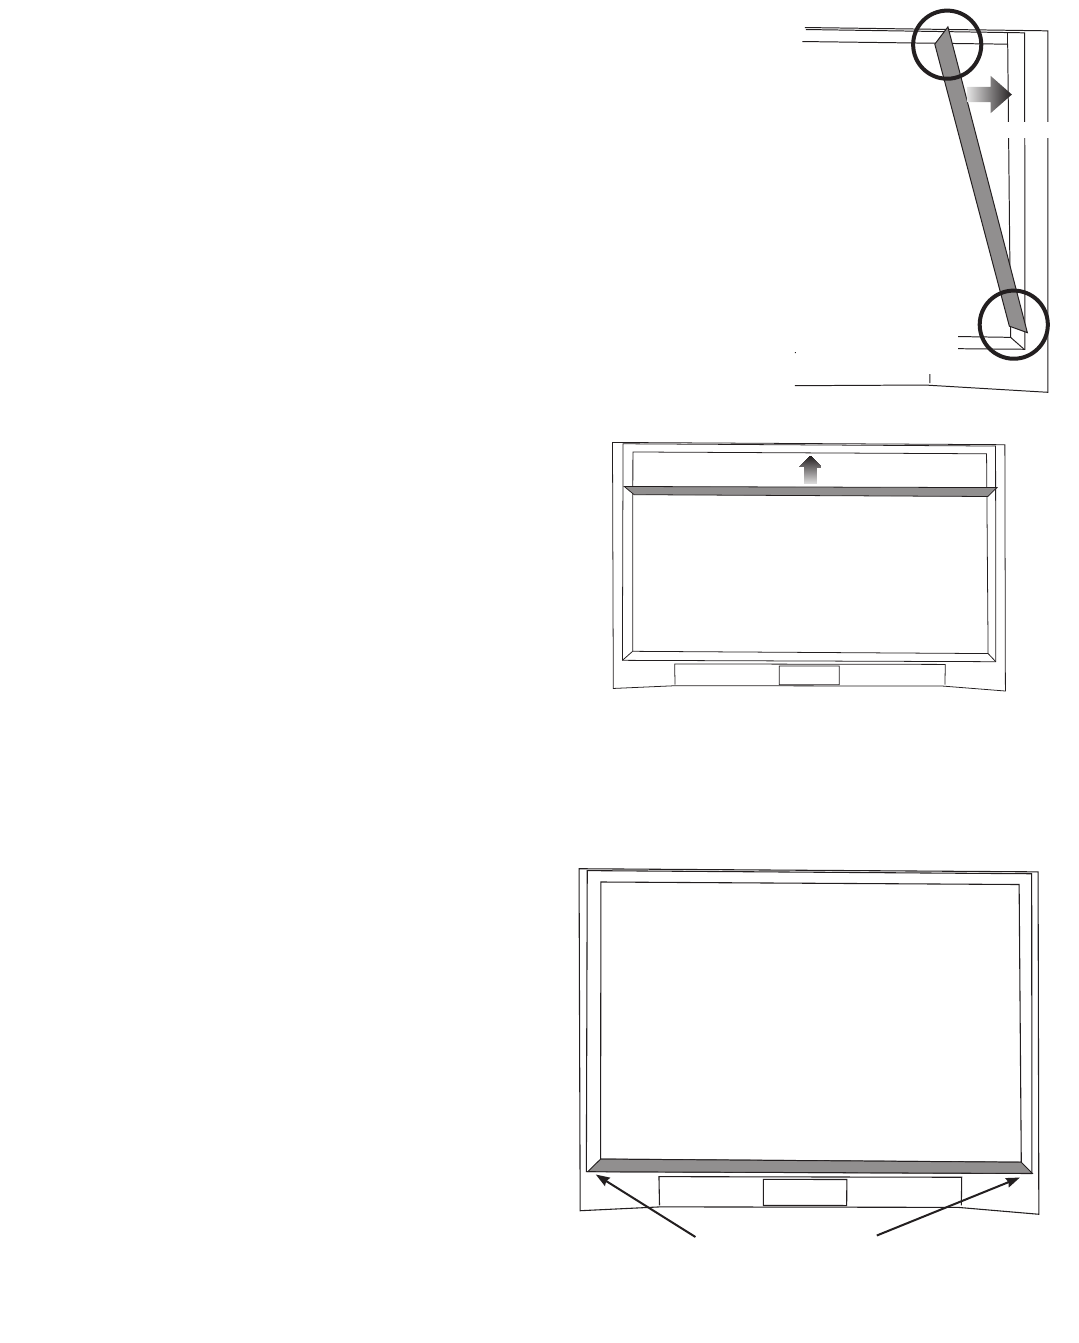
2. Pull off the four trim pieces surrounding the TV
screen. Pry the lower trim piece off from the notches
at both ends. See figure 10.
3. Support the Diamond Shield at both ends and set it
into the channel located below the TV screen.
4. Press the shield clips into the channels running
alongside the screen.
5. Set the top plate in position and secure it with the
original screws.
Pry up from the
notches at both
ends
Figure 10. Pry off the lower trim piece last.