


Chapter 3. NetCommand Setup and Editing 45
Edit NetCommand®: Adding an A/V Receiver, continued
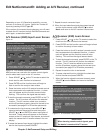
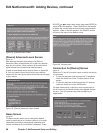
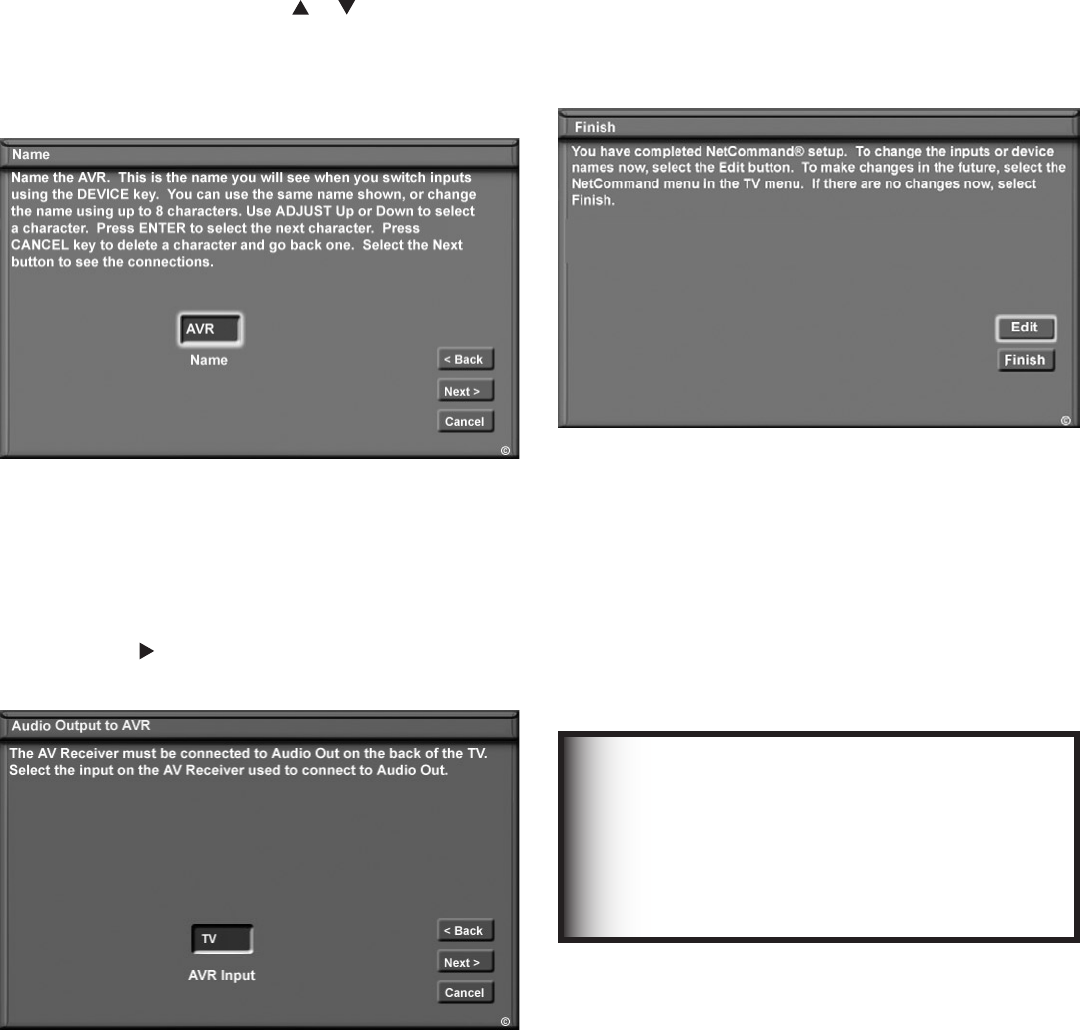
Audio Output to AVR Screen
Figure 13
Use this screen to select which A/V Receiver input is
connected to AUDIO OUTPUT on the TV back panel.
Press ADJUST to select Next> and move to the Finish
screen.
Figure 13. Audio Output to AVR screen
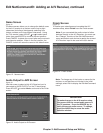
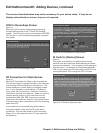
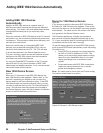
Finish Screen
Figure 14
To finalize your selections and complete the A/V
receiver setup, select Finish from the Finish screen.
Note: If you connected the audio output of other
devices directly to the A/V Receiver, you must use
the “Change” function of the Edit NetCommand
menu and select each device to assign the correct
A/V Receiver input to be used with each device.
Figure 14. Finish screen
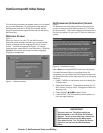
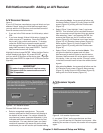
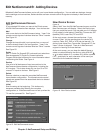
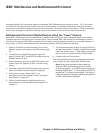
Name Screen
Figure 12
The Name screen allows you to change the default name
for the A/V receiver to a custom name of up to eight
characters (including a blank space), selecting from
letters, numbers, and nine different characters. Using
the TV’s remote, press ADJUST or to select each
letter, then press ENTER to move to the next position.
Press CANCEL to delete the current letter and move back
one character position. When in the first position, the
CANCEL button will return the name to the default name.
Figure 12. Name screen
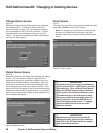
Note: To change any of the inputs or names for the
devices, or add devices not included in the initial
settings, select Edit to display the Edit NetCommand
menu.
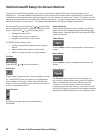
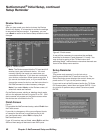
IMPORTANT
To make changes to the A/V receiver setup,
first ensure that the current audio source is
the TV speakers. Press the DEVICE key to
verify the current audio source. To change,
press the AUDIO key to acess the audio
selection window.