44
ⅥⅥⅥ
†
PLASMA MONITOR
Other Functions (OTHER SETTINGS)
4
2
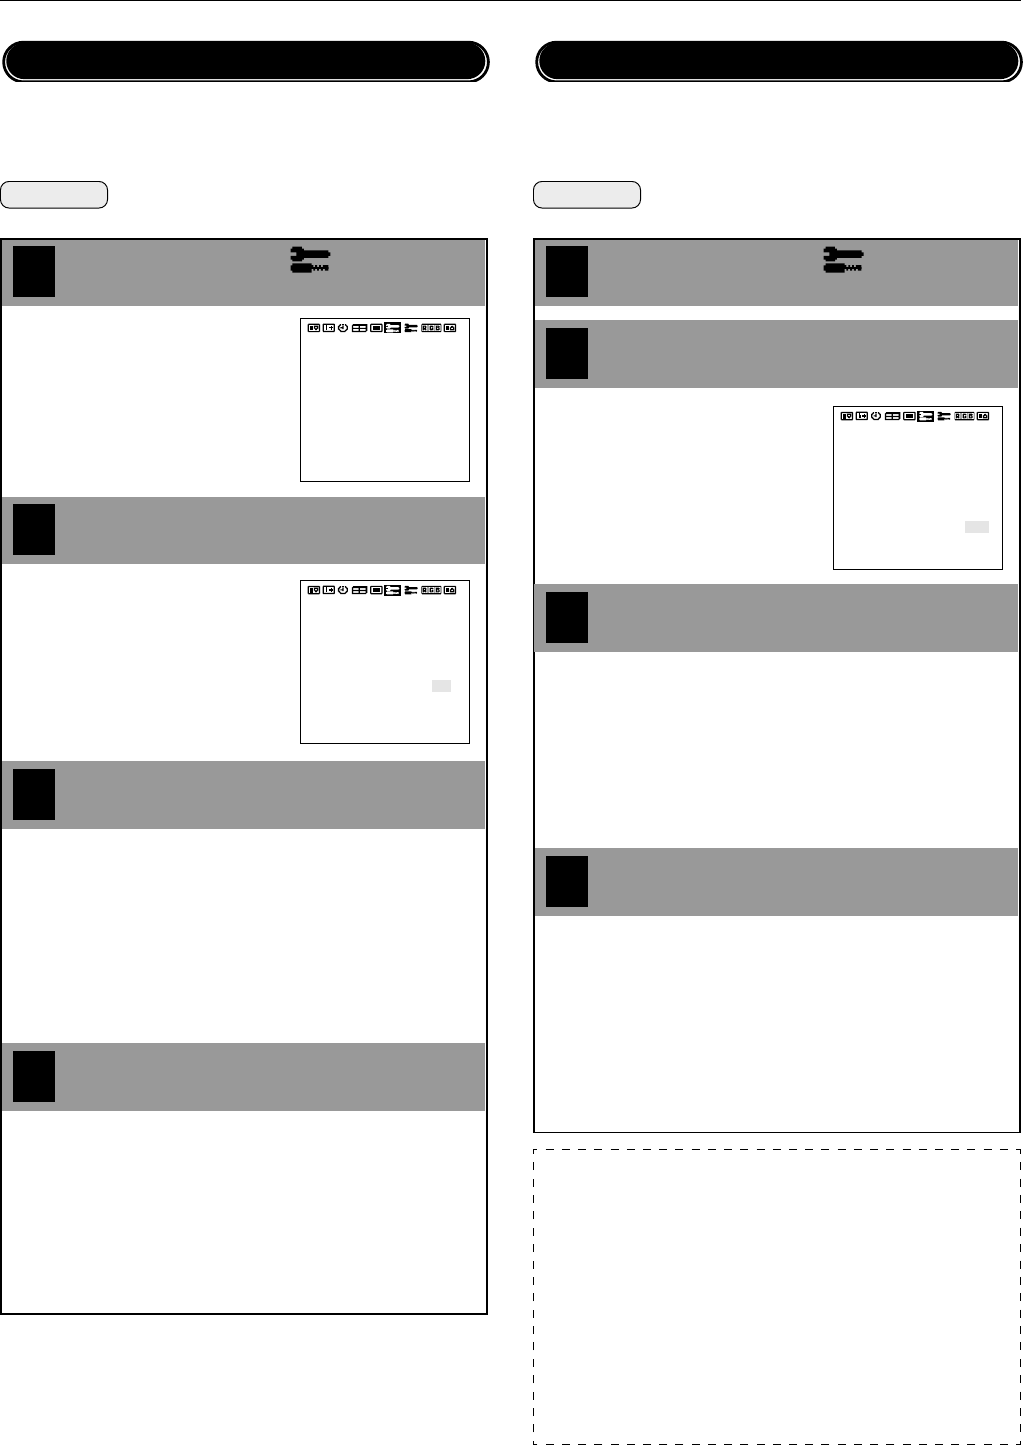
This function sets the cinema pulldown in conjunction with the video
information that is recorded on the DVD software. This is valid only for
NTSC, PAL, and 480I (60 Hz) signals. Set [OSD MODE] to [PRO] on
the configuration menu, then perform the following operations.
Preparation Press the PROCEED button to display the main
menu.
1
Align the cursor with
3
Move the cursor left and right with
the POSITION/CONTROL
ᮤ ᮣ
buttons.
Align the cursor with CINEMA PULLDOWN
Set the cinema pulldown with the
POSITION/CONTROL
ᮤ ᮣ
buttons
Move the cursor up and down with
the POSITION/CONTROL ▲▼
buttons.
Press the EXIT button 2 times
Press the EXIT button one time to return to the main menu.
One further press removes the menu.
* Aligning the cursor with [ALL RESET] and pressing the PRO-
CEED button will return all the settings of the other functions
to the default settings.
Cinema Pulldown Setting (CINEMA PULLDOWN)
[ON] : Cinema pulldown is active.
Detects whether film recording software or video
recording software was used. When film record-
ing software was used, it is progressively dis-
played with 2-3 pulldown or 2-2 pulldown.
[OFF] : Cinema pulldown is cancelled.
There is a progressive display without 2-3
pulldown or 2-2 pulldown.
COLOR SYSTEM
P-ON MODE
POWER MANAGER
SET ID NO
RGB3 ADJUST
CINEMA PULLDOWN
STD/CINEMA
ALL RESET
: AUTO
: OFF
: ALL
: 1
: ON
: STD
: LAST MEM
: AUTO
: OFF
: ALL
: 1
: ON
: STD
COLOR SYSTEM
P-ON MODE
POWER MANAGER
SET ID NO
RGB3 ADJUST
CINEMA PULLDOWN
STD/CINEMA
ALL RESET
: LAST MEM
Note:
■
What is CINEMA PULLDOWN?
This is a mode to output DVD video information in a progressive signal
format.
■
CINEMA PULLDOWN
• [ON]
Normally set to [ON]. This setting detects whether a DVD source was
based on film or video. When it was based on film, it will be progres-
sively displayed in the appropriate method.
• [OFF]
This setting is used for video source on DVD, converting into the pro-
gressive output.
Standard/Cinema Image Settings (STD/CINEMA)
Preparation Press the PROCEED button to display the main
menu.
4
2
1
Align the cursor with
Align the cursor with STD/CINEMA
Move the cursor up and down with
the POSITION/CONTROL ▲▼
buttons.
Press the EXIT button 2 times
Press the EXIT button one time to return to the main menu.
One further press removes the menu.
* Aligning the cursor with [ALL RESET] and pressing the PRO-
CEED button will return all the settings of the other functions
to the default settings.
3
: AUTO
: OFF
: ALL
: 1
: ON
: STD
COLOR SYSTEM
P-ON MODE
POWER MANAGER
SET ID NO
RGB3 ADJUST
CINEMA PULLDOWN
STD/CINEMA
ALL RESET
: LAST MEM
To display clearer images, settings are made with the standard image
and cinema image modes. Set to [CINEMA] for images such as mov-
ies, and set to [STD] for other images. Set [OSD MODE] to [PRO] on
the configuration menu, then perform the following operations.
Use the POSITION/CONTROL
ᮤ ᮣ
buttons to set STD/CINEMA
[STD] : Set for varieties of input other than that described
below.
[CINEMA] : Set for image inputs such as movies.
