


57
RQT9131
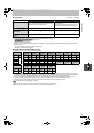
[HDD] [BD-RE] [BD-R] [RAM] [-R] [-RW‹V›] [+R] [+RW]
Preparation
1 Turn off the main unit and DV equipment, then connect the
equipment with the unit’s DV input terminal (➡ 56).
2 Turn on the main unit.
≥When the output signal from the external equipment is NTSC,
change the “TV System” to “NTSC” in the Setup menu (➡ 87).
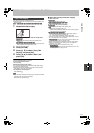
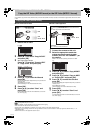
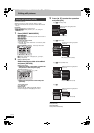
1 Turn on the DV equipment, and pause
play at the point you want recording to
start.
The following screen appears.
≥When the screen is not displayed
2 Press [3, 4] to select “Rec to HDD”
or “Rec to BD/DVD” and press [OK].
≥It may take a while for the next screen to display while
preparing to record.
3 Press [REC MODE] to select the
recording mode.
≥DR, FR mode cannot be selected.
4 Press [2, 1] to select “Start” and
press [OK].
Recording starts.
To stop recording
Press [∫].
[Note]
≥Only one piece of DV equipment (e.g., digital video camcorder) can
be connected to the unit via the DV input terminal.
≥
It is not possible to operate the unit from the connected DV equipment.
≥The DV input on this unit is for use with DV equipment only. (It
cannot be connected to a computer, etc.)
≥The DV equipment name may not be shown correctly.
≥Depending on the DV equipment, the images or audio may not be
input properly.
≥The date and time information on the tape of the DV equipment will
not be recorded.
≥[-R] It may not be able to record after repeating about 30 times of
step 2 or recording or editing.
≥[+R] [+RW] Chapters for every 8 minutes are created automatically.
[BD-RE] [BD-R] [RAM] [-R] [-RW‹V›] [+R] [+RW]
It is possible to record to disc from equipment connected to the AV3
input terminals.
Preparation
≥Press [DRIVE SELECT] to select the BD drive.
≥When the output signal from the external equipment is NTSC,
change the “TV System” to “NTSC” in the Setup menu (➡ 87).
1 While stopped
Press [FUNCTION MENU].
2 Press [3, 4] to select “To Others”
and press [OK].
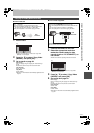
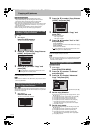
3 Press [3, 4] to select “Recording via
AV3 input” and press [OK].
≥It may take a while for the next screen to display while
preparing to record.
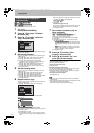
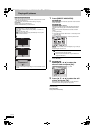
4 Press [2, 1] to select “Hour” and
“Min.” and press [3, 4] to set the
recording time.
≥You can also set the recording time with the numbered
buttons.
5 Start play on the other equipment.
6 When you want to start recording
Press [2, 1] to select “Start” and
press [OK].
≥Record in FR mode.
To exit the screen without recording
Press [RETURN].
To stop recording partway
Press [∫].
To show the remaining time
Press [STATUS ].
[Note]
≥[-R] It may not be able to record after repeating about 30 times of
step 3 or recording or editing.
≥[+R] [+RW] Chapters for every 8 minutes are created automatically.
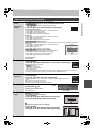
DV automatic recording (DV Auto Rec)
After performing step 1
1 Press [FUNCTION MENU].
2Press [3, 4] to select “To Others” and press [OK].
3Press [3, 4] to select “DV Auto Rec” and press [OK].
➡ Go to step 2
If the DV automatic recording function does not work properly,
check the connections and DV equipment settings, and turn the
unit off and back on.
If that does not work, follow the instructions for manual
recording (➡ 56).
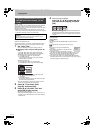
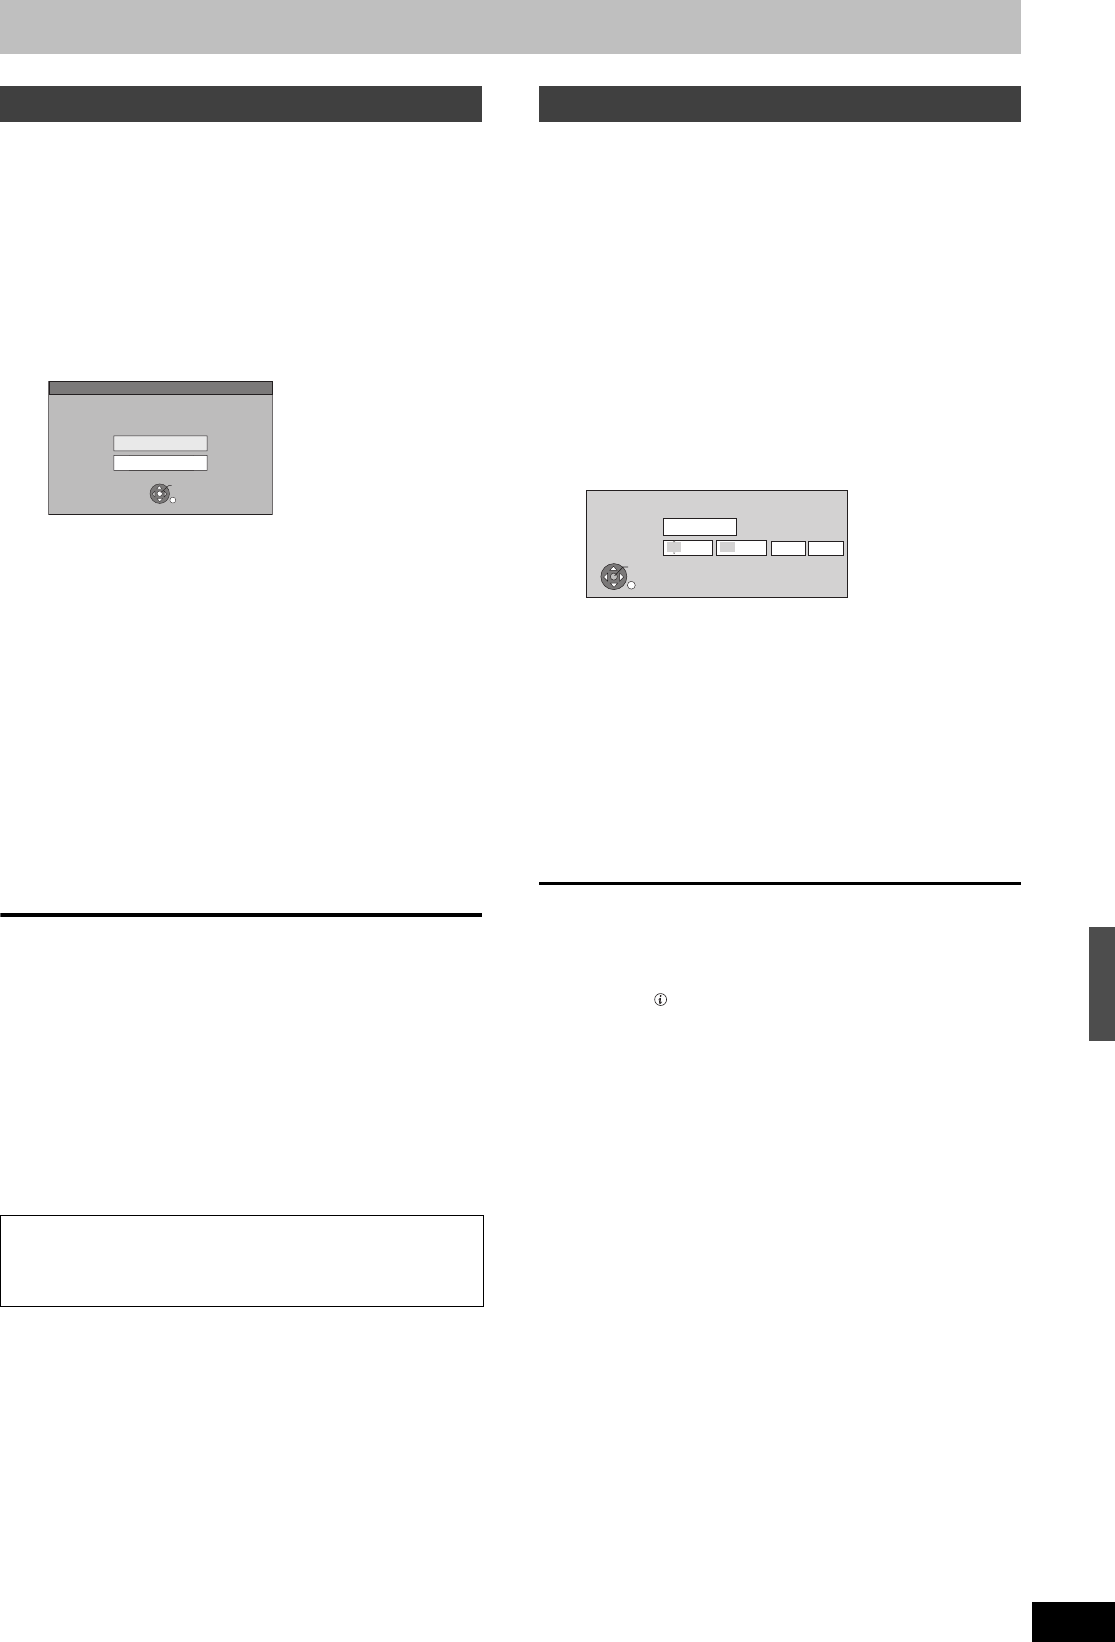
DV Auto Rec
Rec to BD/DVD
Rec to HDD
Record from the DV unit?
OK
RETURN
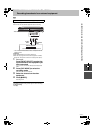
Recording via AV3 input
RETURN
OK
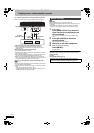
Recording via AV3 input
8 Hour 00 Min.
Max rec time
Set rec time
Hour
8
Min.
00
Start
Cancel
Please set recording time.
Record in FR mode.
Copying from a video cassette recorder
DMRBW500GN-RQT9131-L_eng.book 57 ページ 2008年5月12日 月曜日 午前9時37分