


14
VQT2J51
Setting the Channels and Clock
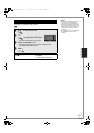
Tips
To correct the PIN number
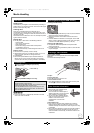
1 Press [2, 1] to select the digit.
2 Press the numbered buttons to enter the digit.
To correct the character
1 Press [2, 1] to select the character.
2 Press [3, 4] to correct the character.
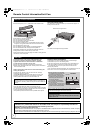
To display the Owner ID information on TV
Press and hold [∫] on the main unit for more than 5 seconds.
The PIN number is not displayed.
After 30 seconds this menu automatically disappears.
This unit usually obtains time and date information from
digital broadcasts and automatically corrects the time
several times a day.
However, if the clock is not set correctly, you can set it
manually as follows.
Tips
≥If the clock is set manually, the clock does not automatically correct
the time. We recommend you set “Automatic” in the Clock setting
menu to “On” in step 6 (
> above).
To return to the previous screen
Press [RETURN ].
To exit the screen
Press [EXIT].
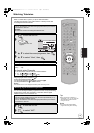
4
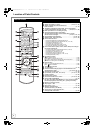
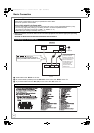
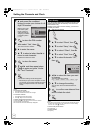
The Owner ID settings screen appears.
1 and press the numbered
buttons to enter your choice of a 4-
digit PIN number.
Make a note of the
PIN number (don’t
forget). Owner ID
cannot be reset by
“Shipping Condition”
in the Setup menu
(> 73)
5
to store the PIN number.
6
2 to select “Yes”, then
The cursor moves to “Name”.
7
1 to enter the name.
8
3, 4 to select a letter, then 1 to
move to next character.
Repeat this to enter the name.
9
to store the name.
:
4 and 1 and then repeat steps
8, 9 to enter and store “House
No.” and “Postcode”.
;
The Owner ID settings screen disappears.
– Auto-Setup for your unit is complete. You can
now choose your favourite channels and store
them in the required order in the Favourites.
(> 66)
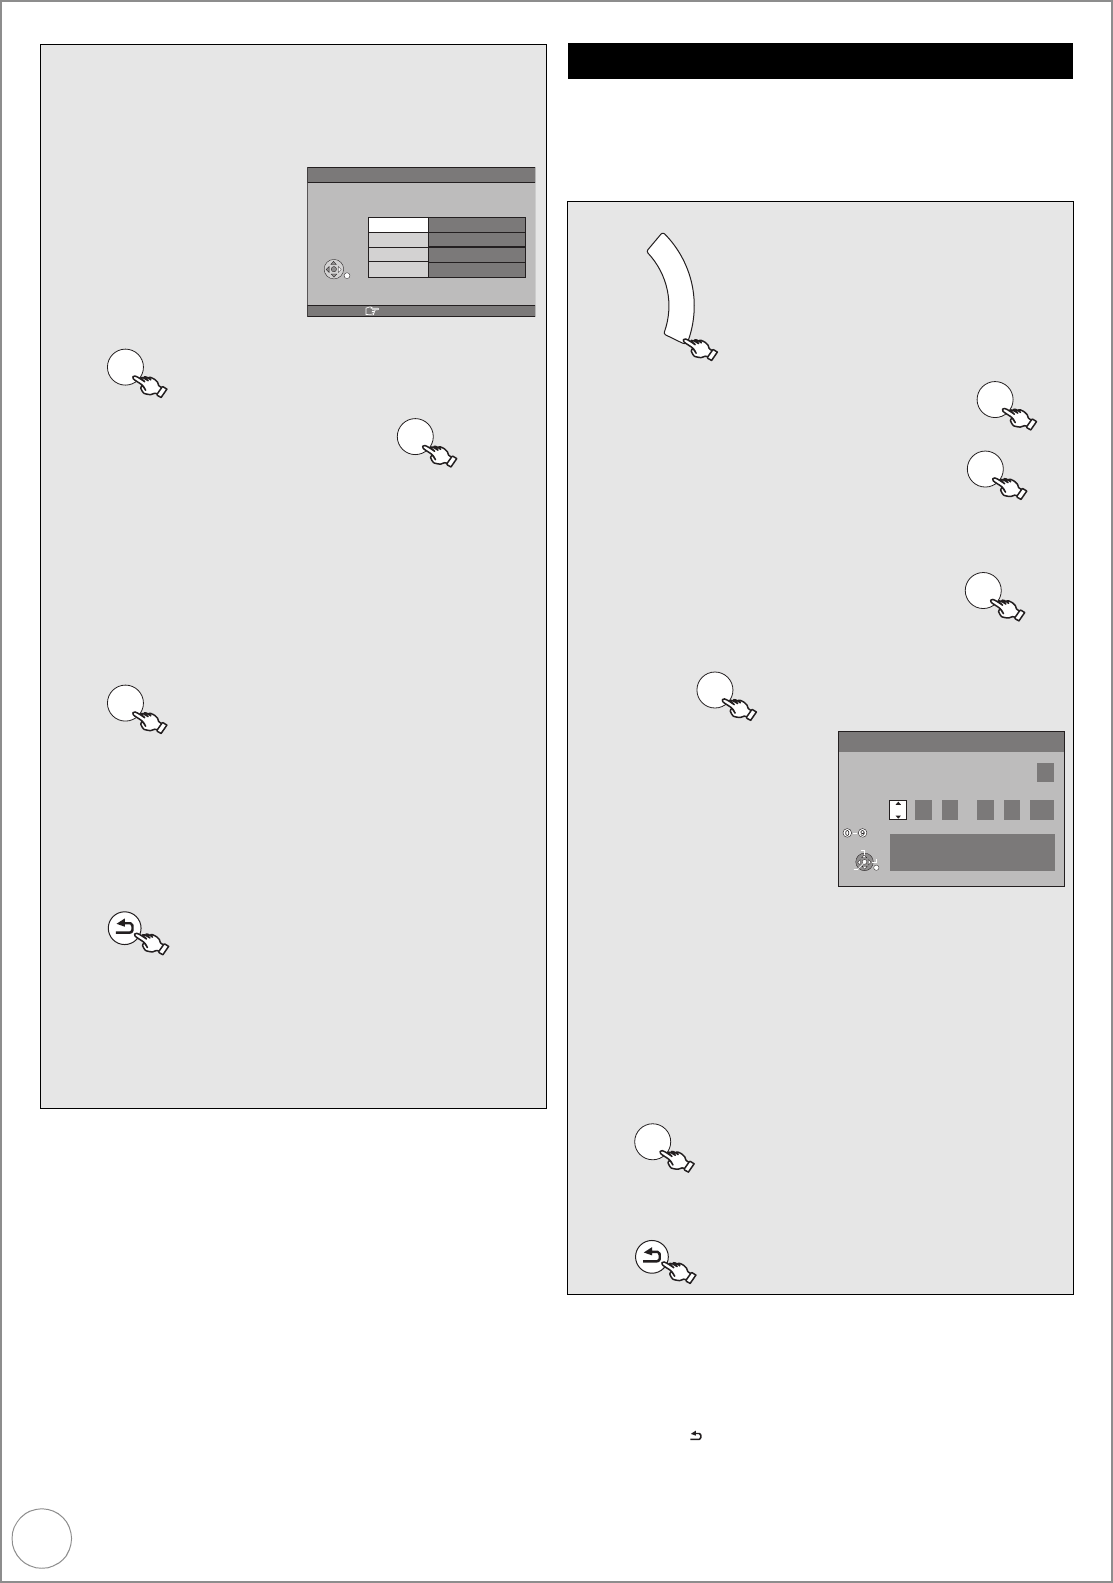
Owner ID
RETURN : leave
PIN number
____
Name
House No.
Postcode
RETURN
OK
OK
OK
RETURN
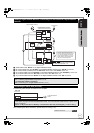
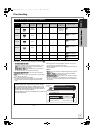
Clock Setting
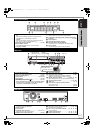
1
With the unit stopped
2
3, 4
to select “Others”, then
3
3, 4
to select “Setup”, then
4
3, 4 to select “
Others
”, then 1
5
3, 4
to select “Clock”, then
6
3, 4 to select Automatic “Off”,
then
7
2, 1 to select the item you want
to change.
The items change as follows:
Hour!#Minute!#Second!#Day!#Month!#Year
^-----------------------------------------------------------------------------------------J
8
3, 4 to change the setting.
You can also use the numbered buttons for
setting.
9
to confirm new date and time
and to initiate the clock.
:
F
U
N
C
T
O
N
M
E
N
U
OK
OK
OK
OK
Clock
Automatic
Time Date
Please set clock manually.
OK: store RETURN: leave
OK
RETURN
SELECT
CHANGE
Number
Off
0
:
00 :
00
1
/ 1 /
2010
OK
RETURN
DMR-EZ49VEB_VQT2J51.book 14 ページ 2009年12月21日 月曜日 午後5時40分