


RQT8327
17
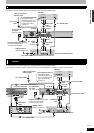
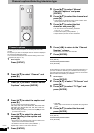
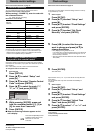
Remote control settings
Refer to the control reference on page 16.
You can operate the TV through the unit’s remote control.
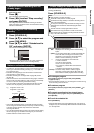
Point the remote control at the television
While pressing [^ POWER TV], enter the code with
the numbered buttons.
e.g., 0250: [0] Ô [2] Ô [5] Ô [0]
Manufacturer and Code No.
Test by turning on the television and changing channels. Repeat the
procedure until you find the code that allows correct operation.
• If your television brand is not listed or if the code listed for your
television does not allow control of your television, this remote
control is not compatible with your television.
Change the remote control code on the main unit and the remote
control (the two must match) if you place other Panasonic products
close together.
Use “1”, the factory set code, under normal circumstances.
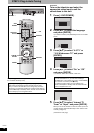
To change the code on the main unit
1 While stopped
Press [SETUP].
2 Press [e,r] to select “Setup” and
press [q].
3 Press [e,r] to select “Remote Control
Code” and press [ENTER].
4 Press [e,r] to select the code (“1”,
“2”, or “3”) and press [ENTER].
To change the code on the remote control
5 While pressing [ENTER], press and
hold the numbered button ([1], [2] or
[3]) for more than 2 seconds.
6 Press [ENTER].
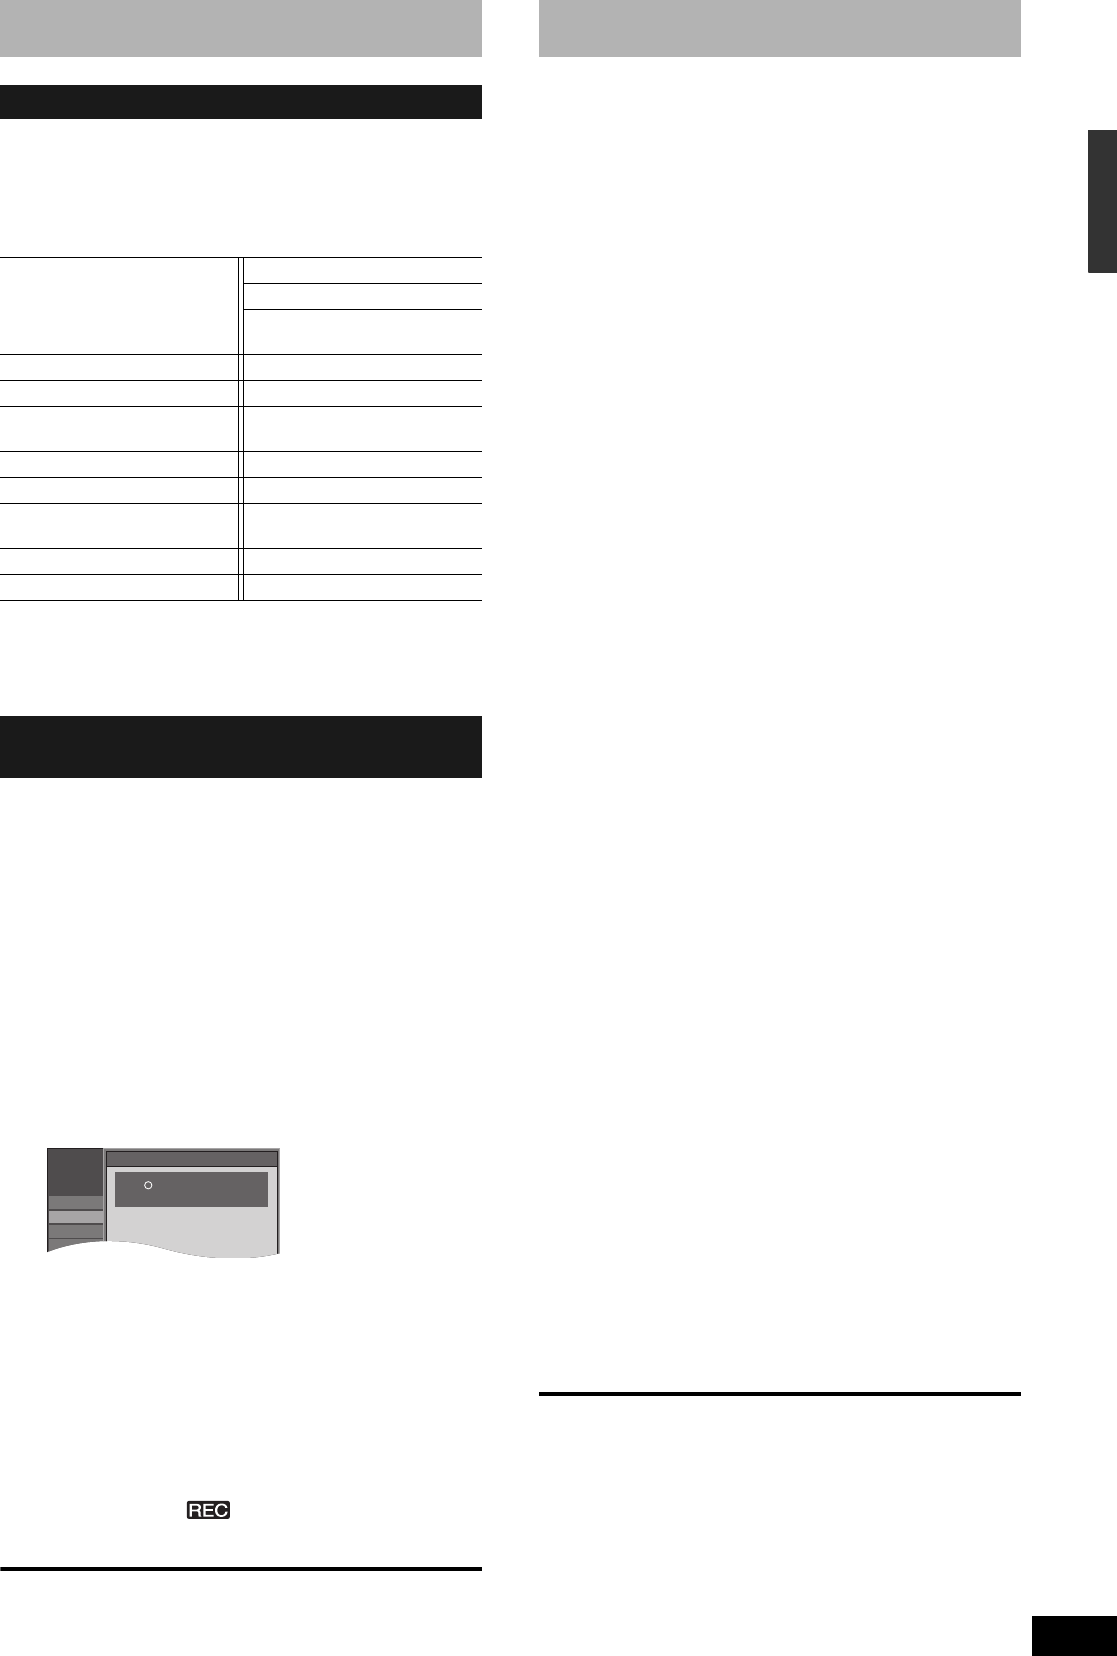
n When the following indicator appears on the
unit’s display
Press and hold [ENTER] and the
indicated number button at the
same time for more than
2 seconds.
To exit the screen
Press [SETUP].
To return to the previous screen
Press [RETURN].
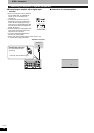
Clock settings
Refer to the control reference on page 16.
In the case of a power failure, the clock setting remains in memory
for approximately 1 minute.
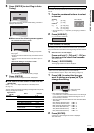
1 While stopped
Press [SETUP].
2 Press [e,r] to select “Setup” and
press [q].
3 Press [e,r] to select “Clock Settings”
and press [ENTER].
4 Press [e,r] to select “Set Clock
Manually” and press [ENTER].
5 Press [w,q] to select the item you
want to change and press [e,r] to
change the setting.
• DST (Daylight Saving Time): On or Off
If you select “On”, the clock is advanced one hour starting at
2 a.m. on the first Sunday in April and ending at 2 a.m. on
the last Sunday in October.
• Time Zone shows the time difference from Greenwich Mean
Time (GMT).
6 Press [ENTER].
The clock starts.
Adjust the time zone (–1 or +1) if it was not set correctly with auto
clock setting.
You can set this menu only after “Set Clock Automatically” is
completed.
1 While stopped
Press [SETUP].
2 Press [e,r] to select “Setup” and
press [q].
3 Press [e,r] to select “Clock Settings”
and press [ENTER].
4 Press [e,r] to select “Adjust Time
Zone” and press [ENTER].
5 Press [e,r] to select “–1” or “+1” and
press [ENTER].
To exit the screen
Press [SETUP].
To return to the previous screen
Press [RETURN].
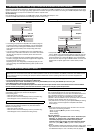
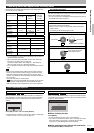
Television operation
Panasonic
National
QUASAR
0051/ 0250 PHILIPS (RC-5) 0054
RCA 0047
SAMSUNG 0060/ 0587/
0702
FISHER 0154 SANYO 0154
GE 0047 SHARP 0093/ 0165
GOLDSTAR 0178/ 0317/
0457
SONY 0000
HITACHI 0145 SYLVANIA 0054
JVC 0053 THOMSON 0047
LG 0178/ 0317/
0457
TOSHIBA 0156
MAGNAVOX 0054 ZENITH 0017
MITSUBISHI 0150
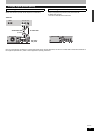
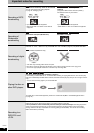
When other Panasonic products
respond to this remote control
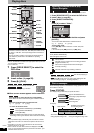
Setup
Remote Control Code
Press " " and "ENTER" together
for more than 2 seconds on the remote.
Channel
Setup
Disc
Video
Adi