ENGLISH – 31
Getting Started
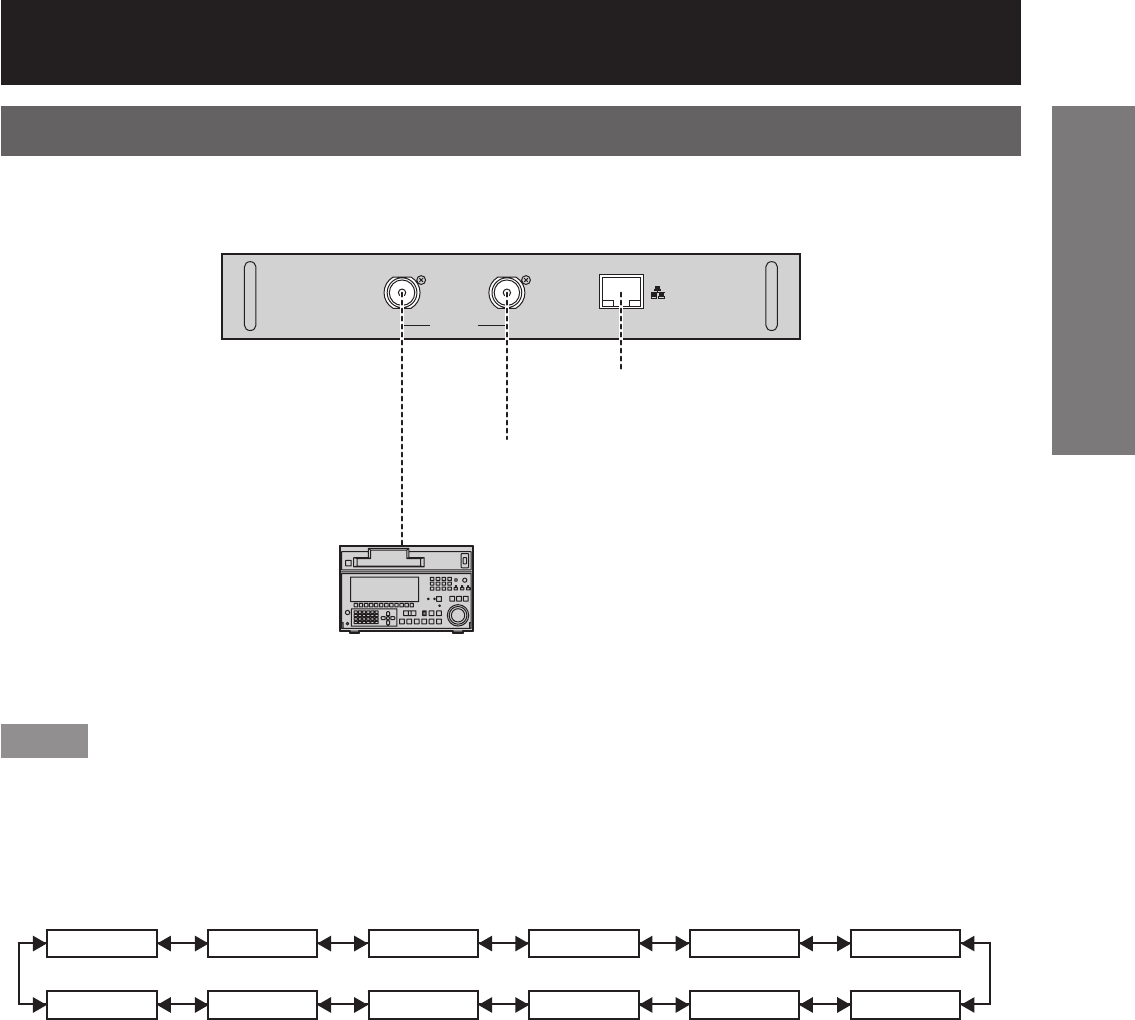
Connecting the signal to the HD/SD-SDI input module
Note
Insert the input module that meets the input signal specifications.
Normally, use SYSTEM SELECTOR in “AUTO”.
If using an input module which supports nine different HD signal specifications (15 formats) (SMPTE292M) or two
different SD signal specifications (SMPTE259M), use the SYSTEM SELECTOR menu to toggle between the
different input signal formats. When this is done, the input signal details will appear on the screen momentarily
and then disappear automatically.
AUTO 1 080i/60i 1 035/60i 720/60p 1 080/24p 1 080/50i
576i 480i 720/50p 1 080/24sF 1 080/25p 1 080/30p
If a source with an unstable signal is connected, errors in automatic signal recognition may occur. If this happens,
use the SYSTEM SELECTOR menu to switch the format to the one which matches the signals being input.
Use a 5CFB or superior cable for connection to transmit the image information without error.
(Example: 5CFB, 5CFTX, 7CFB etc.)
*1: The LAN terminal of the input module (optional) cannot be used with the PT-D10000U/PT-DW10000U. Use the
LAN terminal that is provided as standard with the projector.
•
•
•
•
•
HD/SD-SDI input module (optional)
ET-MD77SD3 (for HD/SD)
Business digital
VCR
HD/SD-SDI
Module
ET-MD77SD3
IN
SERIAL
OUT
LAN
HD-SDI or SD-SDI
signal output
(active through)
LAN terminal
*1
(10BASE-T/100BASE-TX)
HD-SDI or SD-SDI
signal
HD/SD-SDI input module (optional)
ET-MD77SD3 (for HD/SD)
Business digital
VCR
HD/SD-SDI
Module
ET-MD77SD3
IN
SERIAL
OUT
LAN
HD-SDI or SD-SDI
signal output
(active through)
LAN terminal
*1
(10BASE-T/100BASE-TX)
HD-SDI or SD-SDI
signal


