32 Pelco Manual C650M (12/98)
8.2.3 Avoid Mistakes When Using the Timer
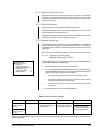
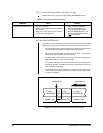
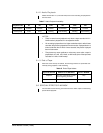
Refer to Table E if you get an error when pressing the TIMER REC button.
Table E. Timer Recording Troubleshooting
SYMPTOM FAULT ACTION
TIMER REC indicator flashes • A tape is not inserted. 1. A menu is being programmed.
• A tape is loaded with the erasure prevention Press the TIMER REC button.
tab removed. 2. Correctly set the timer program.
• Date, time, or timer recording time is not set. 3. Press the TIMER REC button and
• A menu is being programmed. confirm the TIMER REC indicator
( ) is illuminated.
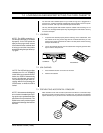
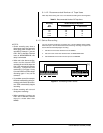
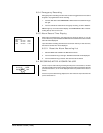
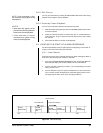
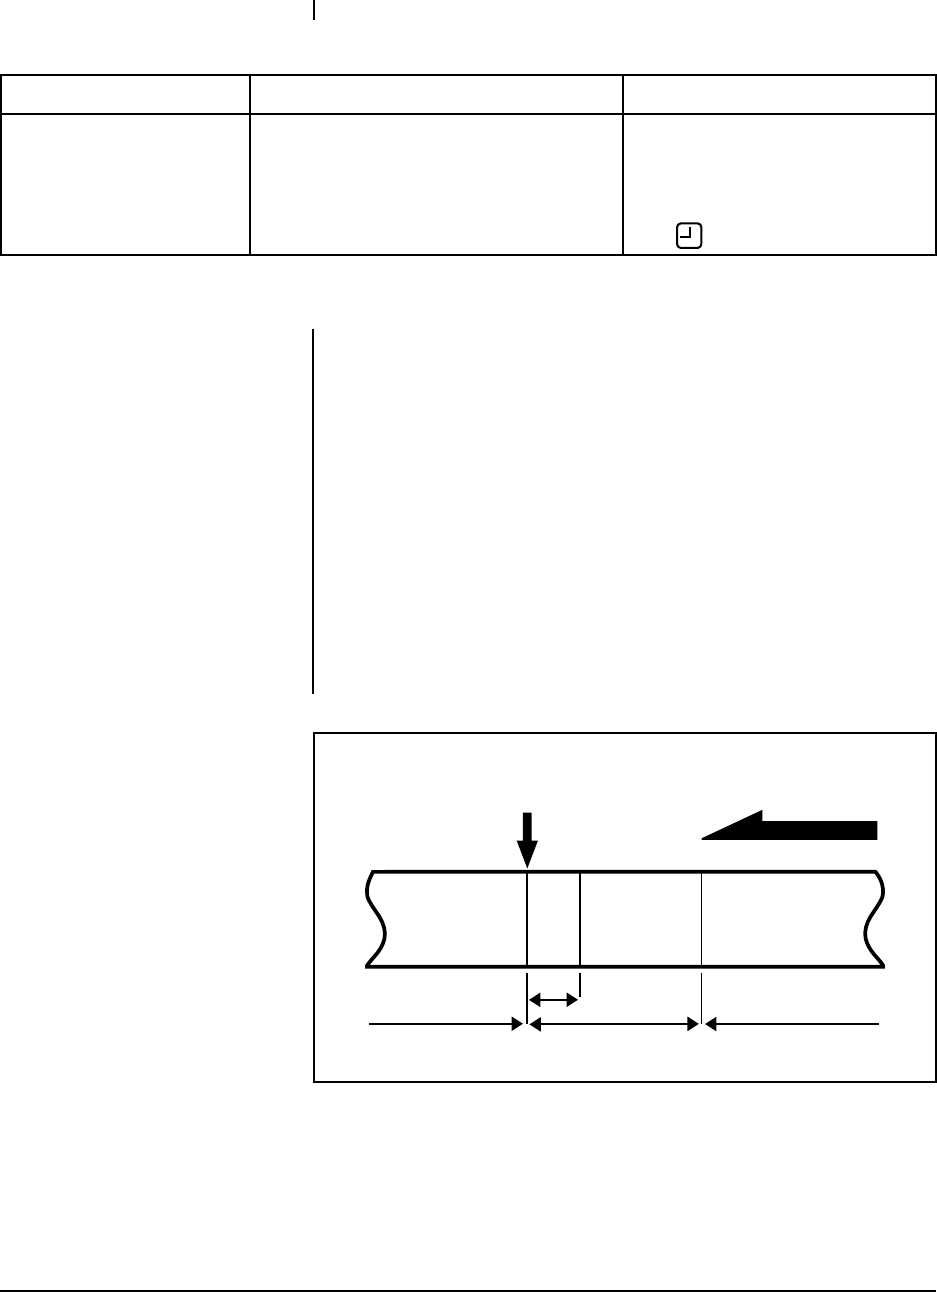
Figure 18. Switching from Normal to Alarm Mode and Back
8.3 ALARM RECORDING
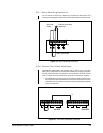
You can switch from all recording modes to the 2H – L24H alarm recording mode by
applying an alarm signal to the SET IN (alarm input) terminal on the rear panel.
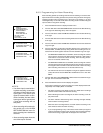
• You can switch to alarm recording by applying the alarm input signal from the
alarm sensor during recording in 2H, 6H, L12H, or L24H modes.
• Set the alarm recording mode and alarm recording period in the Recording
Set Up menu. Refer to Section 6.6 for instructions.
• The index signal is automatically recorded when alarm recording begins (IN-
DEX indicator flashes on the fluorescent display).
• To record the index signal, the first 15 seconds of the alarm recording are in
2H mode (in the case of recording in 2H, L12H, or L24H mode) or 6H (in the
case of recording in 6H mode).
• If another alarm input signal is applied to the SET IN (alarm input) terminal
while the index signal is being recorded (for 15 seconds), a new alarm record-
ing will not be triggered.
ALARM INPUT Tape direction
2 - L24H
RECORDING
2 - L24H
RECORDING
2H or 6H
RECORD-
ING
2 -L24H
RECORDING
15sec
NORMAL mode
NORMAL mode
ALARM mode


