User Guide
12
Getting Started
Setting Time and Date
When you have placed the batteries and turned on Pronto NG, you have to set the
current time.
Attention Every time you reset your Pronto NG you will have to set the time again.
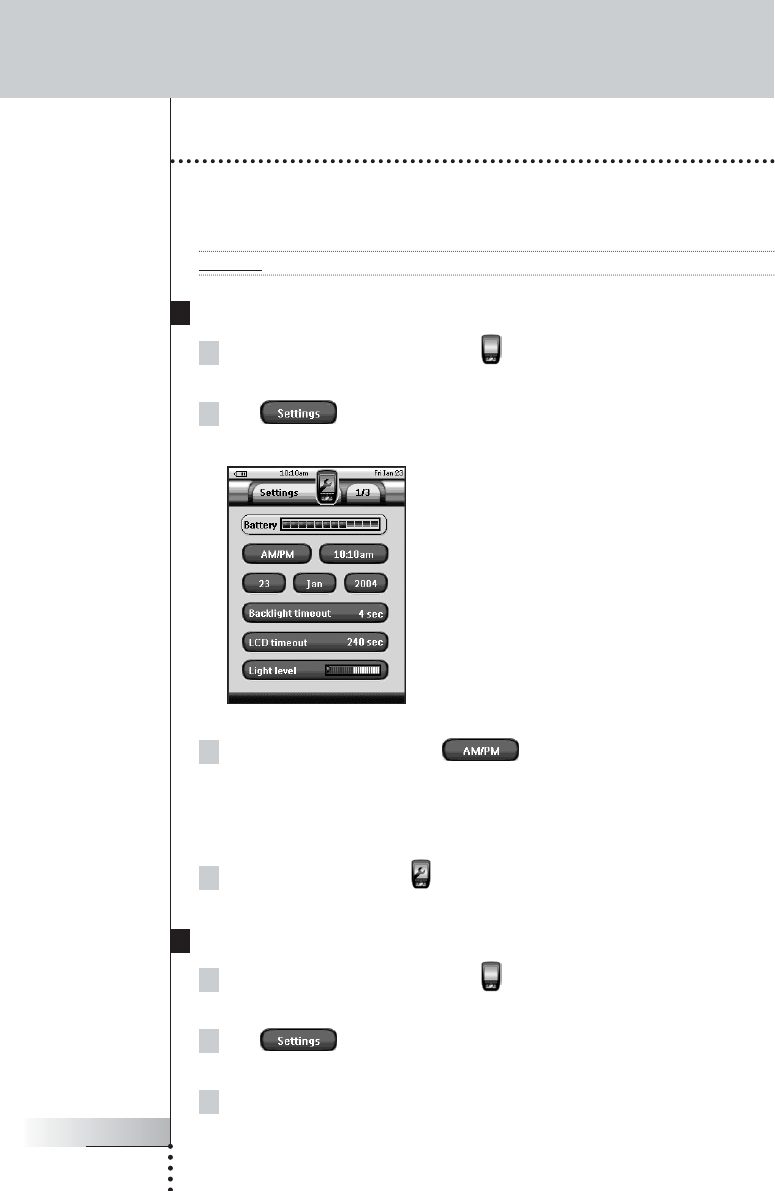
Changing the Time Format
1Tap and hold the Pronto NG icon in the upper left corner of the
touch screen for 3 seconds. The Tools Menu appears.
2Tap button in the Tools Menu.
The first Settings Page appears.
3Tap the Time Format button in the first Settings Page.
The Time Format button toggles between the three time formats:
■ 12 hour (AM/PM): This is the default format;
■ 24 hour;
■ No time.
4Tap the Pronto NG icon to exit the Settings Tool.
Changing the Time
1Tap and hold the Pronto NG icon in the upper left corner of the
touch screen for 3 seconds. The Tools Menu appears.
2Tap in the Tools Menu.
The first Settings Page appears.
3Tap the Time button in the first Settings Page.
The Time button is selected. The labels ‘+’ and ‘-’ appear for the two middle
firm keys.
Pronto TSU3000v3 US 18-02-2004 16:02 Pagina 12


