User Guide
18
In general, in the Tools:
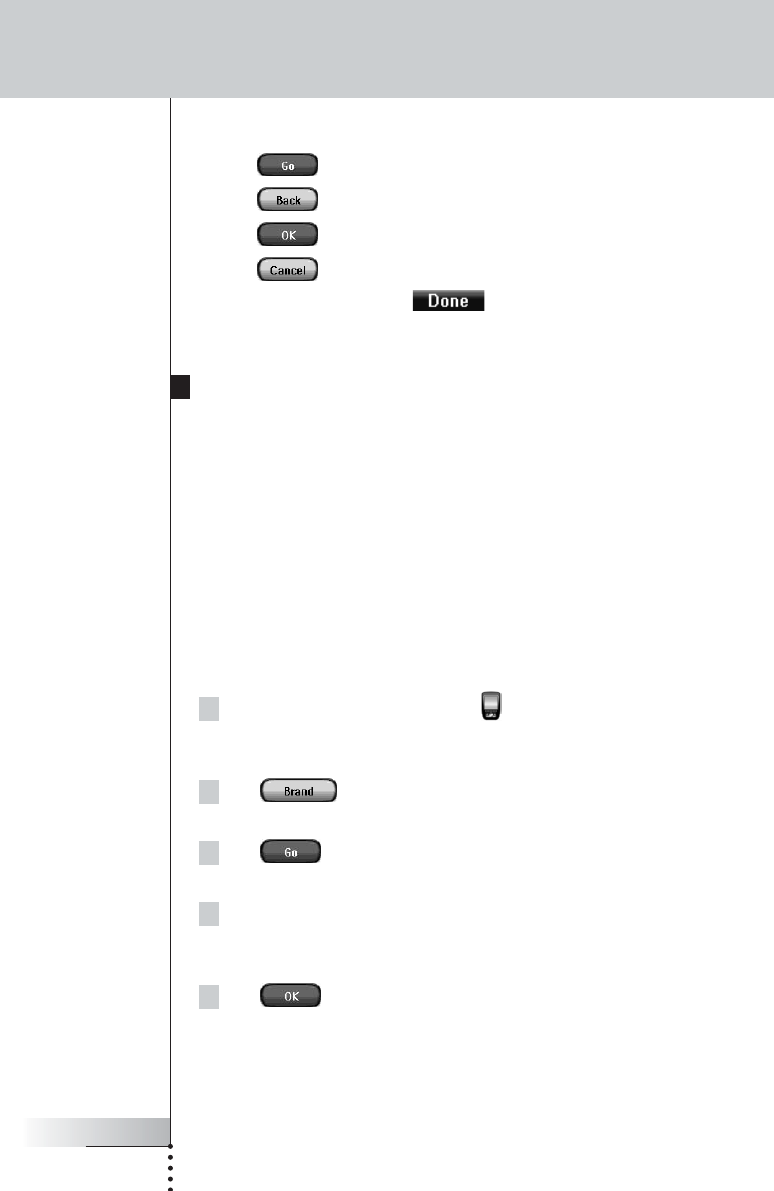
■ Tap to start using the Tool.
■ Tap to go back to the Tools Menu.
■ Tap to confirm an action and save the changes you made.
■ Tap to cancel an action without saving the changes.
■ Press the firm key labeled to end a series of actions and go back to
the Tools Menu.
Defining the Brand for a Device
Pronto NG contains a huge list of brands and their corresponding IR codes in its
database. Pronto NG uses these IR codes to control devices. Because there are
several brands using specific IR codes, you have to define the brands and the
corresponding code sets for each device. You can either have Pronto NG
autosearch the brand or select it yourself. If a device’s brand contains more than
one IR code set, you also have to select it.
On the Device Overview you find buttons for the most common video and audio
devices. Pronto NG is set by default to operate Philips and Marantz devices. For all
devices other than Philips or Marantz, you first have to define the brand before you
can operate them with Pronto NG.
Selecting the Brand and Code Set for your Device
1Tap and hold the Pronto NG icon in the upper left corner of the
touch screen for 3 seconds.
The Tools Menu appears.
2Tap in the Tools Menu.
The ‘Brand Tool’ screen appears.
3Tap in the ‘Brand Tool’ screen.
The Device Overview appears.
4 In the Device Overview, tap the Device for which you want to define
the brand.
A message screen appears.
5Tap .
The ‘Brands’ screen appears.
Customizing Pronto NG
Pronto TSU3000v3 US 18-02-2004 16:02 Pagina 18


