


User Guide
19
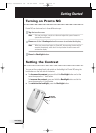
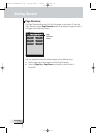
Customizing Pronto NG
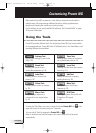
Selecting the brand
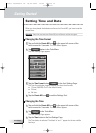
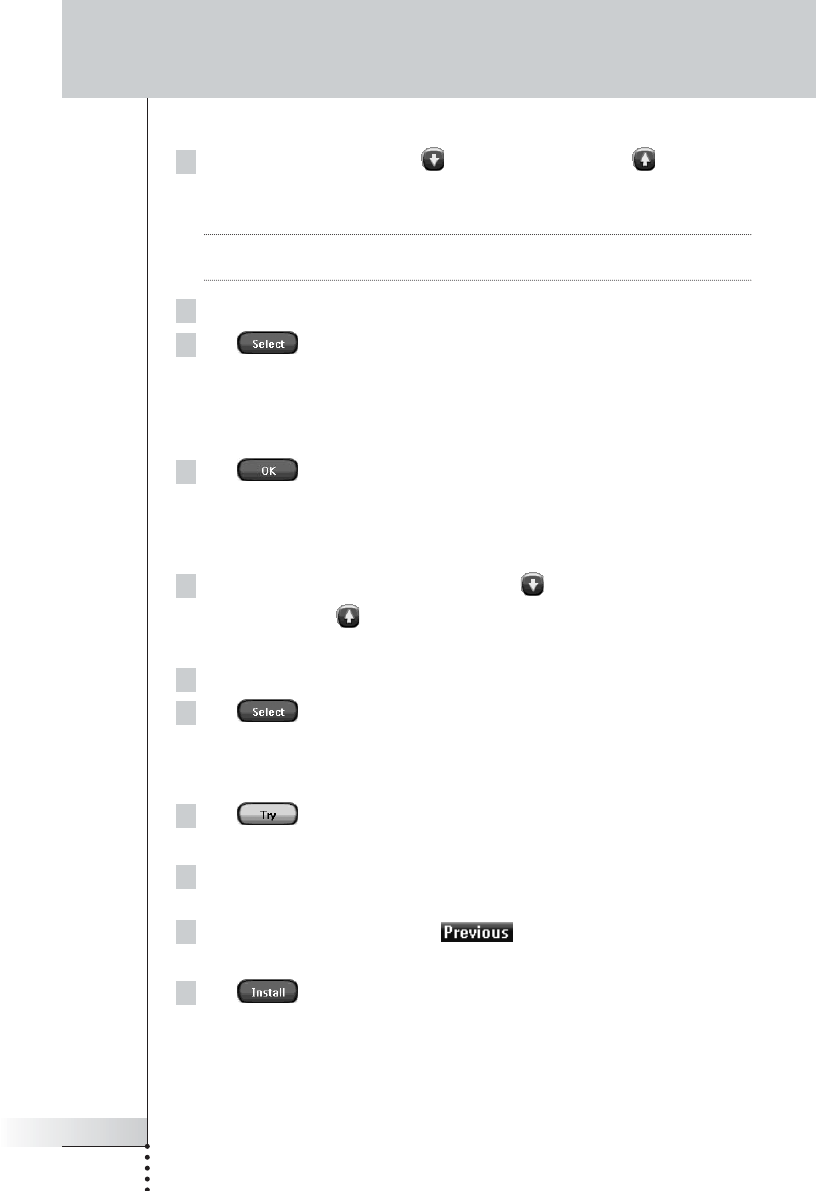
1Tap the Scroll Down button or the Scroll Up button next to the
Brands list.
The Brands list scrolls down/up.
Note You can also select the brand via the virtual keyboard by tapping one or more
of the brand’s name characters.
2Tap the brand for the selected Device in the Brands list.
3Tap in the ‘Brands’ screen.
If there is only one code set, the ‘Installing the Brand’ screen appears.
Go to ‘Installing the brand’ below.
-or-
If there is more than one possible code set, a message screen appears.
4Tap .
The ‘Code sets’ screen appears.
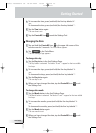
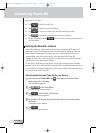
Selecting the code set
1 If necessary, tap the Scroll Down button or the
Scroll Up button next to the Code Sets list.
The Code Sets list scrolls down/up.
2Tap the code set for the selected Device in the Code Sets list.
3Tap in the ‘Code Sets’ screen.
The ‘Installing the Brand’ screen appears.
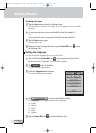
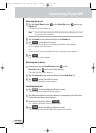
Installing the brand
1Tap in the ‘Installing the Brand’ screen.
The first Page of the selected Device appears.
2Tap different buttons to see if the device is responding to the IR codes
for the selected brand and code set.
3Press the left firm key, labeled .
The ‘Installing the Brand’ screen appears again.
4Tap in the ‘Installing the Brand’ screen.
The IR codes for the selected brand and code set are installed.
Pronto TSU3000v3 US 18-02-2004 16:02 Pagina 19