


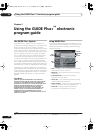

Using the GUIDE Plus+™ electronic program guide
05
45
En
English
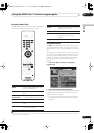
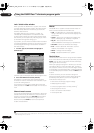
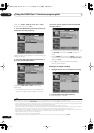
The Schedule Area
The Schedule Area is where you can set, see, edit and
delete scheduled (timer) recordings. (See also
Setting a
timer recording
on page 63 for further timer recording
features.)
From the Schedule Area you can:
• Edit or delete a One-Button-Recording.
• Set, edit or delete a VIDEO Plus+ recording.
• Set, edit or delete a manual recording.
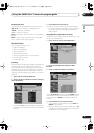
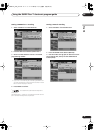
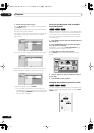
Editing a scheduled recording
You can edit any parameter in a scheduled recording, or
delete it if you no longer require it.
1 Highlight the left tile of a scheduled recording.
• If you only want to edit the recording quality,
frequency, destination, timing or group settings, skip
to step
6
below.
2 Press the GREEN Action button (Edit).
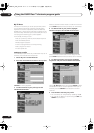
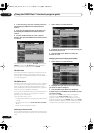
3 Use the cursor and number buttons to edit the
recording date, start time, end time and channel.
Use the
/
(cursor up/down) buttons or the number
buttons to edit.
Press the
GREEN
Action button to go to continue, or the
RED
Action button to go back.
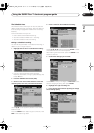
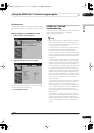
4 Enter a name for the scheduled recording.
Use the
///
buttons followed by
ENTER
to select
characters from the on-screen keyboard.
After entering the whole name, press the
GREEN
Action
button to continue.
5 Confirm the changes you’ve made.
Select
Save
to save your changes, or
Don’t Save
to exit
without changing anything, then press
ENTER
.
6 Highlight the right recording tile.
7 Press the RED Action button (Quality) to change
the recording quality.
DVR-04_HDD_UK.book 45 ページ 2004年9月10日 金曜日 午後7時3分