88
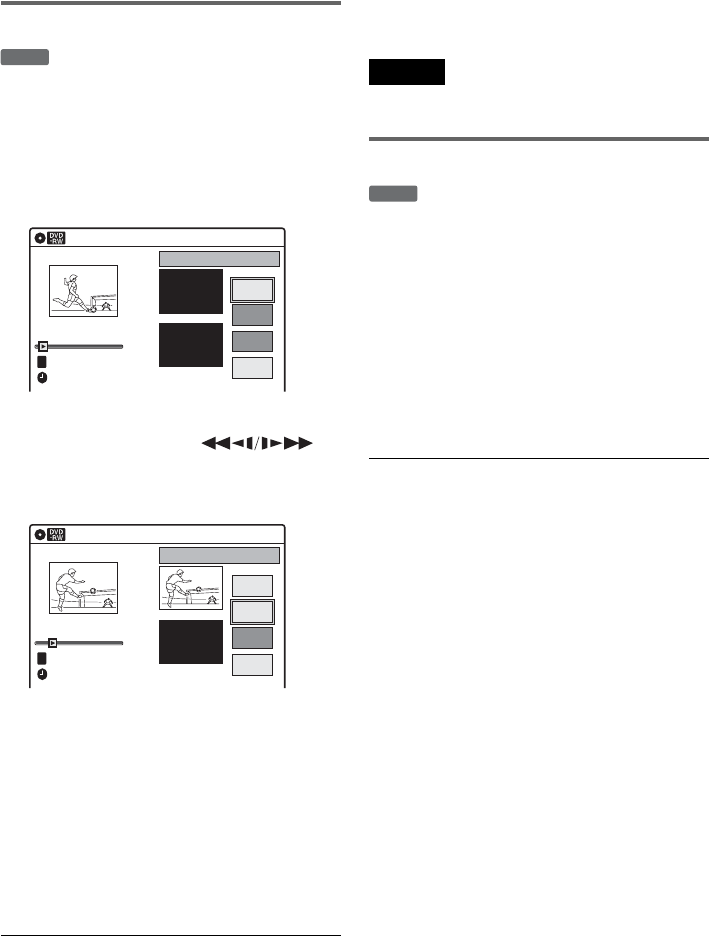
Adding a scene (Add)
You can add a scene before the selected scene.
1 After step 7 of “Editing a Playlist” on
page 86, select a scene, and press ENTER.
2 Select “Add,” and press ENTER.
“Start” is selected.
3 Press ENTER at the starting point.
You can use H PLAY, ,
./>, x STOP and X PAUSE to find
the point.
“End” is selected.
4 Press ENTER at the ending point.
“Add” is selected.
To reset the start or end point, select “Start” or
“End” and repeat step 3 or 4.
5 Press ENTER.
The display returns to “Edit Scene” display.
The selected section is captured as a scene and
added before the selected scene.
To add other scenes, press O RETURN, and
repeat from step 1.
To cancel adding
Select “Cancel,” and press ENTER.
To turn off the display
Press SYSTEM MENU.
Note
The start and end point of a scene may be different from
what you have set.
Erasing a scene (Erase)
You can erase a selected scene.
1 After step 7 of “Editing a Playlist” on
page 86, select a scene, and press ENTER.
2 Select “Erase,” and press ENTER.
The display asks for confirmation.
3 Select “OK,” and press ENTER.
The selected scene is erased.
To erase other scenes, press O RETURN,
and repeat from step 1.
To turn off the display
Press SYSTEM MENU.
-
RWVR
Add
10:10 AM
Scene No.01
Start
End
Start 00:00:00
00:00:07
End 00:00:00
Add
Cancel
Nov/27/2004 03:25 PM
Playlist No. 01
T
10:10 AM
Start
End
Start 00:00:10
00:00:10
End 00:00:00
Cancel
Scene No.01
Add
Add
Nov/27/2004 03:25 PM
Playlist No. 01
T
-
RWVR
