Using the TV Guide On Screen™ System
69
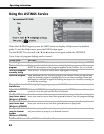
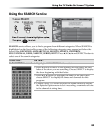
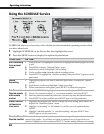
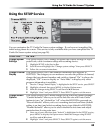
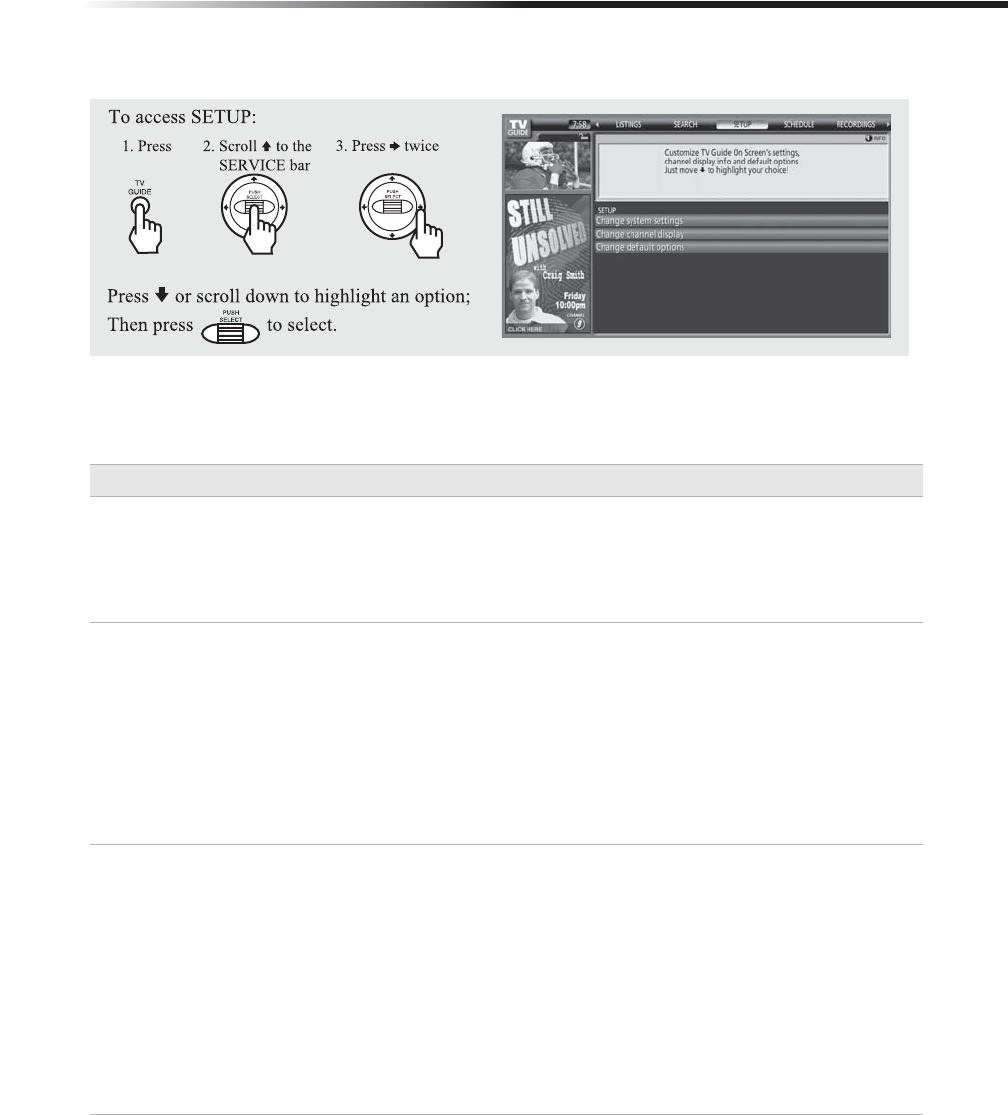
Using the SETUP Service
You can customize the TV Guide On Screen system settings. If you have not completed the
initial setup please do so now. This service is only available after you have completed the TV
Guide On Screen system setup (see page 28).
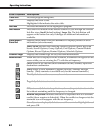
To Do This... Do This...
Change System
Settings
This option allows you to change or update the current settings of: zip or
postal code, cable or antenna setup and recording device.
1
Highlight SETUP in the Service Bar.
2 Scroll down and highlight the “Change system settings” then press SELECT.
3 Follow the on screen instructions.
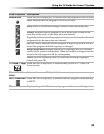
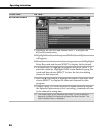
Change Channel
Display
This option allows you to edit channel information that appears in
LISTINGS. The changes you can make are: re-order the position of channel,
change the tune channel number, and switch a channel “On” to always be
displayed, “Off” to never display or “Auto-Hide” to display only when
program information is available.
1
Once the “Change Channel Display” is highlighted in the SETUP service, press SELECT.
2 Highlight a channel then press MENU to display Option menu.
3 Make the changes using SELECT scroll bar and V/v buttons.
4 Highlight “done” and press SELECT. Press SELECT again to exit the menu.
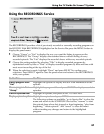
Change Default
Options
This option allows you to make changes in the following default settings:
“General defaults” allows you to set the Info Box size and Auto-Guide
feature to turn “on” (default) or “off” when the HD DVR is powered on;
“Record defaults” allows you to set recording start and end time (default
setting is on time) and select recording device type (default is HD DVR);
“Remind defaults” allows you to select whether to auto tune and adjust
reminder time if using auto tune.
1
Once one of your selections from “default” is highlighted in the SETUP service,
press MENU to display the Option menu. Make the changes using SELECT
scroll bar and V/v buttons.
2 Highlight “done” and press SELECT. Press SELECT again to exit the menu.


