41
6.1.3. Camera Location
Enter installing location of the selected camera. Click on the keyboard icon to
display virtual keyboard screen. Click the virtual keyboard screen with the
mouse to input camera location.
Input dot (.) in front of the title. Then, the channel number of the title will not be
seen in the main screen.
For example, input “.B/D Side” is input; the screen will appear as “B/D Side” in
the screen. When only “B/D Side” is input, the screen will appear as “1. B/D
Side”.
6.1.4. Simple Recording Time Schedule
Time Range 1
Select the recording time of images from the selected camera.
For example, select from 0 to 24 hour and the recording will resume
continuously for 24 hours. When 0 to 12 hour is selected, the images record
for the first 12 hours and stop recording for the next 12 hours.
Whenever the installed sensor detects any motion, recording resumes will
even during the off-recording time.
(Refer to “Recording Schedule” for more detailed information)
Time Range 2
To select another recording time other than the recording time selected in
Recording Time 1, checkmark the box in front of Recording Time 2 to select
the time.
For example, when the Recording Time 1 is selected from 9 to 18 hour and
when the second recording time frame from of 20 to 24 hours is desired,
checkmark on the Recording Time 2 and chooses between 20 to 24 hours
time frame.
Weekend Recording Function
Select Saturday and/or Sunday to record.
When recording is not required on either Saturday and/or Sunday, turn off
appropriate checkmark.
For example, to record on Saturday and not on Sunday, set up as following
picture.
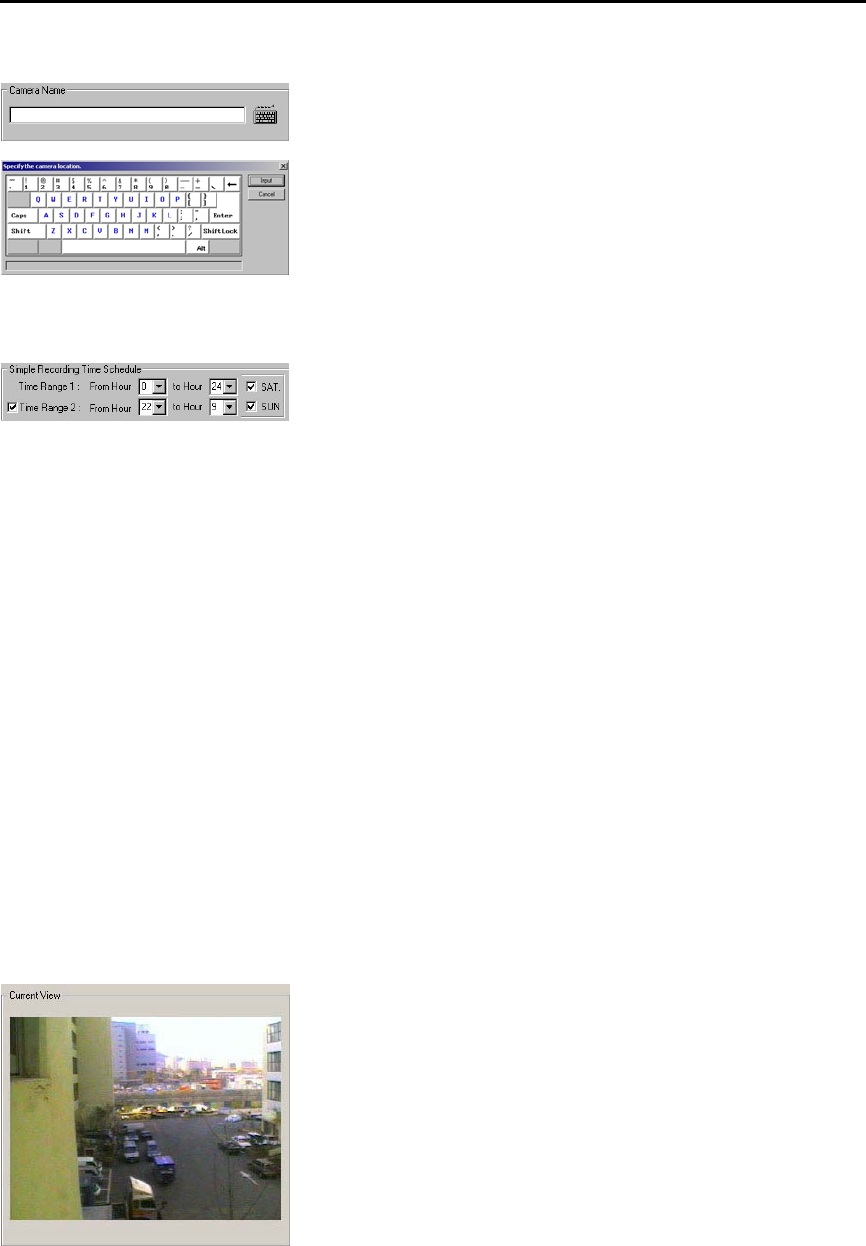
6.1.5. Current Recording View
Recordings of images from connected CCTV cameras are displayed on the
current recording view.
The [**bytes/frame] shown on the left bottom of the picture is the file size of a
frame (1 screen page). With this file size, the user can roughly calculate no.
Of hours that can be recorded into the hard disk.


