42
6.1.6. Motion Detection Area
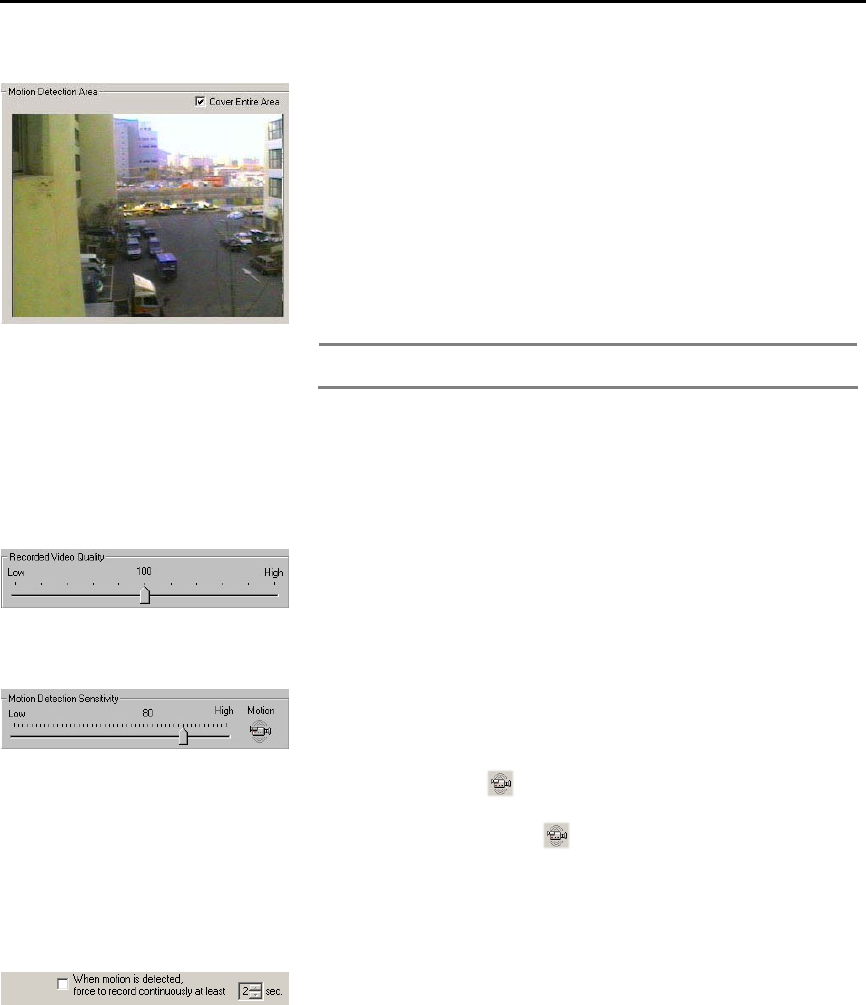
Motion detection area can be selected on the motion detection area screen
after the checkmark on the “All Ranges” selection is turned off.
1. Click the left mouse once: One field box is created.
2. Click left mouse and drag: Field box is created following the direction of
the drag.
3. Click the left mouse twice: The whole area in the chosen box is created.
4. Click the right mouse once: Disable one of the selected boxes.
5. Click the right mouse twice: Disable the entire selected box.
When the selection is made, any movements in the selected range will be
recorded.
Note Recording is not supported if you don’t configure the motion
detection area after disable “All Ranges” setting.
Cover Entries Area
When all ranges are selected, any motion detected in the entire screen is
recorded. The all ranges are set as default.
6.1.7. Recorded Video Quality
Use the slide bar to control the setting value for clearer recording image.
(Recommended recording picture quality: 100)
6.1.8. Motion Detection Sensitivity
Motion sensitivity of the images can be adjusted by using the slide selection
bar. We recommend users to record smaller movements with higher
sensitivity level. (Default: 80)
Continuous recording [
]
DVR is always in continuous recording.
When the camera shape button (
) is pressed, the images will be
recorded whether there is change in the image or not. Thus, if it is on, the
Motion Detection Sensitivity will not be used.
6.1.9. Motion Recording
When motion is detected, Recording will be proceeded in the period of given
time set up


