English - 69
Recording
68 - English
Recording
Recording through a DV
input jack
Connect the DV output jack of your camcorder to
the DV input jack on the front of your DVD
Recorder-VCR using a DV cable.
1
Power on your DVD Recorder-VCR and switch to
DV mode by pressing the INPUT SEL. on the
remote. Insert the disc.
2
With your DVD Recorder-VCR stopped, set the
operation mode of your camcorder to play mode.
3
Press the REC button on your DVD Recorder-VCR
when the image from which you want to start
recording is displayed.
4
Press the STOP button on your DVD Recorder-VCR
when the recording is finished.
5
Follow these directions to record onto a disc or tape the
outputs of a camcorder that has a DV output jack.
Some camcorders may not work with your DVD
Recorder-VCR even if they have a DV output jack.
Also refer to the user manual for your camcorder
when recording through a DV jack.
Note
Start Recording
Press the (REC) button on the remote control or
front panel.
For options while recording is in progress, see
“Special Recording Features”.
3
Basic VCR Recording
Insert Tape
Insert a blank VHS tape into the VCR deck.
• Make sure the tape is long enough to record the
entire program.
To change the Recording Speed, see page 70.
1
Select a Channel to Record
Use the 0–9 buttons or the Channel UP/DOWN
arrow buttons to select the desired channel, or press
the INPUT SEL. button to select Line 1, Line 2 or
DV if recording from an external device connected
to the front or rear Line inputs, respectively.
2
Before starting
1. Check TV channel and Antenna connections.
2. Check the remaining time on the tape.
You can record a TV show in progress by inserting a blank
tape and pressing the
(REC) button. You can even add
time in 30-minute increments up to 4 hours by pressing the
(REC)button repeatedly; see page 63.
Be sure your videotape has a Record Safety Tab. If
the tab is missing, you can cover the opening with
a small piece of tape. Do not cover this opening
unless you are sure you want to record over the
tape.
Note
Pause/Resume Recording
Press the (REC/PAUSE) button.
Press
(REC) again to resume.
4
Stop Recording
Press the (STOP) button.
5
Note
Also refer to the user manual for your External
Devices when recording through Line In mode
using Audio/Video cable.
5
Press the STOP button on your DVD
Recorder-VCR when the recording is finished.
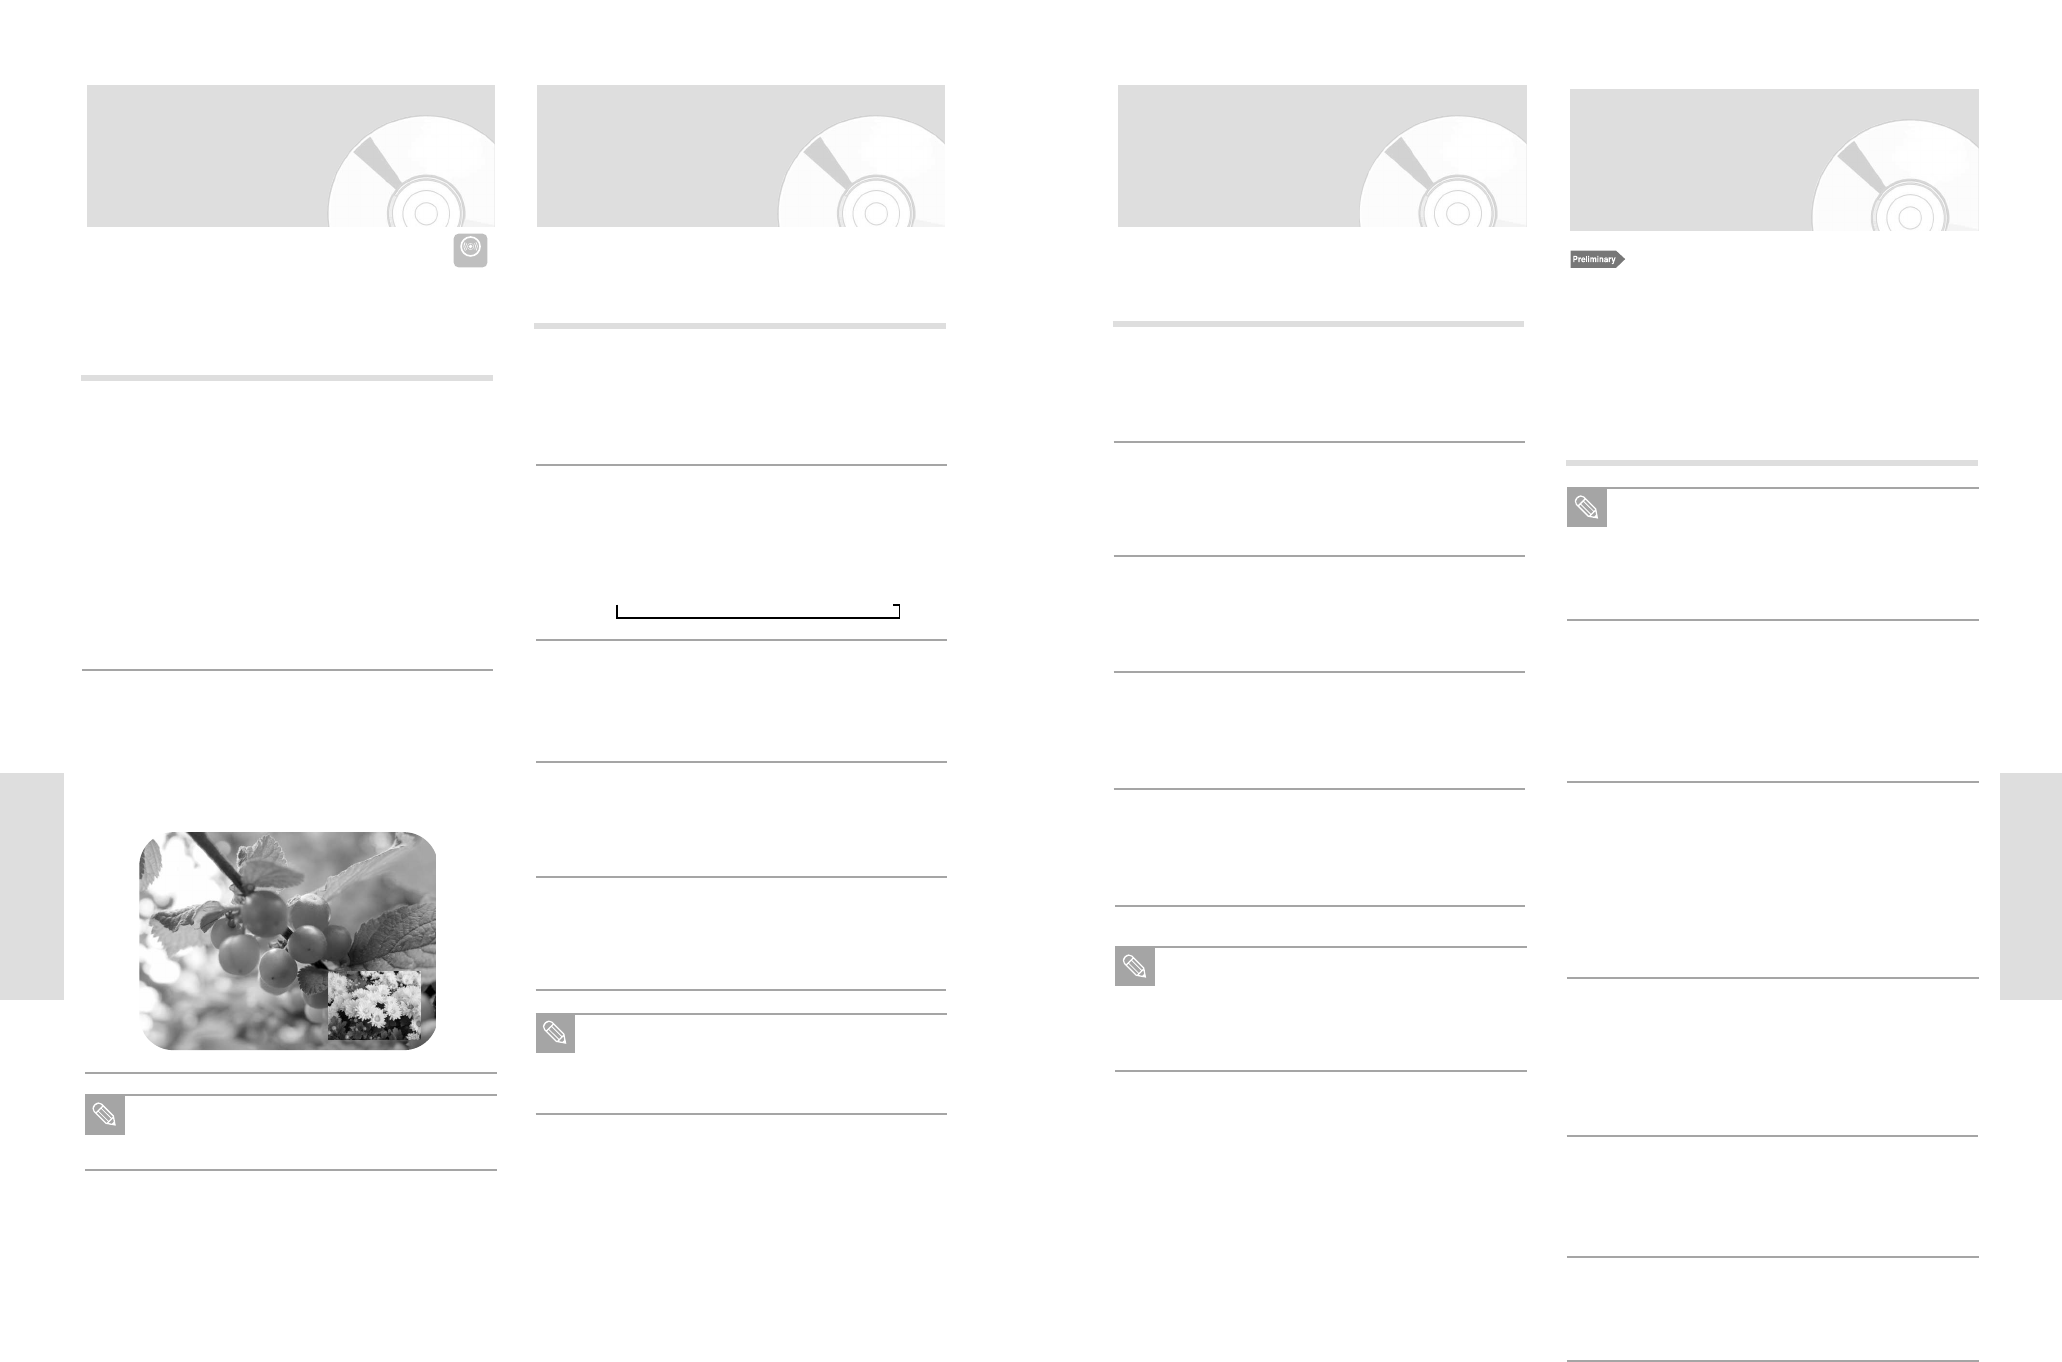
Watching the Images
Being Recorded (Time Slip)
Press the TIME SLIP button on the remote control.
• The recently recorded 10-second images are
played back on the PIP screen.
• This function starts to operate 10 seconds from
the time you press the REC button.
• On the TIME SLIP screen, you can playback,
scan, or perform other operations for the recorded
program using the playback related buttons.
Press the ➛➛button to scan the recording in the
reverse order, from the end to the start.
Press the ❿❿button to scan to the recently
recorded 10- second images.
1
Press the STOP button once to clear the TIME SLIP
function.
• To stop a recording while a TIME SLIP function is
in progress, press the STOP button twice.
2
This function allows you to watch the recently recorded 10-
second images on the PIP screen while a recording is in
progress.
The Time Slip feature only works with DVD-RAM
discs.
Note
Recording From
External Devices
Follow these directions to record onto a disc or a tape
from External Devices.
1
Connect the Line out jack of your External
Devices to the Line IN jack on the front or
rear of your DVD Recorder-VCR using
Audio/Video Cable.
2
Power on your DVD Recorder-VCR and
switch to Line In mode by pressing the
INPUT SEL on the remote .
The front panel display changes on the
following sequence
Channel Number
L1
L2
DV
3
When your DVD Recorder-VCR is in the
stop state, set the operation mode of your
External Devices to play mode.
4
Press the REC button on your DVD
Recorder-VCR when the image from which
you want to start recording is displayed.
