


MCX-2000 Setup Guide
14
2
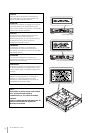
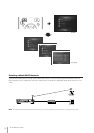
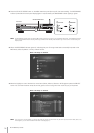
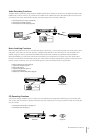
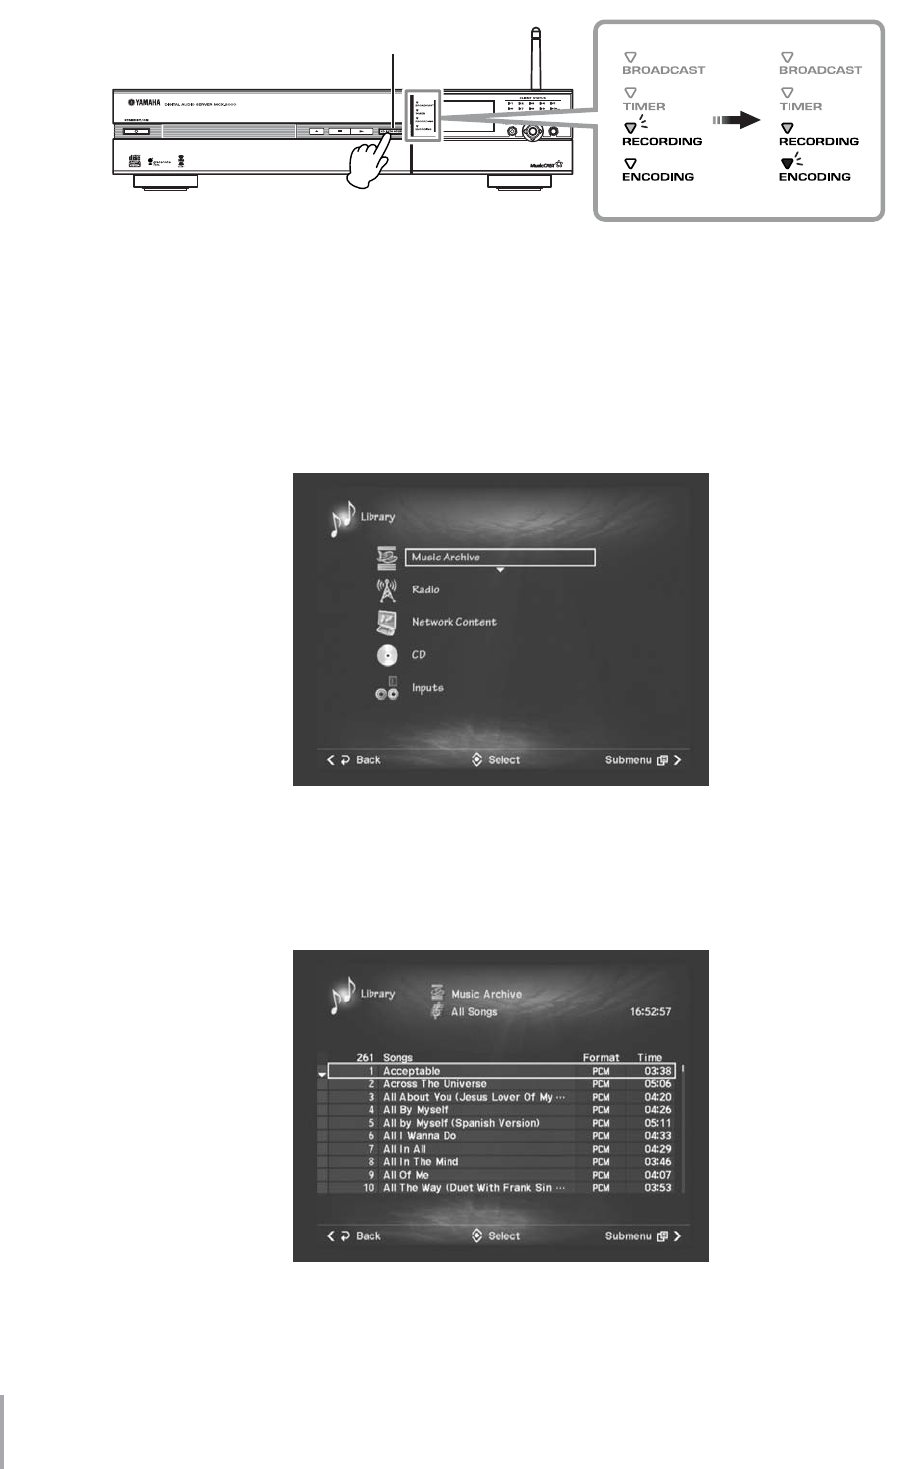
Press the CD AUTO STORE button on the MCX-2000 front panel (the tray will close automatically). The RECORDING
indicator (at the left of the front panel display) lights in red, followed by the ENCODING indicator lighting in green.
n The RECORDING indicator lights up while the MCX-2000 is importing CD songs in (uncompressed) PCM format. The ENCODING indicator
lights up while the MCX-2000 is encoding PCM songs to MP3 format. Naturally, these indicators go off a first-in, first-out basis during the
import process.
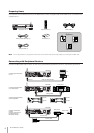
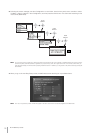
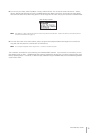
3 When the RECORDING indicator goes off, indicating that your CD songs have been successfully imported to the
MCX-2000, select Top Menu > Library > Music Archive.
4 Move the highlight to one of the first four menu items (Artists, Albums, Genres or All Songs) and press the SELECT
button. You can view the artist name, album title, genre or a list of songs from the music CD you just imported.
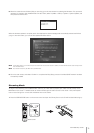
n If the music CD is a recent release or a private, self-made CD, generic song information may be shown (such as unknown artist, album, etc.).
If this happens, you can enter the relevant information manually (page 75).
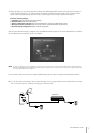
MCX-2000
CD AUTO STORE button
When “All Songs” is selected:
When “All Songs” is selected: