


AVerMedia LX5000 User’s Manual
23
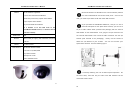
the grids will turn yellow on which the further information will be shown.
With the information go to System setup Alarm setup Relay
alarm to find out the generated sensor.
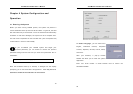
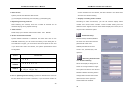
Time/Date
This field contains the
current time (hour:minute:second)
and date (year/month/date). You can
double-click here to reset the time
and date in the displayed dialog box
besides.
Software Version
It displays the software version of the AVerMedia LX5000 system
Hard Disk Status
This information shows the total disk capacity and available disk space
of all the hard disks in the system.
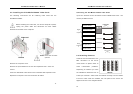
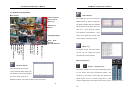
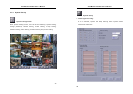
Enlarging Display
Click “1-Camera Display” this button to view image from a single
camera and switch any camera into a specific camera. Double clicking
on any of the images will enlarge that image and move it into a corner.
AVerMedia LX5000 User’s Manual
24
Since that one image was enlarged the total number of remaining
images will be reduced. In the example below, the 16-image display
(figure 1) is reduced to a 13-image display after one of the images was
enlarged. You can repeat this process until you are left with 7 images
(3 large and 4 small – figure 8). If you further click on any image, the
screen will remain as 7-camera display placing the last double-clicked
image in the upper left corner. You can also do this with the 9-Camera
Display mode, but the initial double-click will turn the 9-screen display
into a 16-screen display.
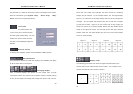
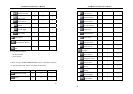
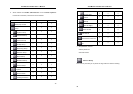
Display mode
The following grid shows how camera images are positioned on the
monitor when in the different split screen modes. The numbers in the
squares correspond to the camera numbers.
1
Figure 2 Figure 3 Figure 1 Figure 4