


AVerMedia LX5000 User’s Manual
25
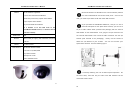
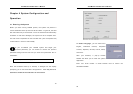
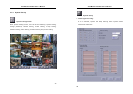
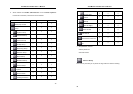
4-Camera Display
The first click of this button displays cameras 1 through 4 on
the screen. Continue to click to view cameras 5 through 8, 9 through
12, 13 through 16, and finally returning to cameras 1 through 4. The
cycle goes on as illustrated in Figures 5 through 4. Double-clicking any
camera image under the 4-Camera display will take you to the full-
screen display and begin the Auto Scan function
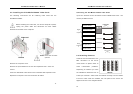
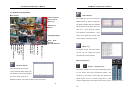
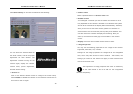
9-Camera Display
Clicking this button displays cameras 1 through 9
concurrently.
16-Camera Display
Clicking this button displays all sixteen cameras
concurrently.
Figure 5
Figure 6
Figure 7
Figure 8
AVerMedia LX5000 User’s Manual
26
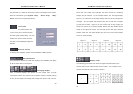
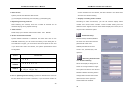
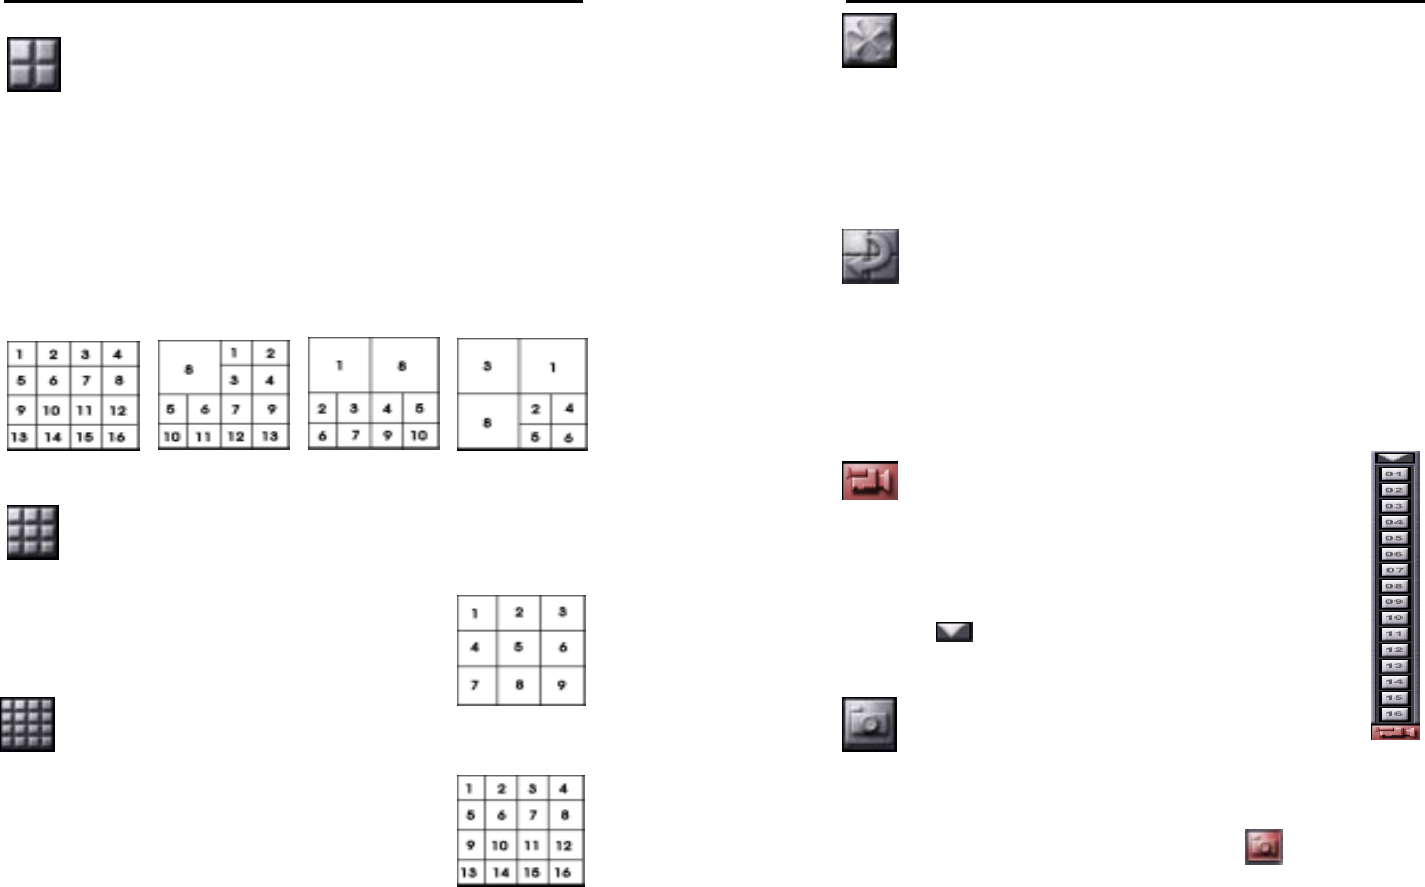
Full Screen
Click this button displays, you can switch the current audit mode to full
screen. If you witch to switch back to audit mode, right click on mouse
button so that you can exit full screen mode.
Auto Screen
In screen splitting mode, click this button to enable auto scanning
function. It will enable camera to repeat scanning according to camera
setting. Click on this button again will stop scanning function.
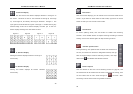
Camera option button
During scanning, click option button to select one camera from
the list, and screen will switch for designated camera, then go
back to original loop to continue scanning function; click drop
down menu
and disable the selected camera.
Screen capture
Click this button to save the current auditing screen to a jpg file, and
the saved time will be used as the file name. During the file saving, click
on the button and its color would change to red color. After
file saving is done and its color will go back to normal.