Connections & Setup
10 Chapter 1
Chapter 1 11
Connections & Setup
DIRECTV
®
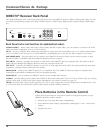
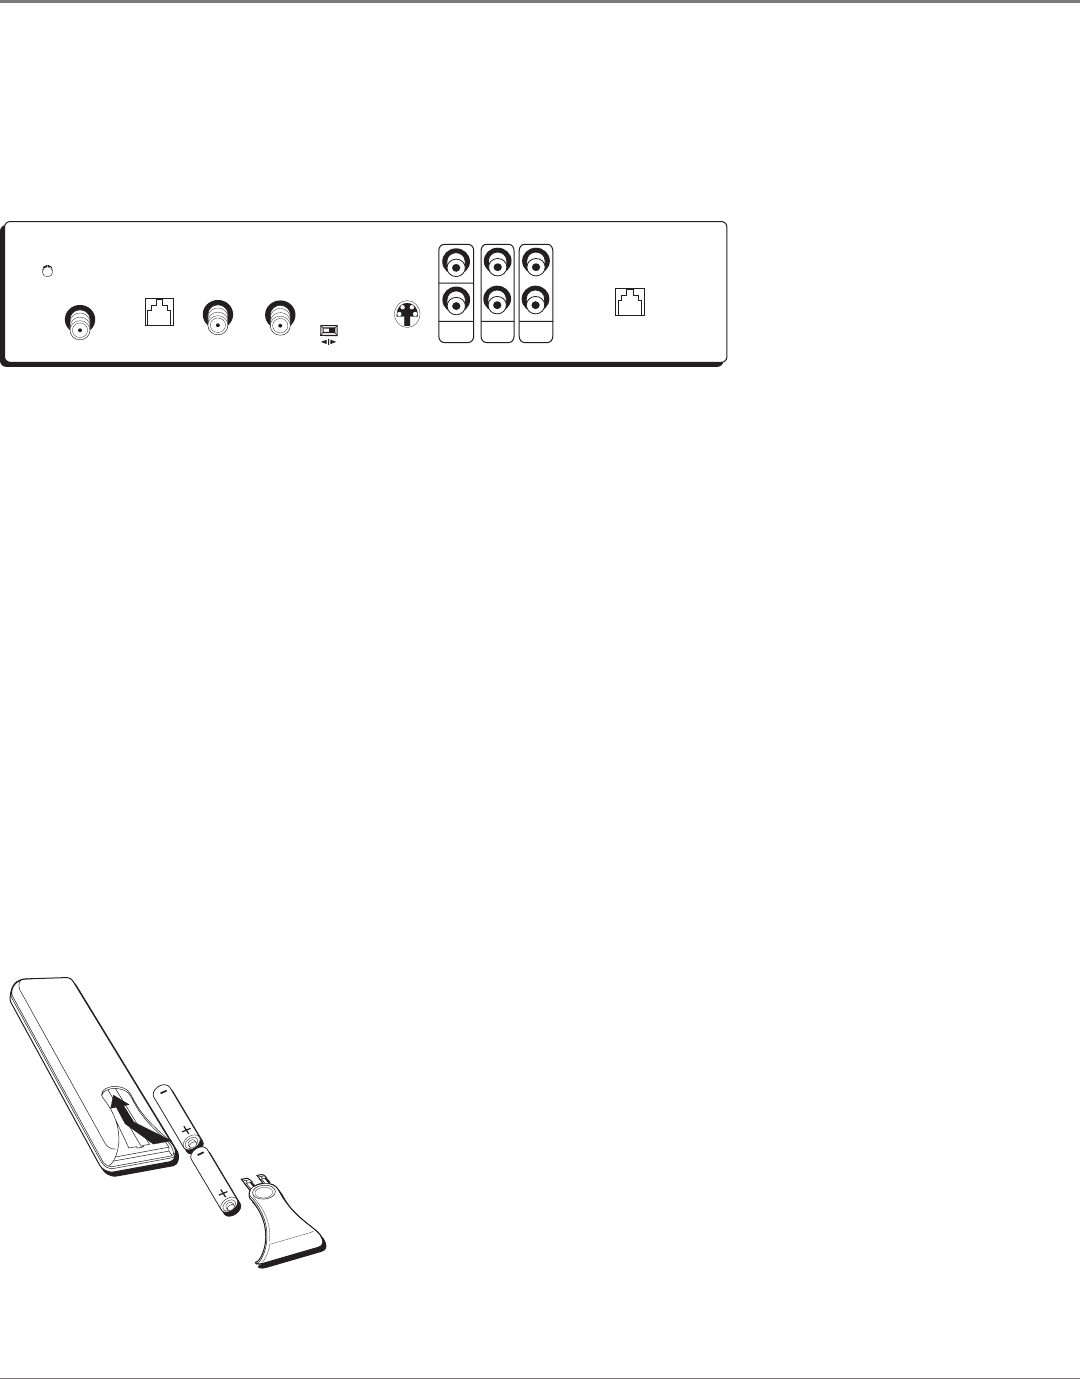
Receiver Back Panel
This diagram illustrates each of the back panel jacks found on your DIRECTV Receiver. When working with cables, be sure
to connect corresponding outputs and inputs (VIDEO output to VIDEO input, Right AUDIO output to Right AUDIO input,
etc.).
Back Panel Jacks and Switches (in alphabetical order)
AUDIO (R and L) Audio cables offer better sound quality than RF coaxial cables. You can connect a second set of audio
cables to another component, such as a VCR or stereo.
CH 3-4 If you're using the Basic Connection (described on pages 8-9), this switch allows you to set which channel (either
3 or 4) you'd like to use on your TV to watch DIRECTV
®
programming (try to use the one that's "empty" in your area).
LOW SPEED DATA This port allows you to connect your DIRECTV Receiver to future services and accessories as they
become available. A shielded cable and additional hardware may be required.
OFF AIR IN Connect a standard TV antenna or cable feed to the DIRECTV Receiver using this jack. The cable or off-air
signal will pass through the DIRECTV Receiver when you turn the receiver off.
OUT TO TV Connects the DIRECTV Receiver to your TV or VCR using RF coaxial cable. This jack provides the most basic
connection, carrying average sound and video quality.
PHONE JACK Connects the DIRECTV Receiver to a telephone line. The DIRECTV Receiver requires a telephone line
connection to periodically communicate with your program provider.
SATELLITE IN Use to connect the DIRECTV Receiver to the satellite dish antenna.
S-VIDEO Provides better picture quality than VIDEO or RF coaxial cable jacks. If your TV has an S-Video jack, use it along
with the audio jacks (S-Video only carries picture information, not sound) to connect to your TV.
VIDEO Provides better picture quality than the OUT TO TV jack. Connect the second VIDEO jack to another device, such
as a VCR. You must also connect the AUDIO cables when using the VIDEO connection.
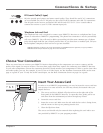
Place Batteries in the Remote Control
Follow these steps whenever you need to install or change the batteries in your
DIRECTV Receiver’s remote control.
1. Remove the cover from the battery compartment.
2. Insert batteries in the battery compartment, matching the + and – end of each
battery.
3. Replace the cover.


