


94 Viewing, Printing, and Saving Photos
4 You see a writing confirmation message while your photos are written to the CD and the
drive light flashes. When it’s finished, the CD tray opens and you see a completion
message. Press Enter.
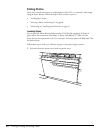
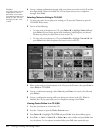
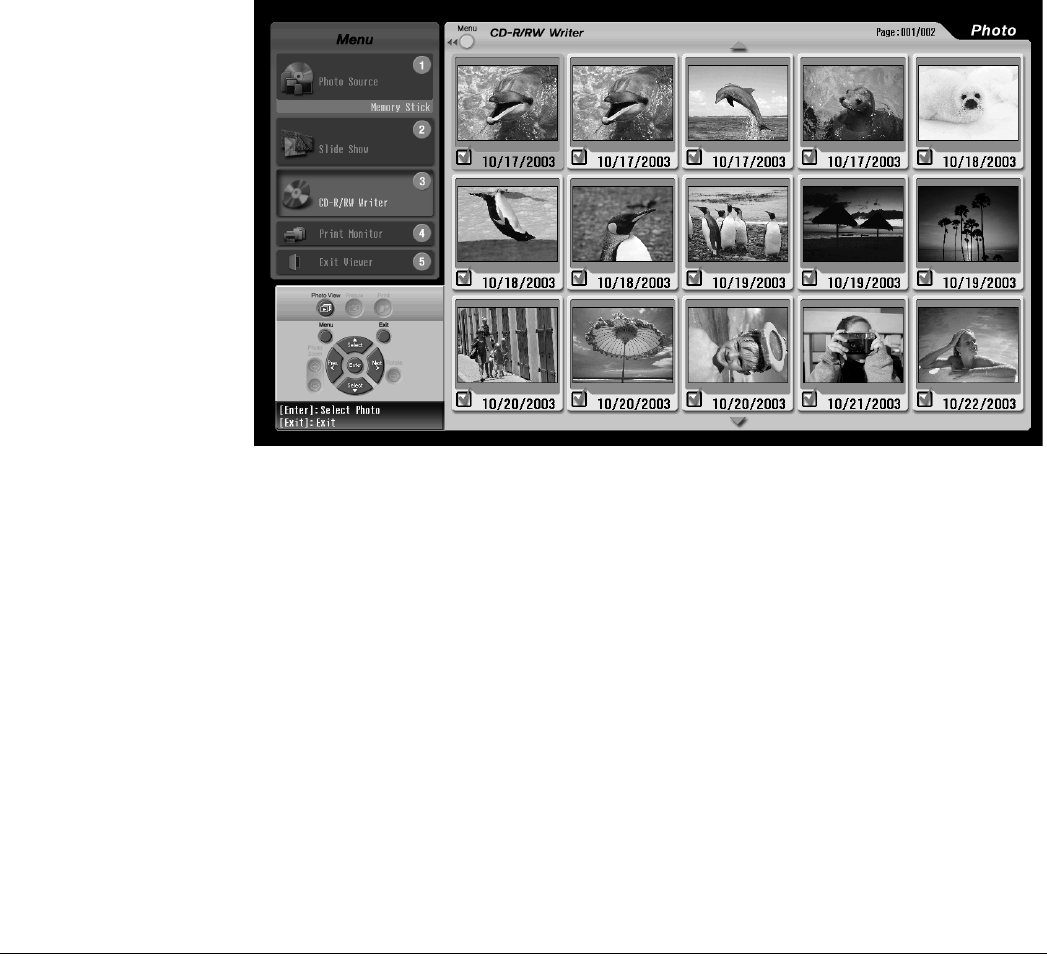
Selecting Photos for Writing to CD-R/RW
1 To select only some of your photos for writing to CD, press the 3 button to open the
CD-R/RW Writer menu.
2 Do one of the following:
• To write most of the photos to a CD, press Select d to highlight Select all and
press Enter. All your photos appear with checkboxes, indicating they are selected.
Deselect any photos you don’t want to write to the CD.
• To write only a few photos to a CD, press Select d to highlight Cancel all and
press Enter. Select only the photos you want to write to the CD.
3 When you’re ready to write the photos to the CD, press the 3 button, then press Enter to
select Write to CD-R/RW.
4 You see a confirmation message. Select Yes and press Enter. (To cancel, select No and
press Enter.)
5 You see a confirmation message while your photos are written to the CD. When it’s
finished, the CD tray opens and you see a completion message. Press Enter.
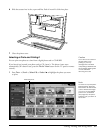
Viewing Photos Written to a CD-R/RW
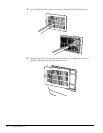
1 Press the eject button to re-insert the CD.
2 Press the 1 button to open the Photo Source menu.
3 Press Select d to highlight CD-R/RW and press Enter. Your photo folders appear.
4 Press Prev. <, Next >, Select d, or Select u to select a folder and press Enter. You
see your photos. To view photos in another folder, press Exit; then repeat this step.
Caution
Don’t eject a disc, remove
a digital photo card, or
disconnect or turn off the
CD-R/RW drive while you’re
writing to a disc. You may
damage your disc, card,
or drive.