Setting Up
Setting Up 19
2
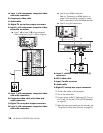
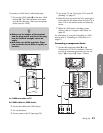
Connect the cable to the HDMI device (C).
3 Turn on the device, and start play.
4 Connect power to the TV (see page 25).
5 Turn on the TV; see “Turning the TV On and Off
(Standby)” on page 27.
6 Select the input source by pressing the Input button
on the remote control or on the TV.
7 Define the HDMI Setup items under Options in the
Menu screen displays; refer to “Using the Options
Menu” on page 61.
Connecting a DVI device
The DVI cable and the audio cable are sold separately.
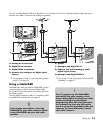
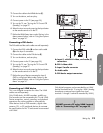
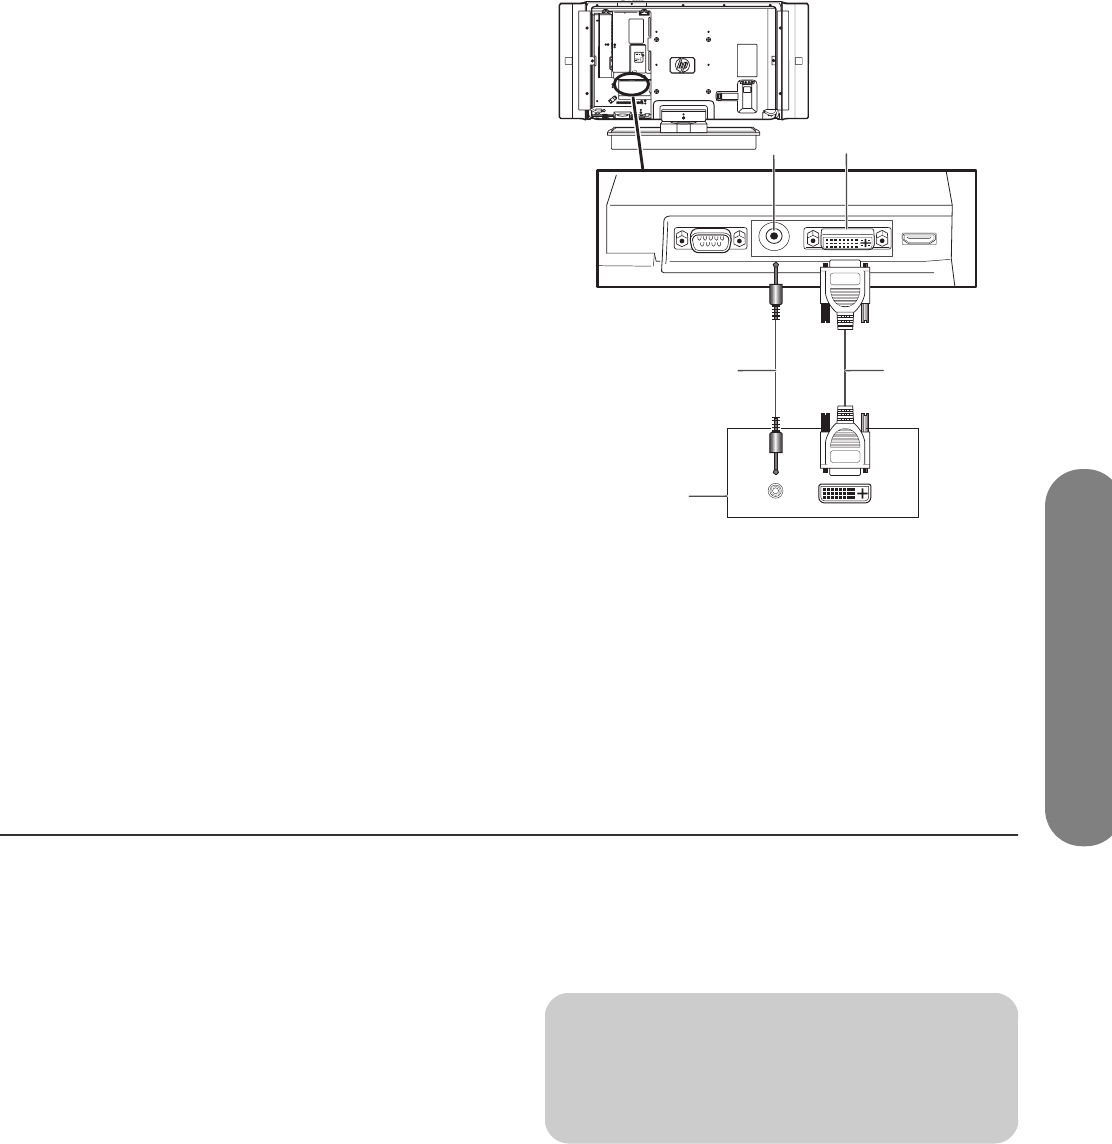
1 Connect the DVI-I cable (B) and an audio cable
(D) to the Input 5 connectors.
2 Connect the cables to the DVI device (E).
3 Turn on the device, and start play.
4 Connect power to the TV (see page 25).
5 Turn on the TV; see “Turning the TV On and Off
(Standby)” on page 27.
6 Select the input source by pressing the Input button
on the remote control or on the TV.
7 Define the type of device connected to Input 5
(DVI) by using Input Select under Options in the
Menu screen displays; refer to “Using the Options
Menu” on page 61.
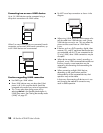
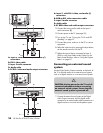
A: Input 5, with DVI-I video, and audio (C)
connectors
B: DVI-I video cable
C: Input 5 audio connector
D: Audio cable
E: DVI device output connectors
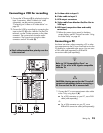
Connecting an i.LINK device
This is an all-digital connection for video. The i.LINK
cables are sold separately.
Only D-VHS decks, AV HDD recorders, and Blu-ray
Disc recorders can be connected to this TV with i.LINK.
Device recognition, control, recording, and playback
operations may not be possible on some devices.
Other devices such as DVD recorders, digital video
cameras, PCs, or PC peripheral devices do not meet
the specifications for this TV and cannot be connected
with i.LINK.
Only digital programs can be recorded by an i.LINK
devices connected to this TV using the i.LINK. (Analog
broadcasts or external input signals from Input
terminals 1 through 5 cannot be recorded by i.LINK.)
C
A
E
D
B
!
DO NOT connect a PC using i.LINK. Instead,
refer to “Connecting a PC” on page 23.


