49
ENGLISH
ADVANCED FUNCTIONS
Video Memory Select
Video Setup
DISPLAY
Memory
Check
ENTER
Select
Off 3
21
Move
Prog.Motion
fast Slow
Page 1/2
PureCinema
Auto Off
Off 1 2 3
YNR
off
off
off
off
max
CNR
max
MNR
max
BNR
max
Sharpness High
fine
Sharpness Mid
soft
soft
fine
Memory
On
Detail
max
Page 2/2
White Level
Off 1 2 3
Black Level
off
min
0 IRE 7.5 IRE
min
green
min
–
max
Black Setup
max
Hue
red
Chroma Level
max
Chroma Delay
+
Memory
DISPLAY
Prog.Motion
Move
Check
ENTER
Select
fast Slow
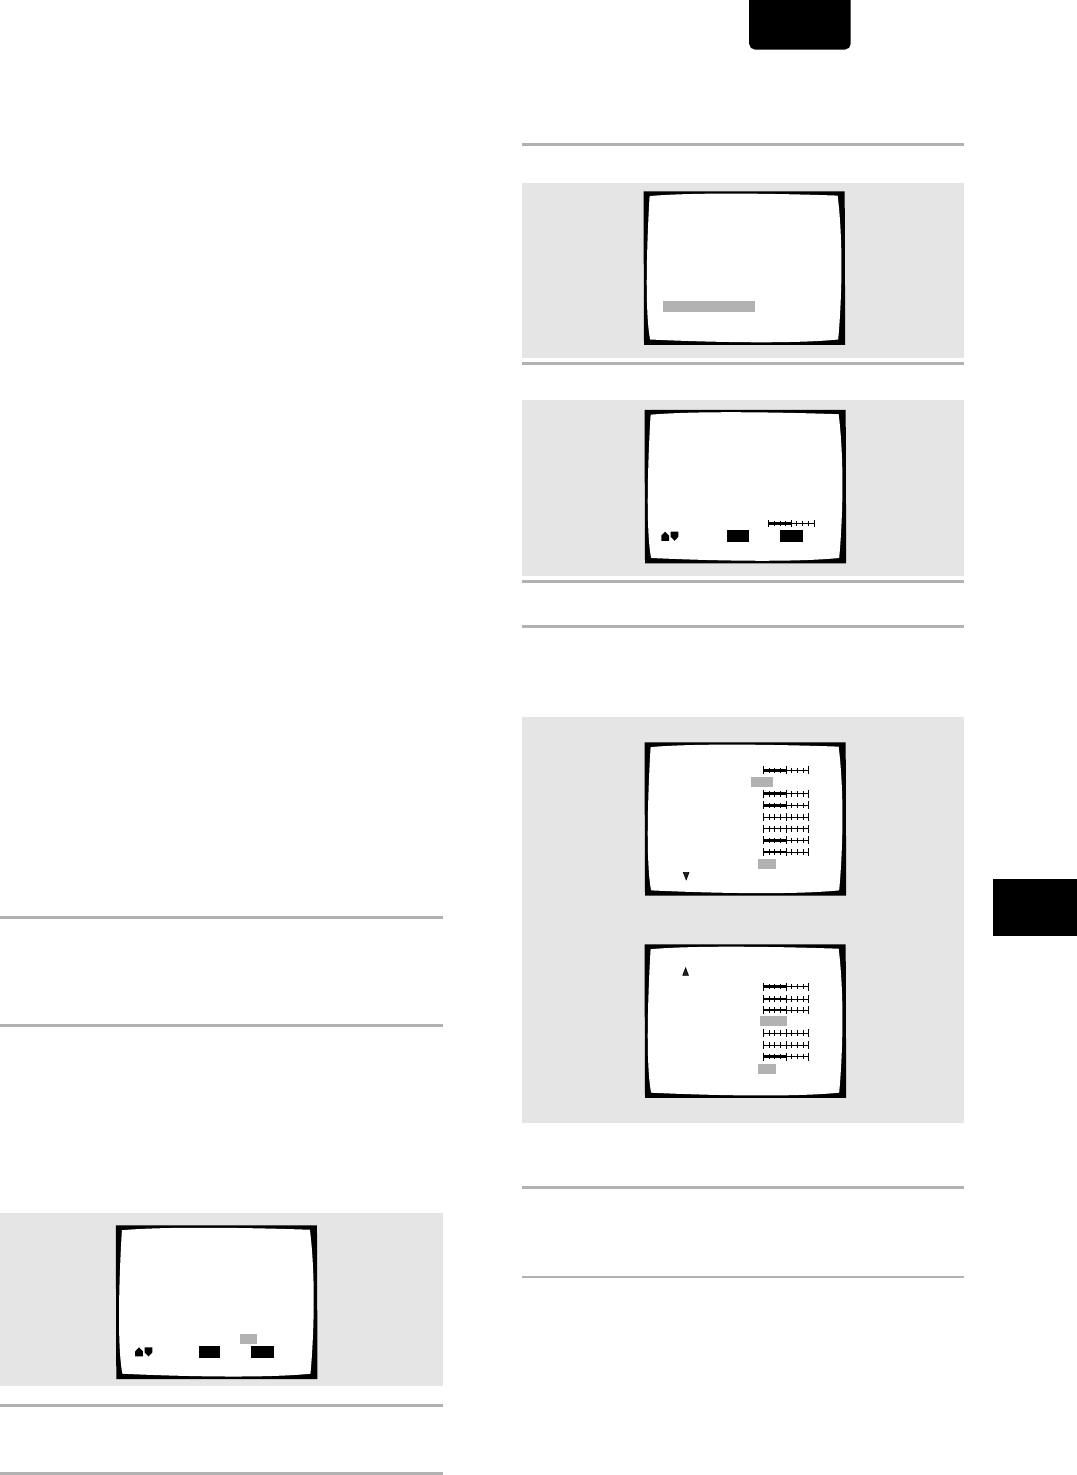
To create your own setting (2):
1 Press VIDEO ADJ. (UST).
2 Select Video Setup, then press ENTER.
3 Press DISPLAY.
4 Move the cursor control joystick up or down to
select a setting; move it left or right to adjust
that setting.
Adjust these while a disc is playing to see the effect of
changes immediately.
5 To memorize the setting, select memory 1, 2 or
3, then press ENTER.
The previous setting will be erased.
To create your own setting (1):
You can adjust any or all of the following picture quality
factors:
Prog. Motion – When using progressive scan, this
adjusts the motion and still picture quality.
PureCinema – When watching DVD movies,
PureCinema optimizes the picture quality. The default
setting is Auto, but if the picture appears unnatural, then
set to On or Off as desired and adjust the Prog. Motion
setting (see above). See PureCinema in the glossary
starting on page 67.
YNR – Adjusts the amount of noise reduction (NR)
applied to the Y (brightness) component.
CNR – Adjusts the amount of noise reduction (NR)
applied to the C (colour) component.
MNR (Mosquite Noise Reduction) – Adjusts the amount
of noise reduction applied to the mosquito noise (video
artifacts on the edge of the image resulting from MPEG
compression).
BNR (Block Noise Reduction) – Adjusts the amount of
noise reduction applied to the block noise.
Sharpness High – Adjusts the sharpness of the high-
frequency (finely detailed) elements in the picture.
Sharpness Mid – Adjusts the sharpness of the mid-
frequency (less detailed) elements in the picture.
Detail – Adjusts how sharp edges appear in the picture.
White Level – Adjusts the intensity of white in the
picture.
Black Level – Adjusts the intensity of black in the
picture.
Black Setup – For correction of floating black colour.
Hue – Adjusts the overall colour balance between red
and green.
(This is only effective with NTSC video when the player is
connected using the VIDEO OUT or S-VIDEO OUT
signals.)
Chroma Level – Adjusts how saturated colours appear.
Chroma Delay – Compensates for misalignment of the Y
(brightness) and the C (colour) components.
5 Move the cursor control joystick right or left to
adjust the settings.
If a DVD or Video CD is playing, the changes will be
visible on the screen as they are adjusted.
6 Repeat steps 4 and 5 to make adjustments to
other settings.
If you would like to save the settings in the player’s
memory, be sure to select either “1”, “2”, or “3” in the
[Memory] setting to establish which memory location to
save the new settings in. Please note that if you select a
location where settings have already been saved, the old
settings will be replaced by the new ones.
7 When you are finished making adjustments,
press ENTER to establish the new settings.


