9
ENGLISH
Before Using
Checking Accessories
Please confirm that the following were received with the
player.
Audio / Video cord
System Control cord
Power cord
Remote control unit
AAA/R03P batteries
When disposing of used batteries, please comply with
governmental regulations or environmental public
instruction’s rules that apply in your country or area.
Operating instructions (this manual)
MEMO
CONDITION
LAST MEMO
CLEAR
ENTER
312
SETUPRETURN
MENU
TOP MENU
REPEAT
POWER
SEARCH
+10
VIDEO ADJ.
OPEN/CLOSE
DISPLAY
ANGLE
PROGRAM
AUDIO
A-B
F.MEMO
SUBTITLE
0
987
654
RC-12DVS1
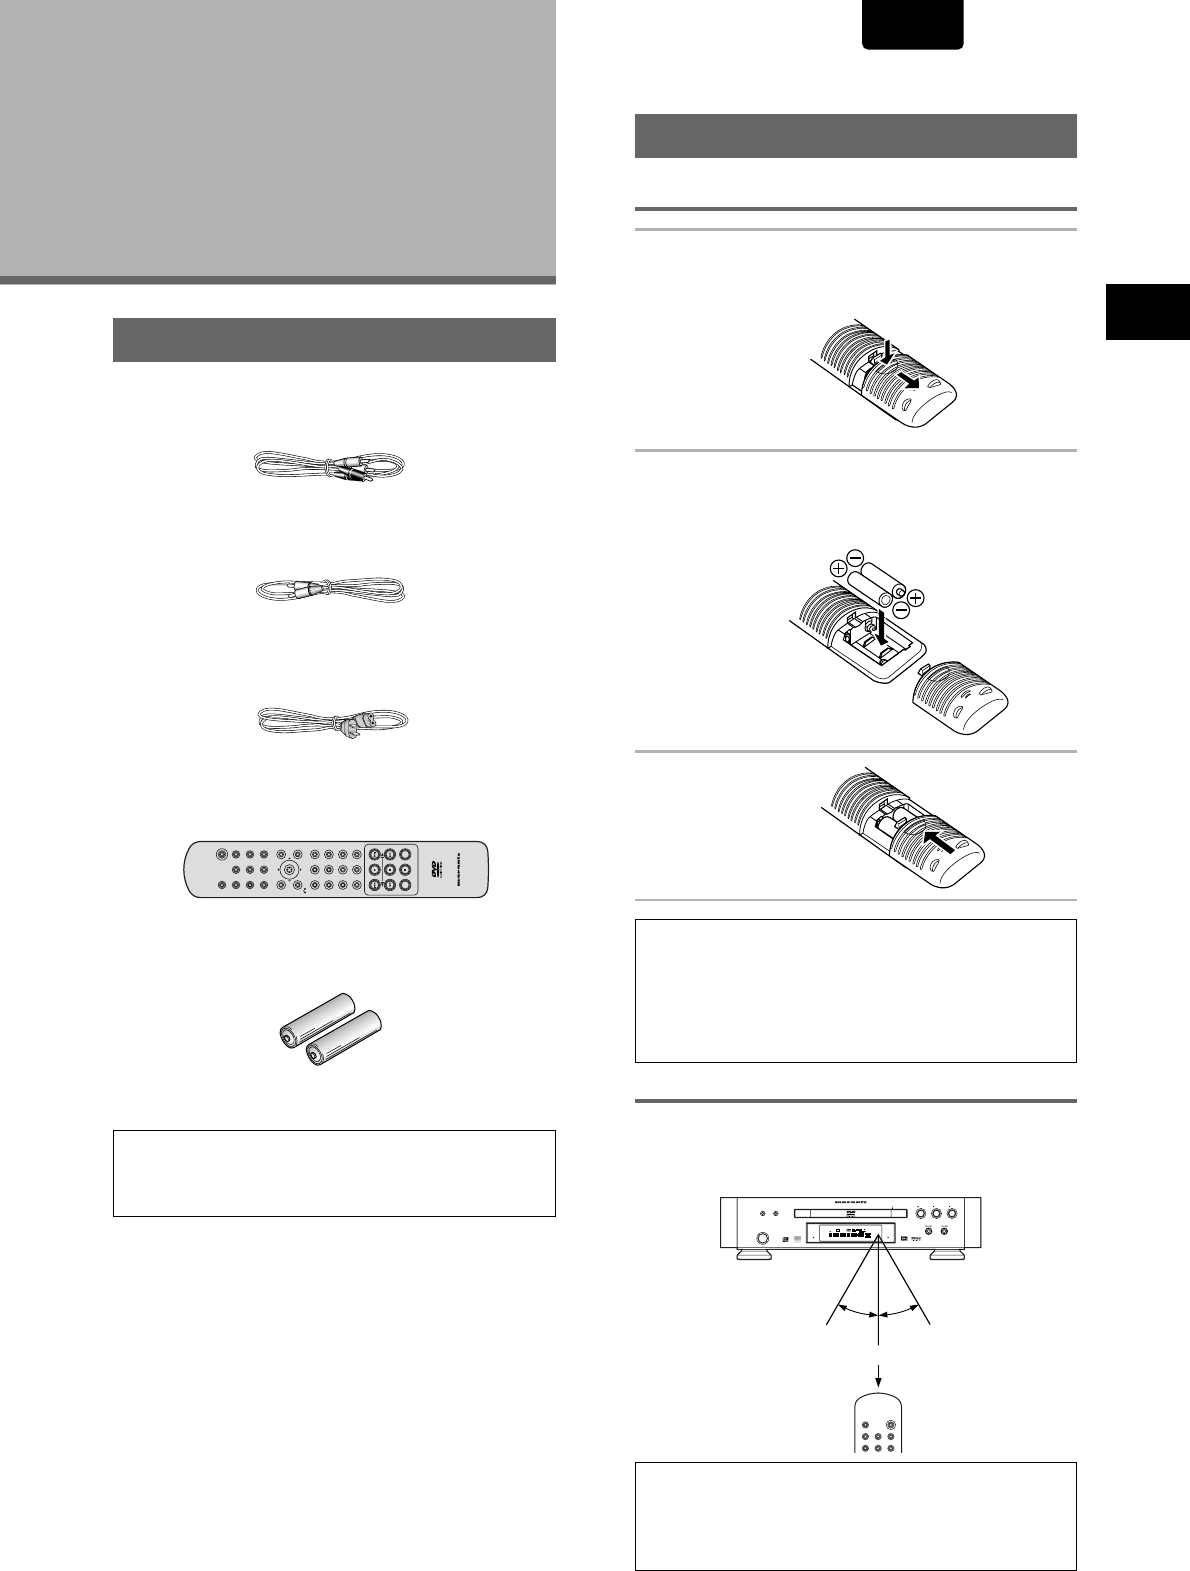
Preparing the Remote Cotrol
Inserting batteries into the remote control
1 While pushing the tab on the battery
compartment cover toward the center of the
remote, pull out in the direction indicated by
the arrow.
2 Insert batteries.
Make sure to match the plus (+) and minus
(–) polarity guides on the batteries with the marks inside
the battery compartment.
3 Close the cover.
Notes
• Exposing the remote sensor to direct sunlight or strong light may
cause faulty operation.
• When using this DVD player independently, set a REMOTE
CONTROL switch on the rear panel to “INTERNAL”. (Page 19)
Within about 17 feet
30° 30°
REPEAT
POWER
VIDEO ADJ.
OPEN/CLOSE
DISPLAY
PROGRAM
A-B
F.MEMO
FL OFF
STANDBY
PAUSE
POWER
RANDOMDIMMER
PLAY STOP
DVD PLAYER DV-12S1
OPEN/CLOSEVIDEO ON/OFF
V-PART
DVD
AUDIO
192kHz
96kHz
TRK
CHP
TEMAIN
TOTAL
DOLBY D
DIG OFF
GRP
TITLE
VIDEO OFF
LC
LFE
R
LSSRS
PROGRESSIVE
LAST MEMO
CONDITION
DOWN MIX
Notes
• Do not mix old and new batteries.
• When replacing batteries, use all new batteries.
• When not using the remote control for a long period of time (over
1 month), remove the batteries to avoid possible damage from
battery corrosion. If battery leakage occurs, wipe the battery
liquid from the battery component, then insert new batteries.
Remote control operation
When operating the remote control, point it at the remote
sensor located on the player’s front panel. The remote control
can be used up to 17 feet (5 m) from the player and within a
30 angle on each side of the sensor.
BEFORE USING


