


3
Controls & Displays
15
English
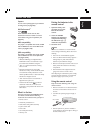
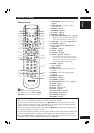
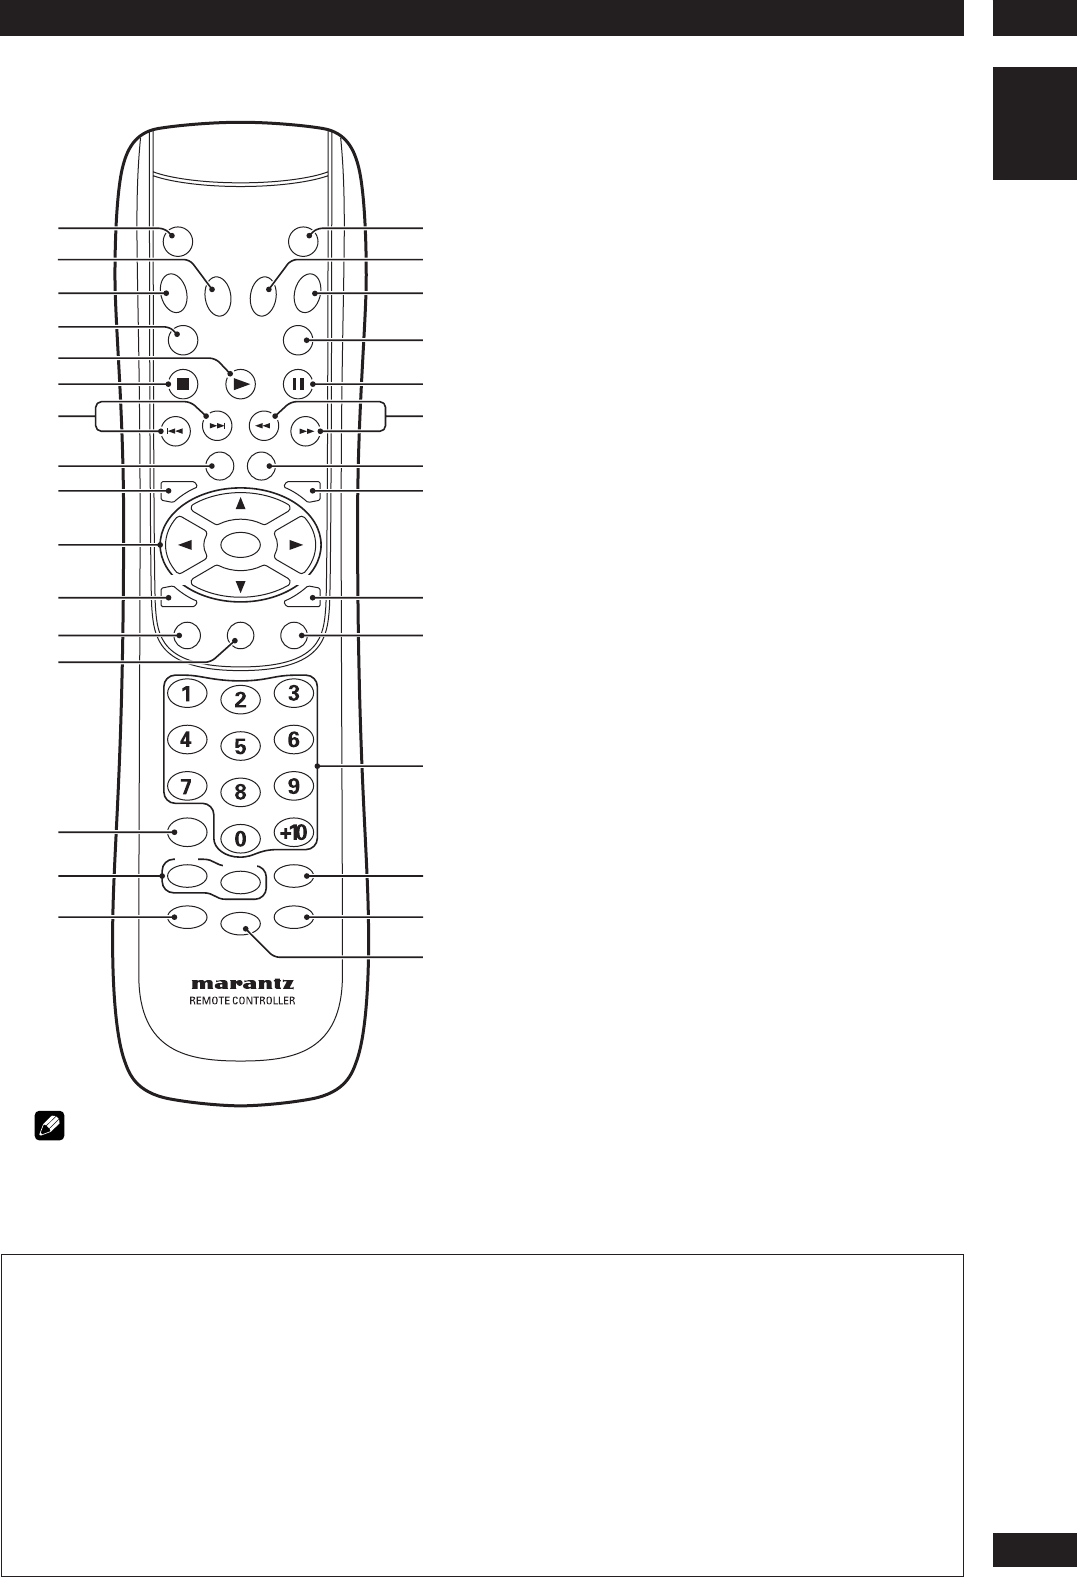
Remote control
SET UPRETURN
SEARCH
POWER
PLAY
MENU
TOP MENU
NEXT
VIDEO ADJ. ZOOM
PREV.
ENTER
ANGLE
CLEAR
REPEAT
RANDOM
A - B
PAG E
CONDITION
SUBTITLE AUDIO
VIDEO
DISPLAY DIMMER MARKER
PROGRAM
PAU SE
STOP
OPEN/
CLOSE
ON/OFF
FF
REW
S. MODE
1
2
3
4
5
6
7
8
9
!
=
~
-
0
+
@
#
$
%
^
&
*
(
)
_
¡
£
¢
™
∞
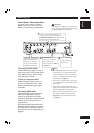
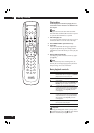
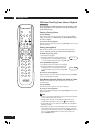
• This remote control supports two remote control codes: DVD1 and DVD2.
•When the unit is shipped from the factory, the remote control is set to DVD1.
•To set the remote control to DVD2, hold down both 7 (STOP) button and 2 number button on the
remote control for at least five seconds. (If the batteries in the remote control are replaced while the
remote control is set to DVD2, the setting will revert to DVD1.)
•To set the remote control back to DVD1, hold down both 7 (STOP) button and the 1 number button
on the remote control for at least five seconds.
•To check which remote control code is set at any time, hold down both the Stop and Pause buttons; the
current setting (either “DVD1” or “DVD2”) will be displayed in the display window on the main unit.
• Also set the REMOT CODE on the FL menu to the same setting as the remote control. (This setting is
set to DVD1 when the unit is shipped from the factory.) (see page 32)
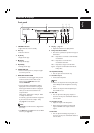
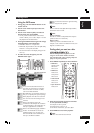
1OPEN/CLOSE – Disc tray open/close –
page 16
2 VIDEO ON/OFF – press to turn video
output off and on
3DISPLAY – page 19
4PROGRAM – page 25
5 3 (PLAY) – page 16
6 7 (STOP) – page 16
7 4 (PREV.)/¢ (NEXT)– Skip – page 16
•
Allows you to search forward/backward through
a disc. Use to skip the title, chapter or track.
8 VIDEO ADJ. – Video adjust (pages 30–31)
9TOP MENU – page 17
10 Cursor (2/3/5/∞) / ENTER button –
pages 17, 33
11 RETURN – page 33
12 A NGLE – page 26
13 SUBTITLE – page 26
14 CLEAR – pages 24–25, 29, 52
•Press this button for three seconds or more to
return the unit to its previous state when the
video does not appear correctly on the TV or
projector after making HDMI settings.
15 REPEAT – page 23
A–B – page 23
16 PAG E – page 21
17 PO WER – switches the player on or into
standby
18 D IMMER – Press to change the display
brightness
19 MARKER – page 24
20 SEARCH – page 19
21 8 (PAUSE) – page 16
22 1 (REW)/¡ (FF) – Scan – page 16
23 ZOOM – page 27
24 MENU – page 17
25 SET UP – pages 17, 33
26 AUDIO – page 27
27 Number buttons – page 17
28 RANDOM – pages 22, 28
29 CONDITION – page 21
30 S.MODE – page 42
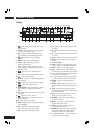
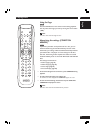
Note
Audio is not output from HDMI output
when Video out is set to Off with VIDEO
ON/OFF button on the remote control.