All other Windows systems:
1. Open the START menu and click on the RUN tab.
2. In the RUN menu, type “winipcfg”.
3. The resulting window should display the IP address of your system. Please take note
of this address.
Setting the DVR
1. On the DVR, press the SETUP button and select the COMMUNICATION tab.
2. In COMMUNICATION, select NET IP, then SET.
3. In the NET SETTING window, enter the IP address you identified on your computer in
the step above for all numbers except the last 3 digits. You may assign these last 3
digits for any number between 001 and 255 (xxx.xxx.xxx.001 to xxx.xxx.xxx.255) but
may not be identical to the last 3 digits of your computer’s IP address. It is not
necessary to change the MASK or GATEWAY settings.
4. Press enter to save these changes.
To view the DVR from your computer, refer to Section 11.1 or 11.3.
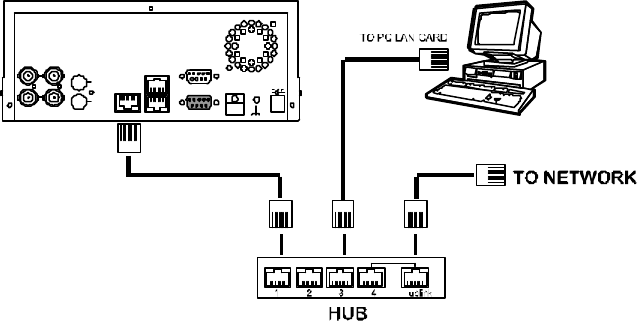
9.1.2 Connect to a LAN Hub (INTRANET)
RJ-45
RS-232
ALARM
DC12V
AUDIO
IN
IN
OUT
OUT
VIDEO
TO
MONITOR
TO
MUX'S VCR IN
FROM MUX
MAIN MONITOR
I/O
RS-485
ETHERNET
10/100
NOTE: When connecting to a LAN, each connected DVR must be assigned a unique IP,
which must be in the same class type as your network address. IP addresses are
written as four sets of numbers separated by periods; for example, 192.168.0.1
Therefore, if the connected network is identified as Class C, for example , the first
three sets of numbers of the DVR IP address must be the same as the network
address. If the connected network is identified as Class B, the first two sets of
numbers of the DVR IP address must be the same as the network address. If you
have any questions regarding these settings, please contact a qualified MIS
professional or your ISP.
