


16
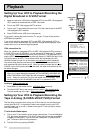
Your VCR comes with Mitsubishi’s exclusive on-screen operating
system. This system has been developed to simplify the operation of your VCR
with clear, easy-to-understand language and design.
Before your VCR can receive television channels or you can program your VCR to
record, you need to memorize all of the channels you can receive into your VCR
and set the clock. Additionally, if you are using a satellite receiver, you need to do
a first time setup to memorizing satellite brand code. Fortunately, your VCR makes
this an easy process with our menu system.
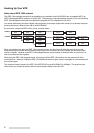
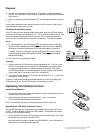
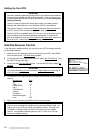
When using the on-screen menus, use the JOG/SHUTTLE control on the remote
control, not the front panel. Use the ADJUST dial to move the highlight bar up or
down and to change the setting of selected features. Turn the SHUTTLE ring to
the right to enter a selection or adjustment (the ENTER button may also be used
for this). Turn the shuttle ring to the left to cancel or clear a setting (the CANCEL
button may also be used for this).
Using ALLSET
™
to Set Up Your VCR Automatically
ALLSET will automatically set the clock, memorize all of the television stations
available to you and set the VCR Plus+ guide channel numbers.
You need to manually set the brand code for the satellite receiver.
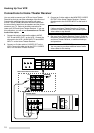
If your local cable company scrambles some or all stations, and/or requires you
to use a cable box, then your ability to program channels would normally be
limited. The cable box receives all of your channels, then sends only one to
your TV and your VCR, usually on channel 3 or 4.
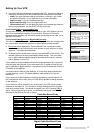
If you are required to use a cable box, you should choose Cable box only or
Digital Cable box only option in step 4 on the next page and turn the cable box
on. Your HS-HD2000U will use its Converter Box Control technology to
change the channels on the cable box. Make sure you have properly placed
the IR Emitter (see page 11).
If your cable box or cable system seems incompatible with your new VCR, call
your cable company. They may be able to provide solutions to your problems.
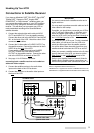
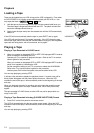
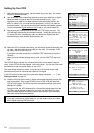
1 Make sure you are viewing the picture coming from your VCR. Press MENU
on the remote control. VCR Main Menu comes up. If First Time Set-Up is not
highlighted, use the ADJUST dial on the remote to highlight it.
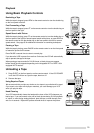
2 Turn the shuttle ring on the remote control to the right. First Time Set-Up menu
will appear. AllSet will be highlighted. Turn the shuttle ring to the right.
IMPORTANT
If you are recording, playing back a tape, Not available will flash and an error
message will appear. To correct this, stop the tape.
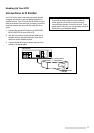
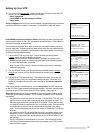
3 You will see the AllSet explanation screen. Turn the shuttle ring to the right.
Setting Up Your VCR
Turn right
to Enter
ADJUST
Turn left
to Cancel
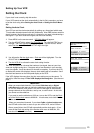
ƒFirst Time Set-Up
∆AllSet
≈Set the clock
«Add/delete channels
±Sat.receiver (OFF)
ππππππππππππππππππππππππ
Use ADJUST to select,
and ENTER.
Press MENU to go back.
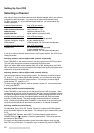
ªVCR Main Menu
¬Program to record
ƒ1394 connection list
√Customize choices
»S-VHS Set-Up
ƒFirst Time Set-Up
Use ADJUST to select,
and ENTER.
Press MENU to exit menus
A special note to cable box
subscribers
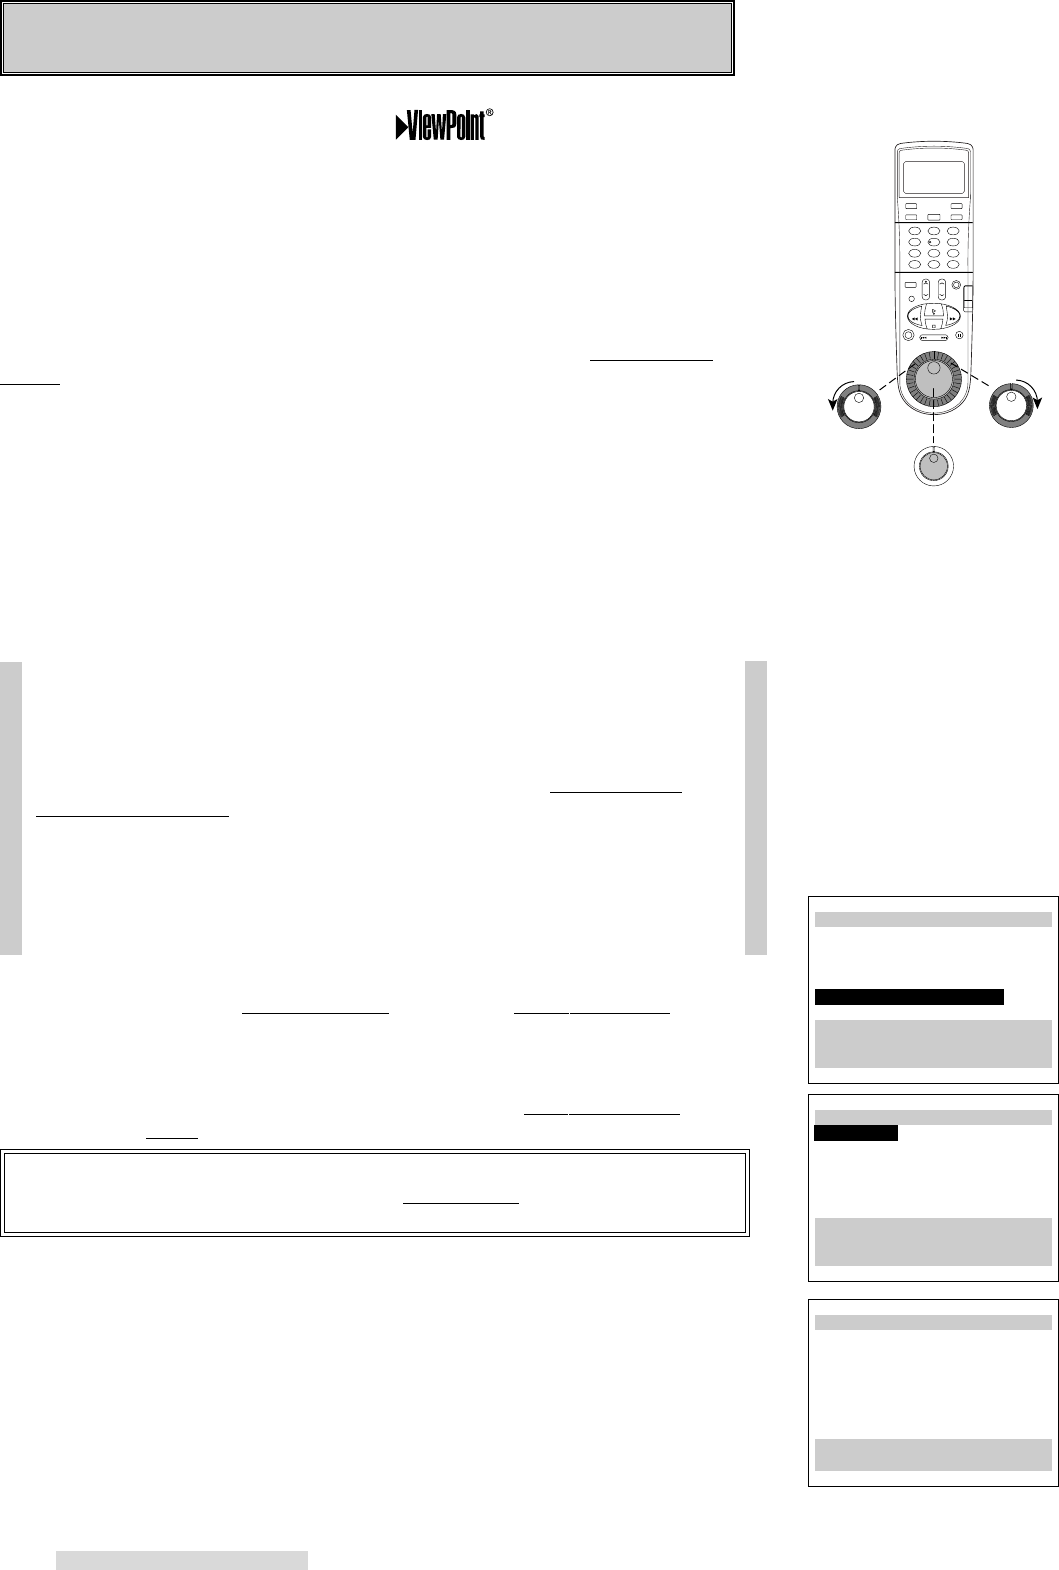
∆AllSet
Fully Automatic Setting
Clock
VCR Plus+ Guides
Channel memory
Press ENTER to continue.
Press MENU to go back.