19
RQT9434
Quick Start
Guide
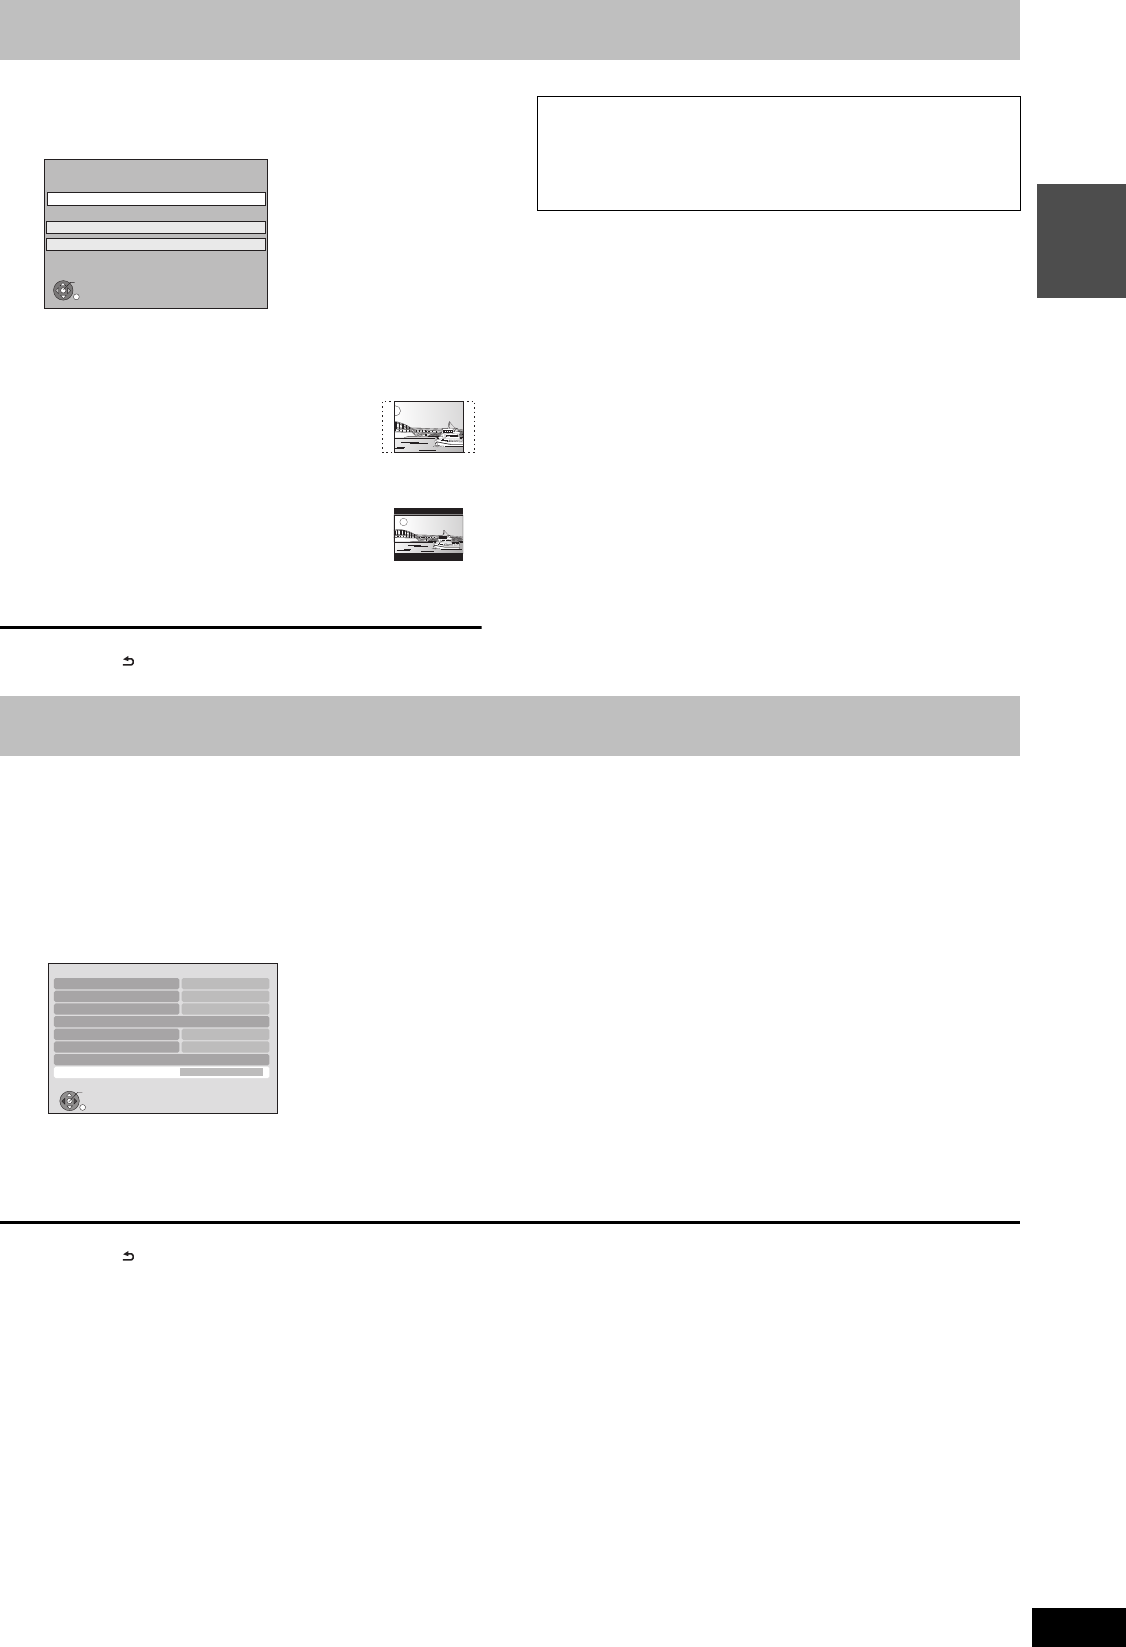
9 Press [3, 4] to select the TV aspect
and press [OK].
To stop partway
Press [RETURN ].
1 Press [FUNCTION MENU].
2 Press [3, 4] to select “Others” and press [OK].
3 Press [3, 4] to select “Setup” and press [OK].
4 Press [3, 4] to select “Connection” and press [OK].
5 Press [3, 4] to select “Common Interface” and press [OK].
6 Press [3, 4] to select “Slot 1:” or “Slot 2:” and press [OK].
The features that appear on screen are dependent on the contents of the inserted CAM and Smart Card.
Follow the on-screen instructions.
≥On-screen instructions may not correspond to the remote control buttons.
To return to the previous screen
Press [RETURN ].
To exit the screen
Press [EXIT].
≥For more information about TV service, please contact your service provider.
[Note]
≥Other settings on the card, e.g. changing the password, can be adjusted in the Setup menu. (> 94)
≥Depending on the card, in some cases its use together with this unit may be limited or not possible.
≥16:9:
When connected to a 16:9 widescreen
television
≥Pan & Scan:
When connected to a 4:3 aspect television,
side picture is trimmed for 16:9 picture.
This setting may not work and the pictures
may be shown in the letterbox style
depending on the content.
≥Letterbox:
When connected to a 4:3 aspect television.
16:9 picture is shown in the letterbox style.
When television picture appears, set up is complete.
16:9
Pan & Scan
Letterbox
4:3 TV
TV Aspect
16:9 WIDE TV
OK
RETURN
∫ If the clock setting menu appears (> 95, Clock)
∫ To confirm that stations have been tuned
correctly (> 87, Channel List)
∫ To restart set up (> 87, Auto Setup)
STEP 4 Setting the CI or CI Plus (Common Interface)
Connection
OK
RETURN
TV Aspect
Aspect for 4:3 Video
TV System
HDMI Connection
Component Resolution
AV1 Output
AV2 Settings
Common Interface Access
Video
576i/480i
PAL
4:3
16:9
DMRBS850&750EG-RQT9434-L_eng.book 19 ページ 2010年1月14日 木曜日 午後4時21分


