C695M-B (11/03) 23
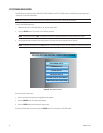
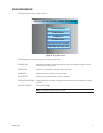
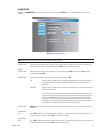
Edit Password Select EDIT and press the ENTER button. The EDIT PASSWORD screen appears.
STATUS: Select the password to change: ADMIN or USER.
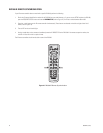
OLD (ADMIN only): Enter the current four-digit password by pressing the numbered channel
buttons. An asterisk is displayed as each number is entered to maintain security.
NEW: Enter the new four-digit password by pressing the numbered channel buttons. An
asterisk is displayed as each number is entered to maintain security.
CONFIRM: Reenter the new four-digit password by pressing the numbered channel buttons.
An asterisk is displayed as each number is entered to maintain security.
SAVE: Select SAVE and press the ENTER button to save the new password.
Exit: Press the SETUP button to exit the EDIT PASSWORD screen.
NOTE: To delete a password, leave the NEW and CONFIRM fields blank. Then save the blank password.
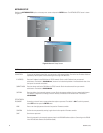
Create Password To create the USER password, select CREATE and press the ENTER button. The CREATE
USER PASSWORD screen appears.
NEW: Enter the new four-digit password by pressing the numbered channel buttons. An
asterisk is displayed as each number is entered to maintain security.
CONFIRM: Reenter the new four-digit password by pressing the numbered channel buttons.
An asterisk is displayed as each number is entered to maintain security.
SAVE: Select SAVE and press the ENTER button to save the new password.
Exit: Press the SETUP button to exit the EDIT PASSWORD screen.
NOTE: To delete a password, leave the NEW and CONFIRM fields blank. Then save the blank password.
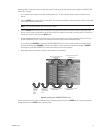
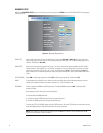
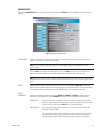
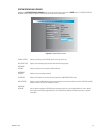
TIME/DATE SET Enter the current time and date. Select and scroll through the day, date, and time fields, incrementing or
decrementing each entry until all are correct.
NOTE: Be sure to enter the correct time and date. Unit operations, including searches, involve time-based
parameters that are referenced against this setting.
Since all recording in progress is paused temporarily until setup mode is exited, it is recommended that you exit
setup immediately after you set the time and date.
TIME FORMAT Select AM/PM or 24HR.


