8 C695M-B (11/03)
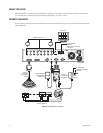
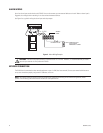
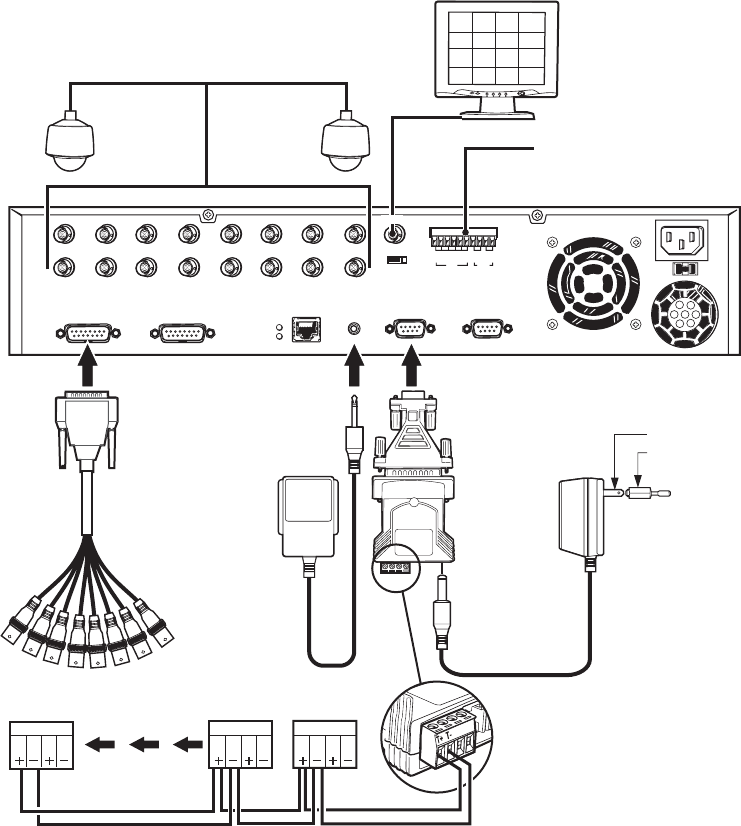
Figure 4. DX3100 Series Installation
1
IN
23456
78
NTSC PAL
IN OUT ALARM
G 1 2 3 4 G 1 2
230V115V
91011121314
15 16
LAN
RC
P/T/Z SERIAL
OUT9-16OUT 1-8
115V
MONITOR
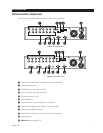
ALARM (SENSOR)
INPUTS (4)
ALARM (RELAY CONTACTS)
OUTPUTS (2)
DX3116-XX
RS-232 TO
RS-422/RS-485
CONVERTER
RS-422
POWER
ADAPTER
EUROPEAN STANDARD
ADAPTER
USA STANDARD
OPTIONAL REMOTE
IR SENSOR FOR IR
CONTROLLER
DB-15 TO
8-CHANNEL
BNC LOOPING
CABLE
PTZPTZPTZ
DAISY-CHAIN HOOKUP
FOR PTZ CAMERAS
CAMERA INPUTS (1-16)
RxRxTx Tx
RxRxTx Tx RxRxTx Tx
MON OUT
MOUNT THE DX3100
Mount the controller on a flat surface (attach rubber feet if mounting on a flat surface) or use the provided rack ears to rack-mount the
unit. All models occupy two rack units (RU) of rack space. One RU equals 1.75 inches or 4.45 cm.
CONNECT EQUIPMENT
Use the following instructions to attach all equipment to be used with the recorder. Use Figure 4 as a visual guide for connecting various
types of equipment.


