


66
Manual programmed recordings
Preparation:
•) Switch on the TV, and if necessary, select the programme number
for the DVD recorder.
•) Switch on the DVD recorder.
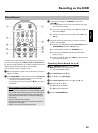
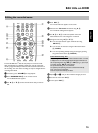
1 Press TIMER s
7 on the remote control.
P The 'Schedule' screen appears.
a I will see some information about the
GUIDE Plus+
®
System
b The GUIDE Plus+
®
System was not installed yet. Read therefore in
the chapter 'The GUIDE Plus+
®
System' the section 'Set up the
GUIDE Plus+
®
System'.
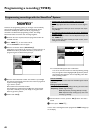
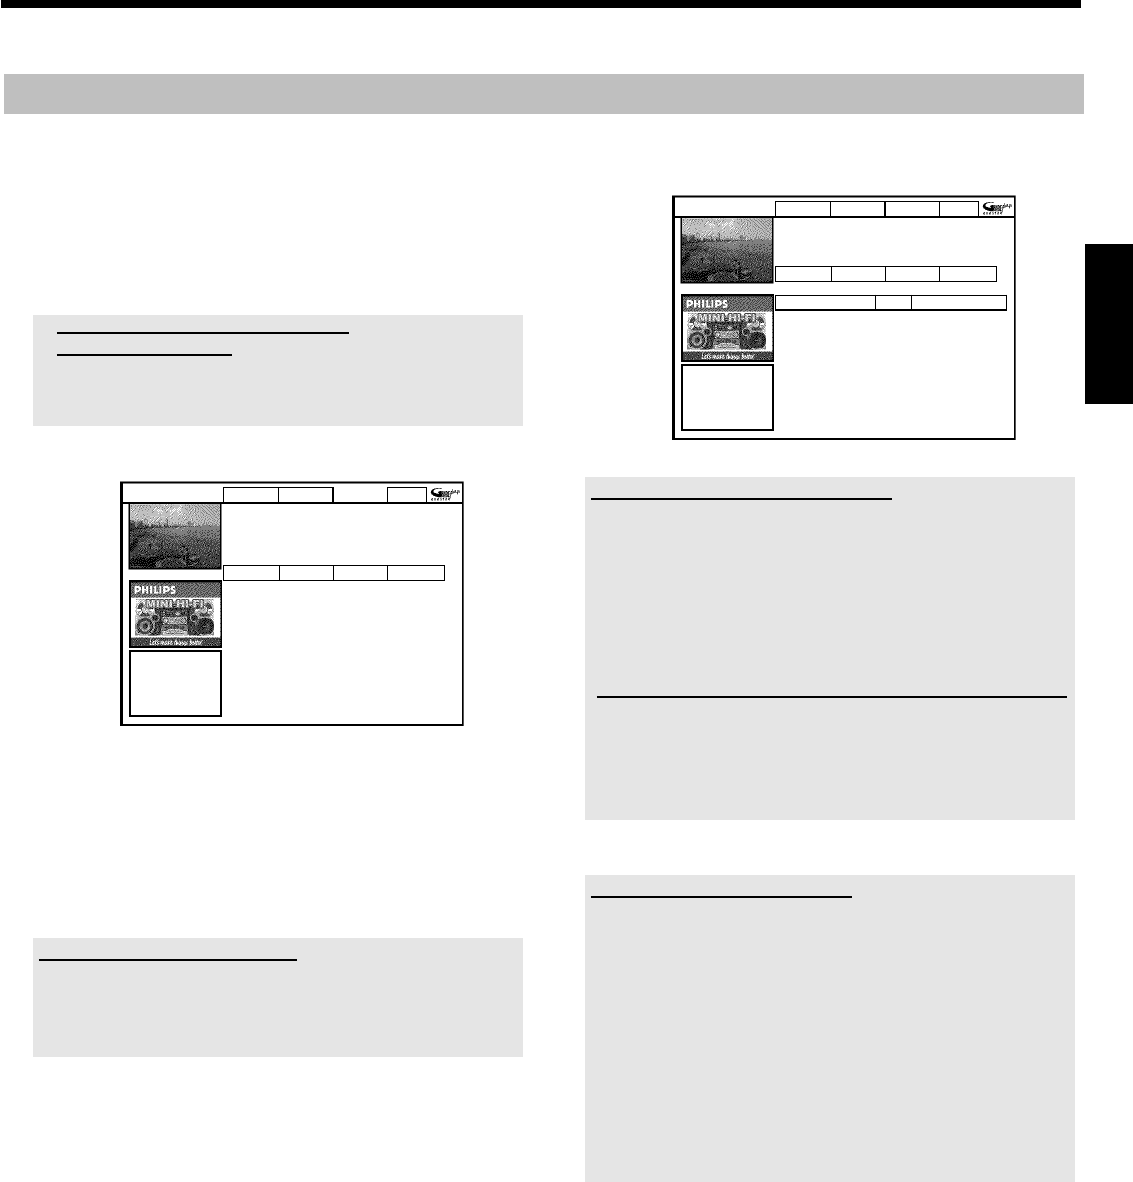
ShowView Manual Home
ScheduledisplaysprogrammesforWatchorRecord.
PressBtouse.PresstheRedbuttonforShowView
recording.PresstheGreenbuttonforManual
recording.PressDforSearch.PressCforInfo.
Grid Search Schedule Info
Noprogrammes
2 Press the green buttonE .
P The current date will be displayed.
3 Enter the date using the number buttons 0..9 .
4 Confirm with OK
L .
How can I correct wrong entries?
If you have already confirmed the entry with OK
L , you can select
one of the following functions:
Repeat entry: Green colour button
E
Cancel: Red colour button D
5 Enter the start time for the show using the number buttons 0..9 .
Confirm with OK
L .
6 Enter the finish time for the TV show using the number buttons
0..9 Confirm with OK
L .
7 Check the data you entered.
O If necessary, go back a position to change entered data using
the green function button
E .
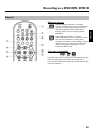
8 Enter the programme number of the TV channel using the number
buttons 0..9 .
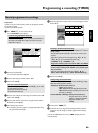
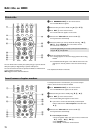
Frequency VPS/PDC Home
,
Grid Search Schedule Info
/Record Freq. Timing
21-Oct 20:00 21:30 BBC1 Once +0
Selecting a TV channel from the listing
You can only use this function if data from the GUIDE Plus+
®
system is
already available.
- Press the yellow function button
F . You will see an overview of all
channels
- Select the TV channel you want to program using D
K , C M ,
B
O , A I . You can browse back or forth using
CHANNEL q
P , CHANNEL r S .
Programme numbers of the scart sockets 'EXT1' and 'EXT2'
You can also program recordings from external sources.
Control of the recording with 'VPS/PDC' is not possible from
the scart sockets.
- Select the corresponding input socket using B
O or A I .
'EXT1'(EXT1 TO TV-I/O
N ), 'EXT2'(EXT2 AUX-I/O M ).
9 Confirm with OK
L .
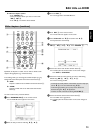
Changes using the colour buttons
You can use the colour function buttons to make the following settings.
Make sure that the right tile is selected.
'Frequency': Green function button
E
'Once': single recordings
'M-F': Repeated daily recordings (Monday to Friday).
'Mon': Repeated weekly recordings (every week on the
same day, e.g. Monday).
Activate VPS/PDC ('Timing'): Yellow function button
F
Using this button, you can activate
(appears) or deactivate ('VPS/PDC'
disappears) 'VPS/PDC' in tile
'Timing'
0 To end, press TIMER s
7 .
A To find out how you can go back and change the data, read the
section on 'How to change or delete a programmed recording
(TIMER)'
If any of the TIMER blocks are in use, 'TIMER' will light up on the
recorder display.
ENGLISH
Programming a recording (TIMER)